
Of all the appliances, grilling equipment, gadgets and gooroos that I have, there’s one major component missing that I would love to have, and that is a smoker.
There’s a vast variety of them on the market and though beggars can’t be choosers, I’m still holding out for the big green one. But, bearing in mind that I’ve been holding out for the green guy for years, I have been entertaining more and more the thought of building my own. I’ve gone on Pinterest, and YouTube scouting out some possibilities, but when I was watching reruns of Alton Brown’s Good Eats, the episode just so happened to be one about smoking food.
He mentioned an easy DIY smoker and I was hooked in. I was completely fixated on this little gem of a smoker where the cost was less than $100 and was constructed out of flowerpots. Of course, most everything you see on TV is grander and easier than in real life, but I totally wanted to give this a shot. I made mental note of everything Alton said and I also took a few side notes.

The supplies needed:
Two terra cotta flower pots with at least a 14-inch opening at the top
One single electric burner (you can find these on Amazon starting at $10)
One metal pie plate
One small grilling grate that will fit inside the pot
One bag of wood chips, such as hickory
One instant read thermometer
Two bricks or pieces of wood the same size as a brick
Since the assembly is a snap, literally, I started out with soaking the wood chips in water. I recommend soaking them overnight. A whole chicken was going to top my experiment, and I cut out the backbone to achieve more surface area for smoking.
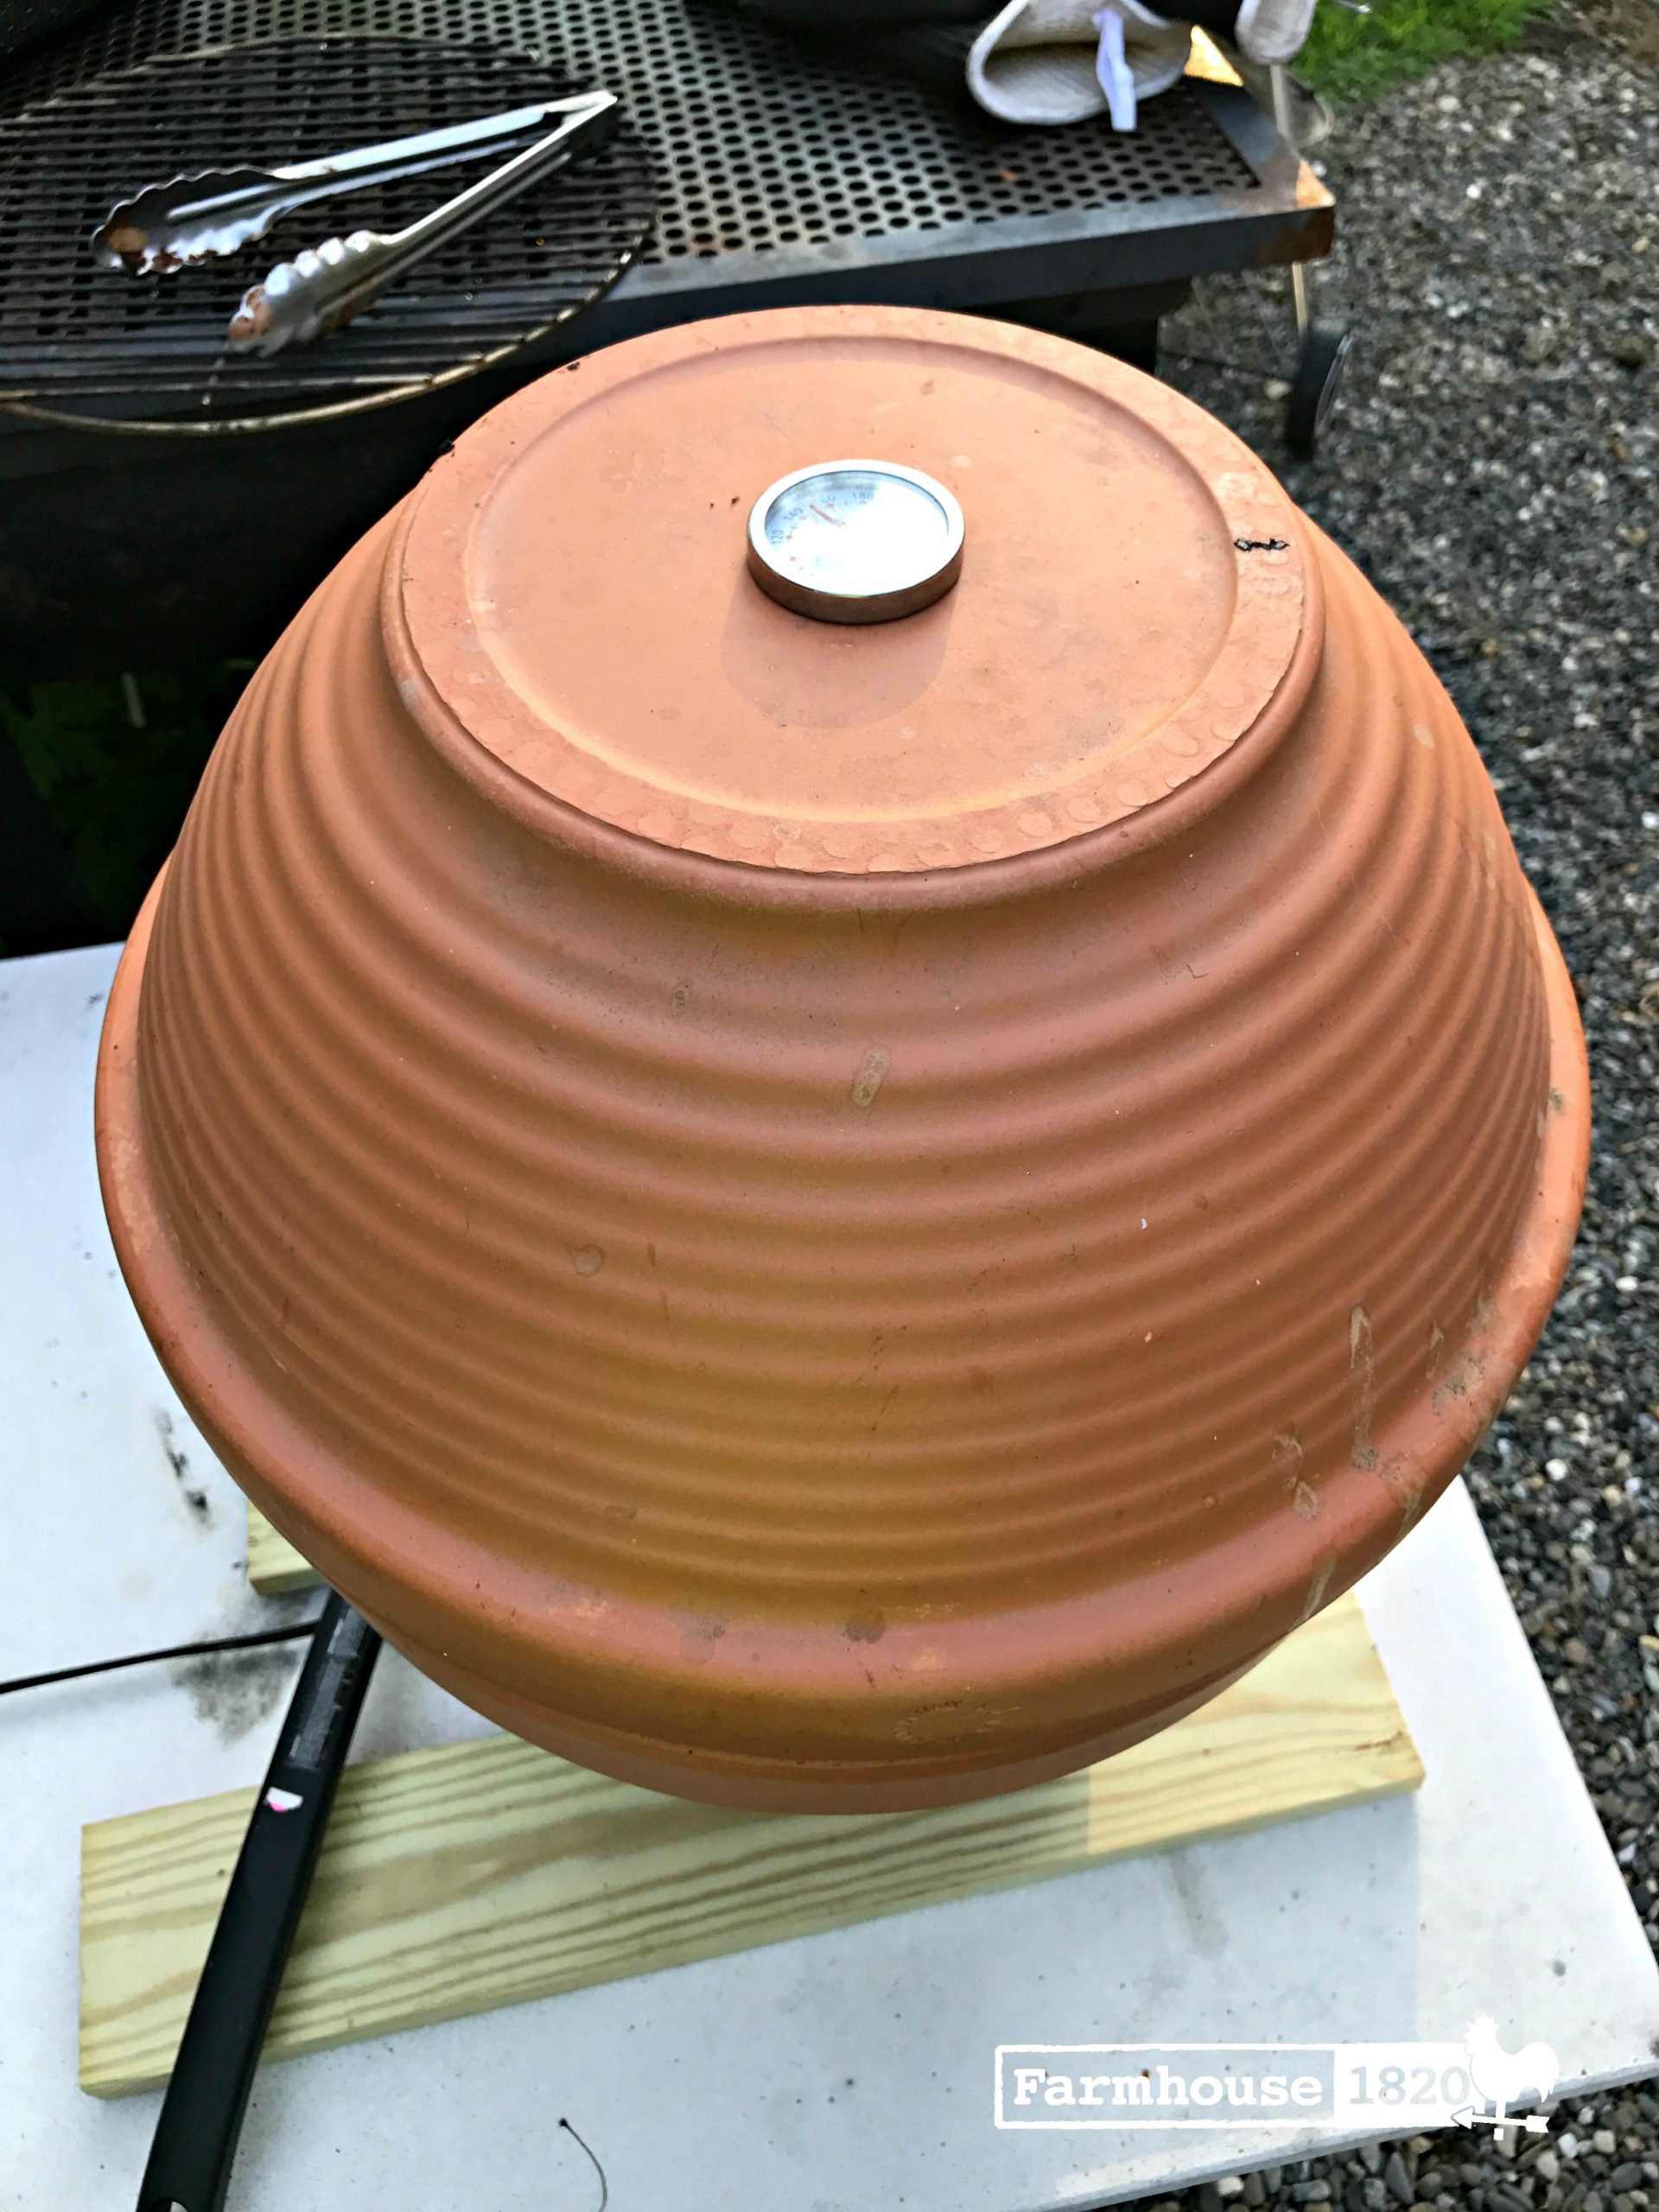
To assemble, I placed the electric burner on the bottom of one pot, feeding the cord out of the drainage hole. I put the pot with the burner on top of the two bricks; this is for air circulation. I plugged in the burner and turned it on high, then immediately placed the metal pie plate on top of the burner, filling with the soaked wood chips. I placed the grill grate in the pot, fitting snuggly, and topped with the remaining pot, turning the pot upside down to fit both rims together, just like Alton did. I put the thermometer inside the drainage hole facing up and let the smoker come up to 200 degrees.
While the smoker came up to temperature, I covered the meat with a spice rub. For my chicken, I just used a handful of brown sugar, and a spoonful of onion powder, garlic powder, dried mustard, chili powder and paprika, salt and pepper. Using thermal gloves, I removed the top pot and put the chicken on the grate, and then returned the top pot in place.

I watched the temperature closely, keeping it right around 200, and added more wood chips and water as time when on and to keep the smoke circulating. I needed the temperature of the chicken to reach 170 degrees when an instant read meat thermometer was inserted in the thickest part of the chicken. All in, this smoking process only took about four hours.
I removed the chicken from the smoker and let it rest for 15 minutes. I dug in, anxious to see how this experiment worked. Truth is, my chicken had some smoky flavor, and was tender and juicy. Though the intense smoky flavor that I had hoped for was missing, I was satisfied with the flavor that I achieved. Some, but not lots.

This DIY smoker is a handy thing to have. I wouldn’t smoke big pieces of meat or a large stack of ribs, but in a pinch, this fits the bill. I’m still holding out for my big green one, yet still, at only $49 for a DIY smoker, how could you really go wrong?


