So, I have a little time on my hands. I’m in good company, of course, because it seems the world is in the same boat. While hunkering down and keeping my peeps under my wing, I’ve been cooking up a storm. Like, three squares, and it dawned on me that I haven’t yet shared with you our custom range hood that I designed and we had built late last summer. Here’s my thought process and insights on how to design and build a custom range hood.
We’ve needed a range hood since day one of moving into Farmhouse 1820. Whenever I would pan sear a piece of meat, it was a production with the entire family working as my cast of characters. The meat would go on a hot pan, Sean would start opening and closing the kitchen door to outside; Caroline would open and close the pantry door and Mac would walk around fanning and waving a towel to help push out the smoke. Geesh. Then, to add more drama, we could smell last night’s dinner for a week in our house. No good.

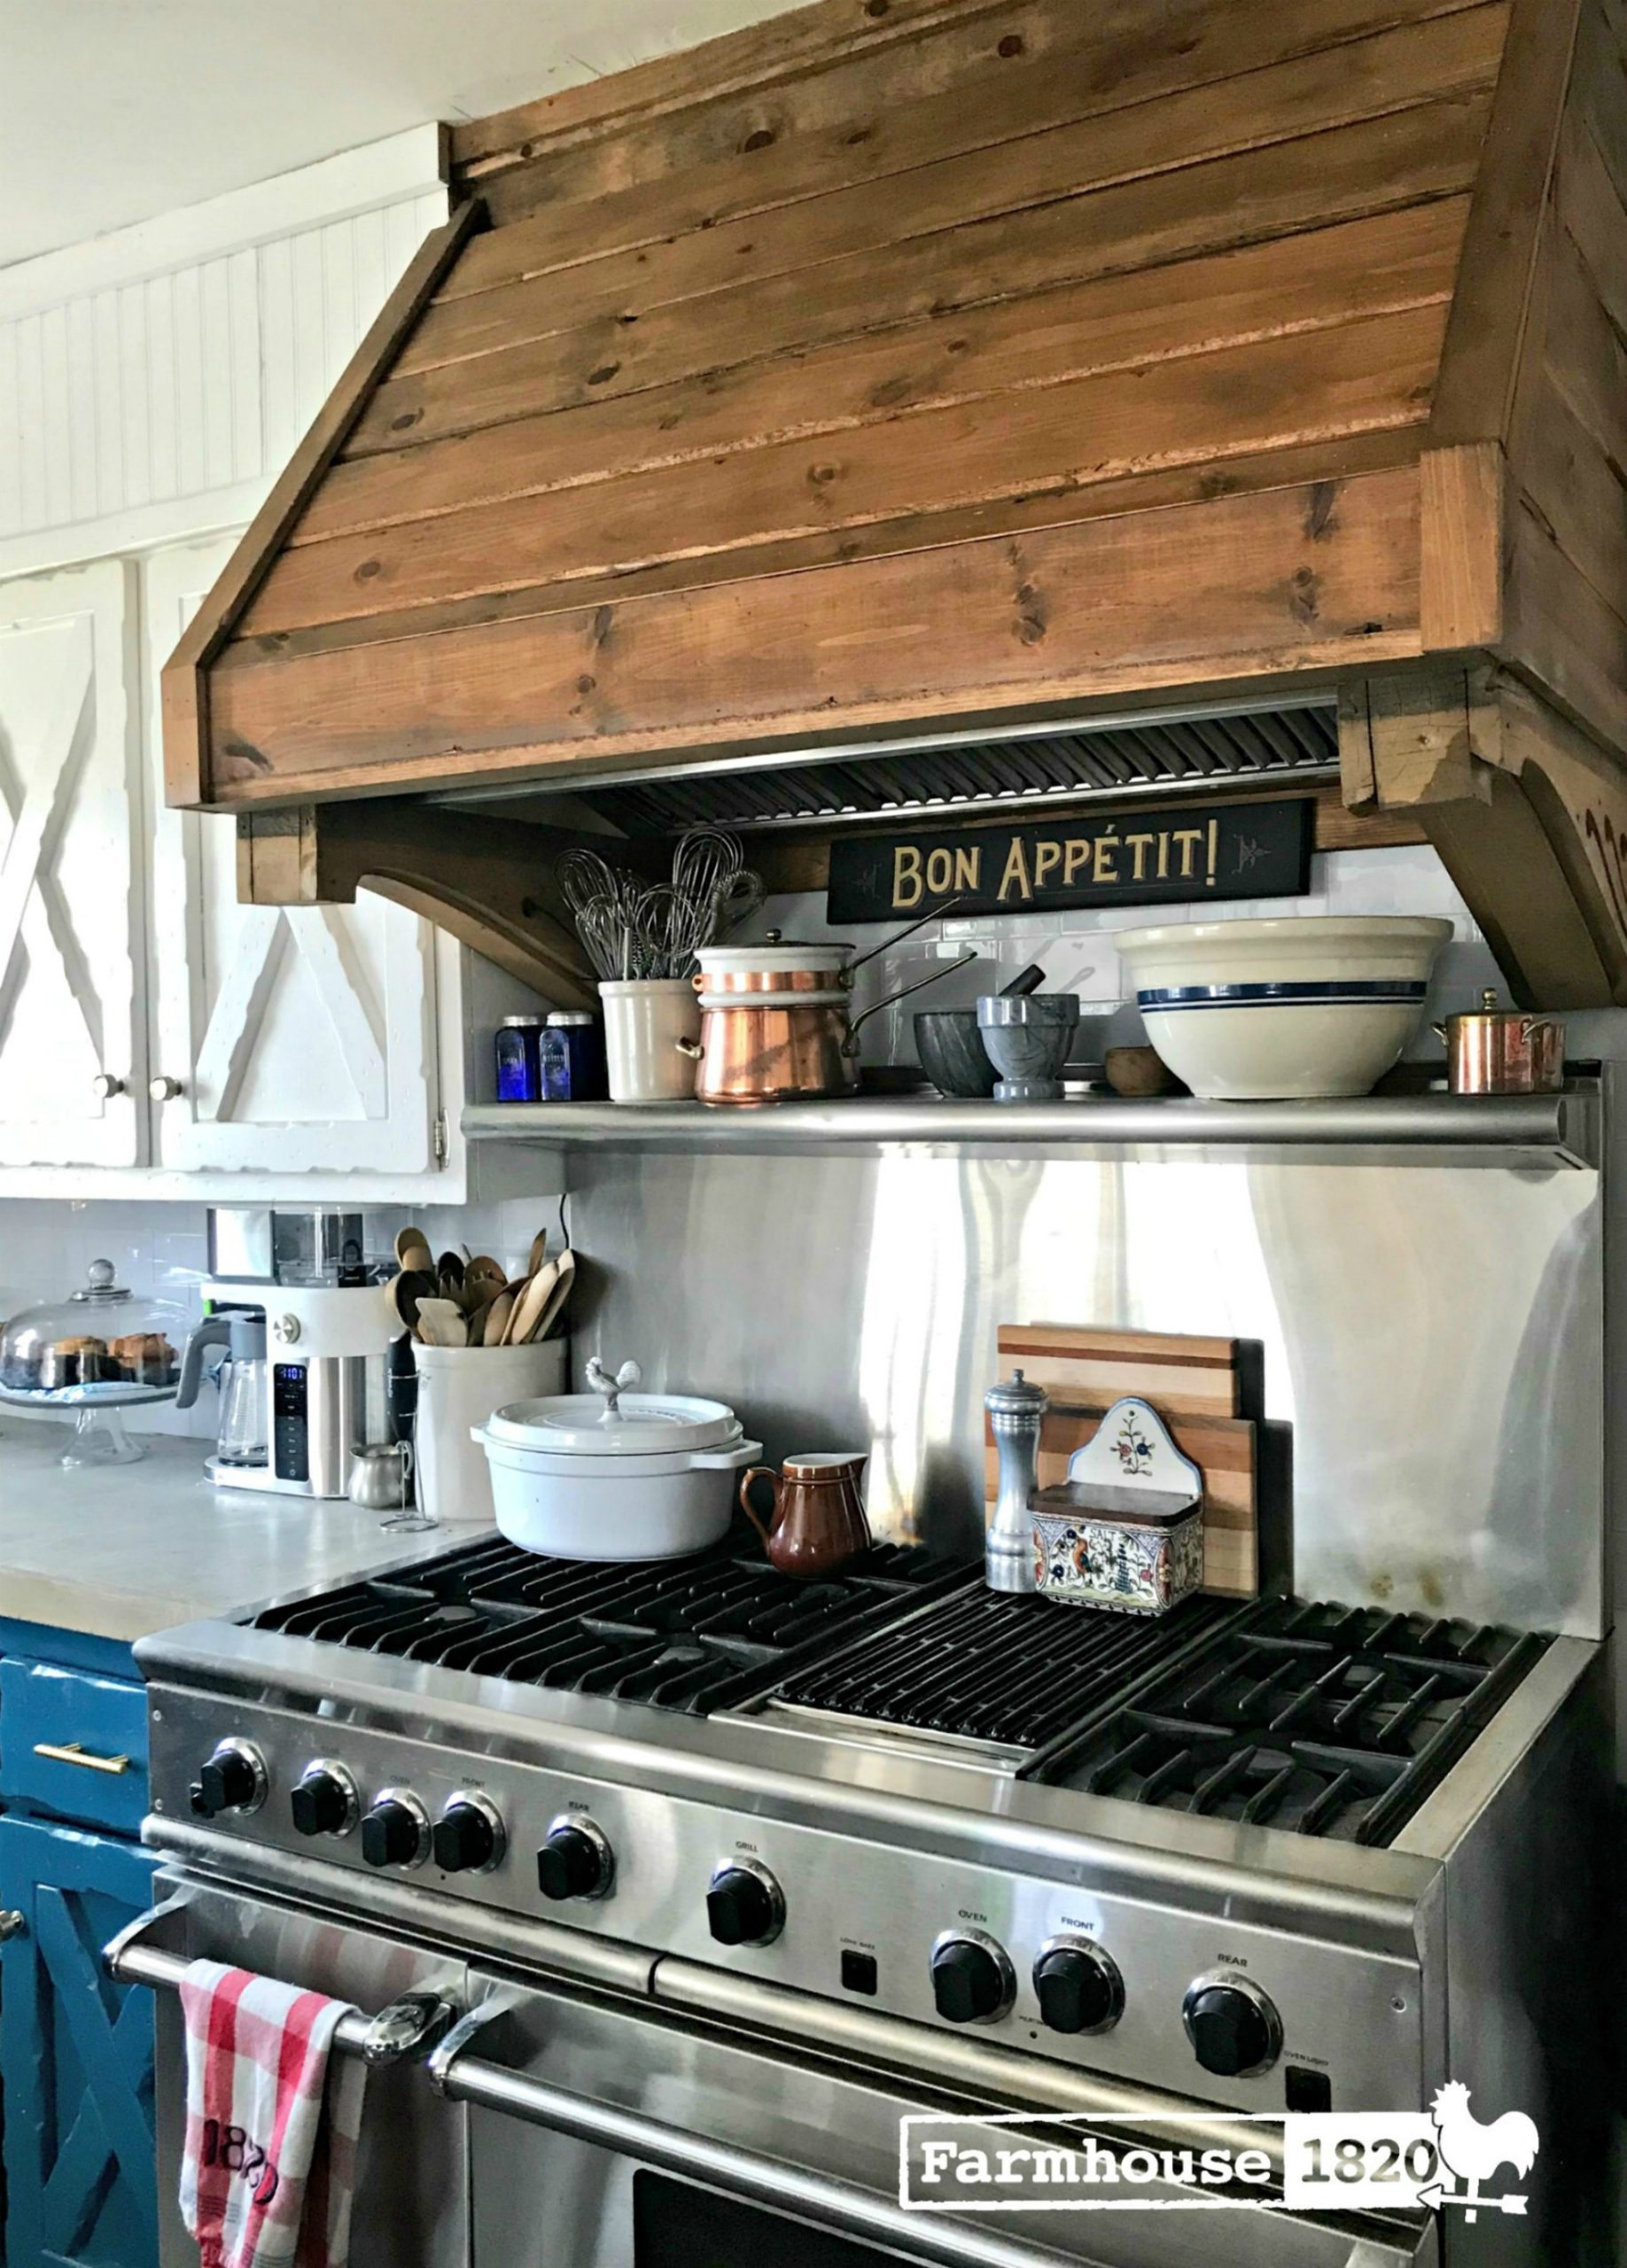
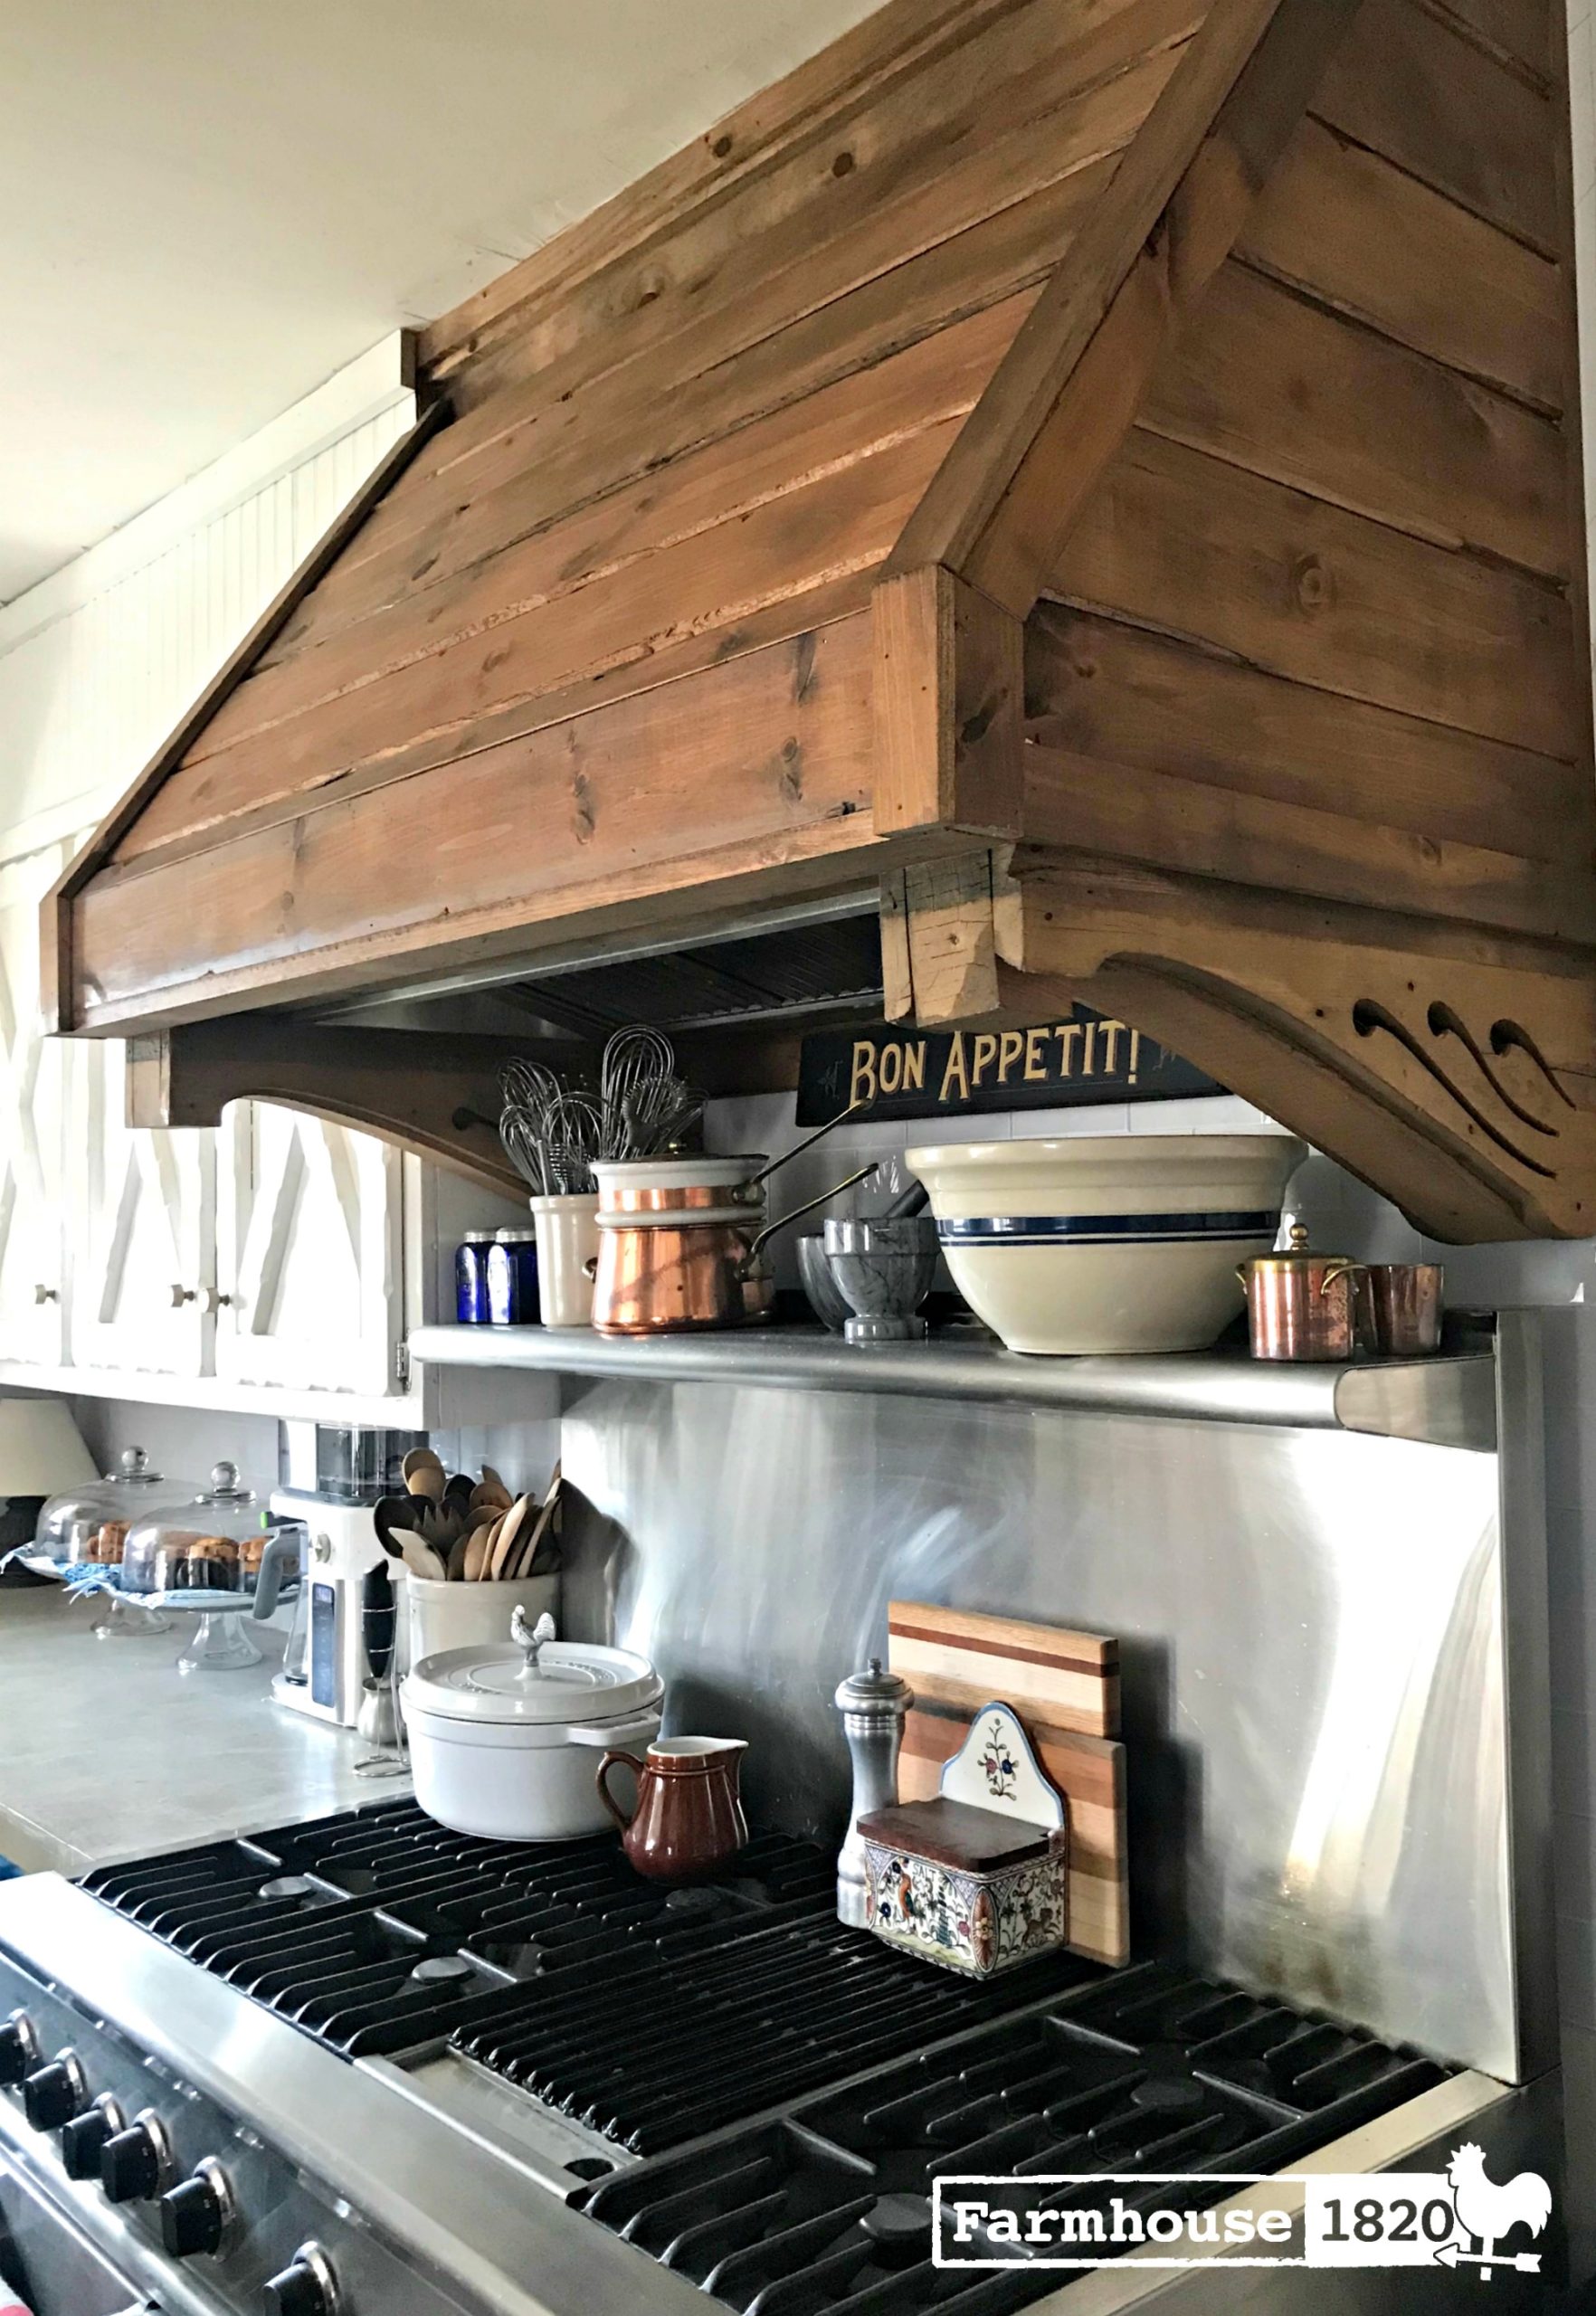
Turns out, as much as range hoods are a kitchen necessity, they’re also personal. The silhouette, the construction, the material its made of and the overall design all have to come together because let’s face it, this workhorse also has to look pretty.
There are oodles and oodles of range hoods to choose from that look stunning in a kitchen, but for our kitchen, it required a warmer design, if you will. What, with the concrete countertops and modern glass backsplash, we needed to warm the tone, and leave the smell of last night’s dinner – well, last night.
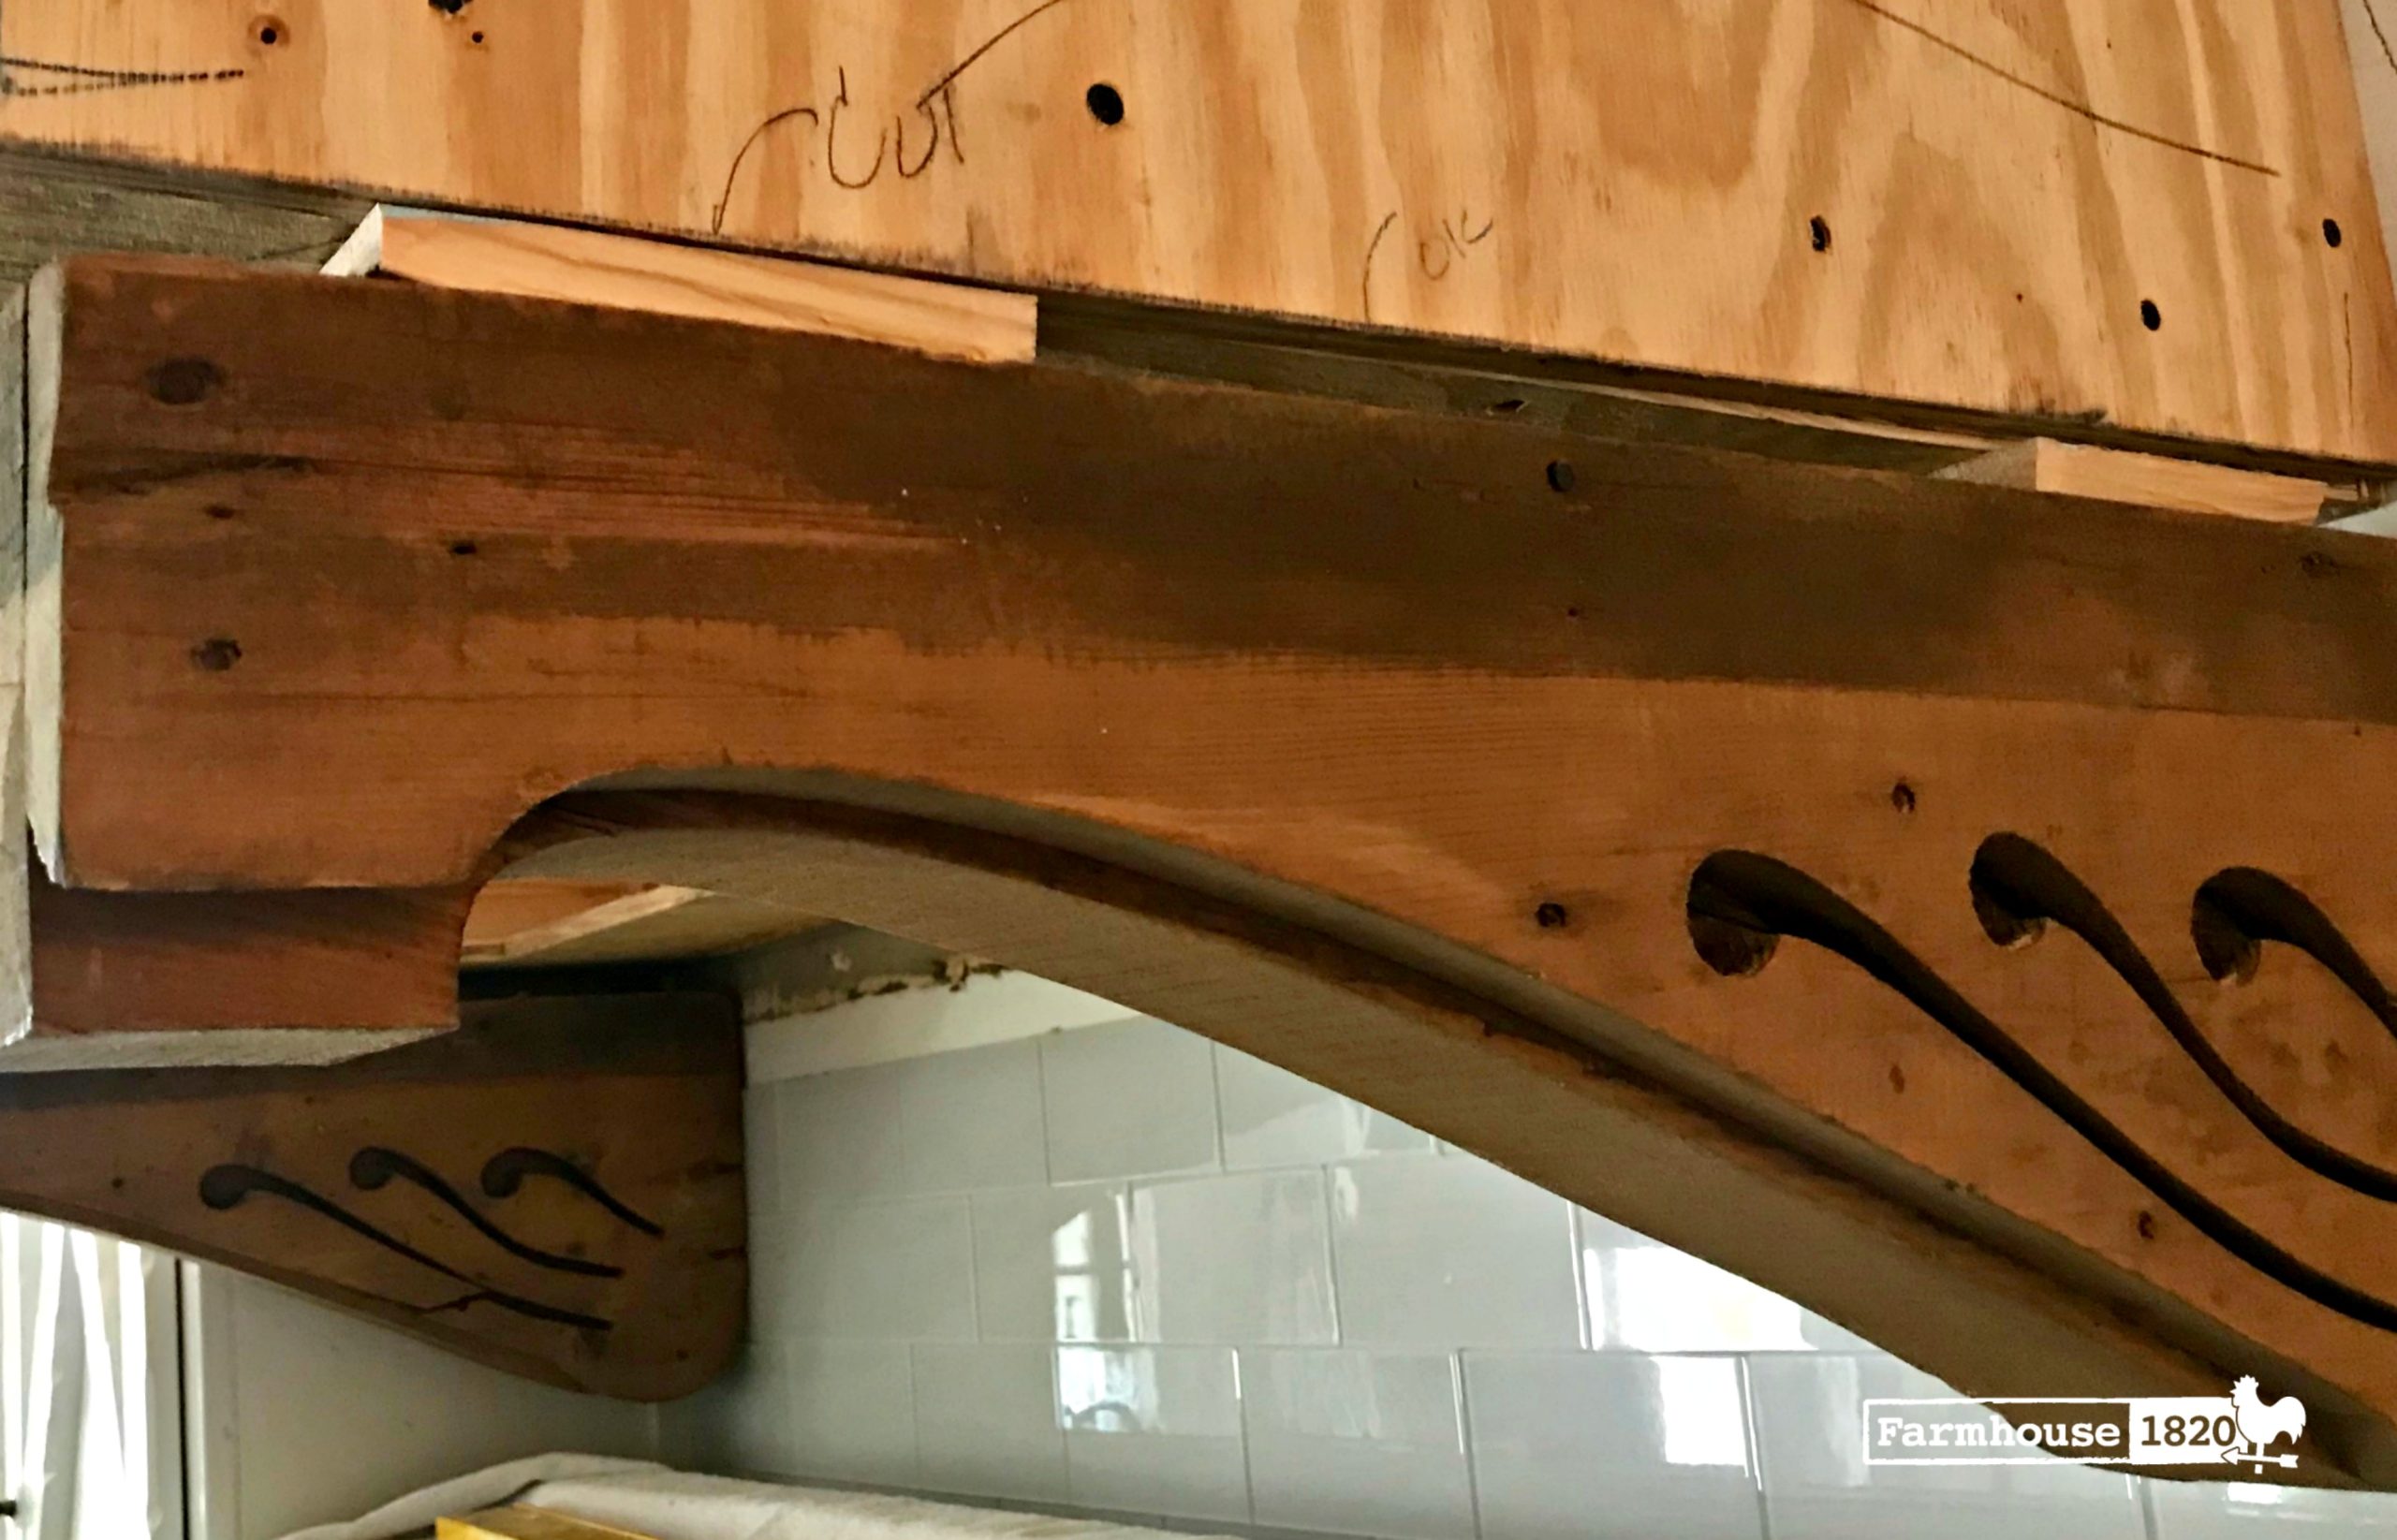
Years ago – maybe five or six, I stumbled upon a pair of old corbels. The price was like “come to Mama” good, and with a couple projects I had in mind that they would be perfect for, it was the range hood that these corbels lead the design out of the gate and setting the tone for an all wood range hood.
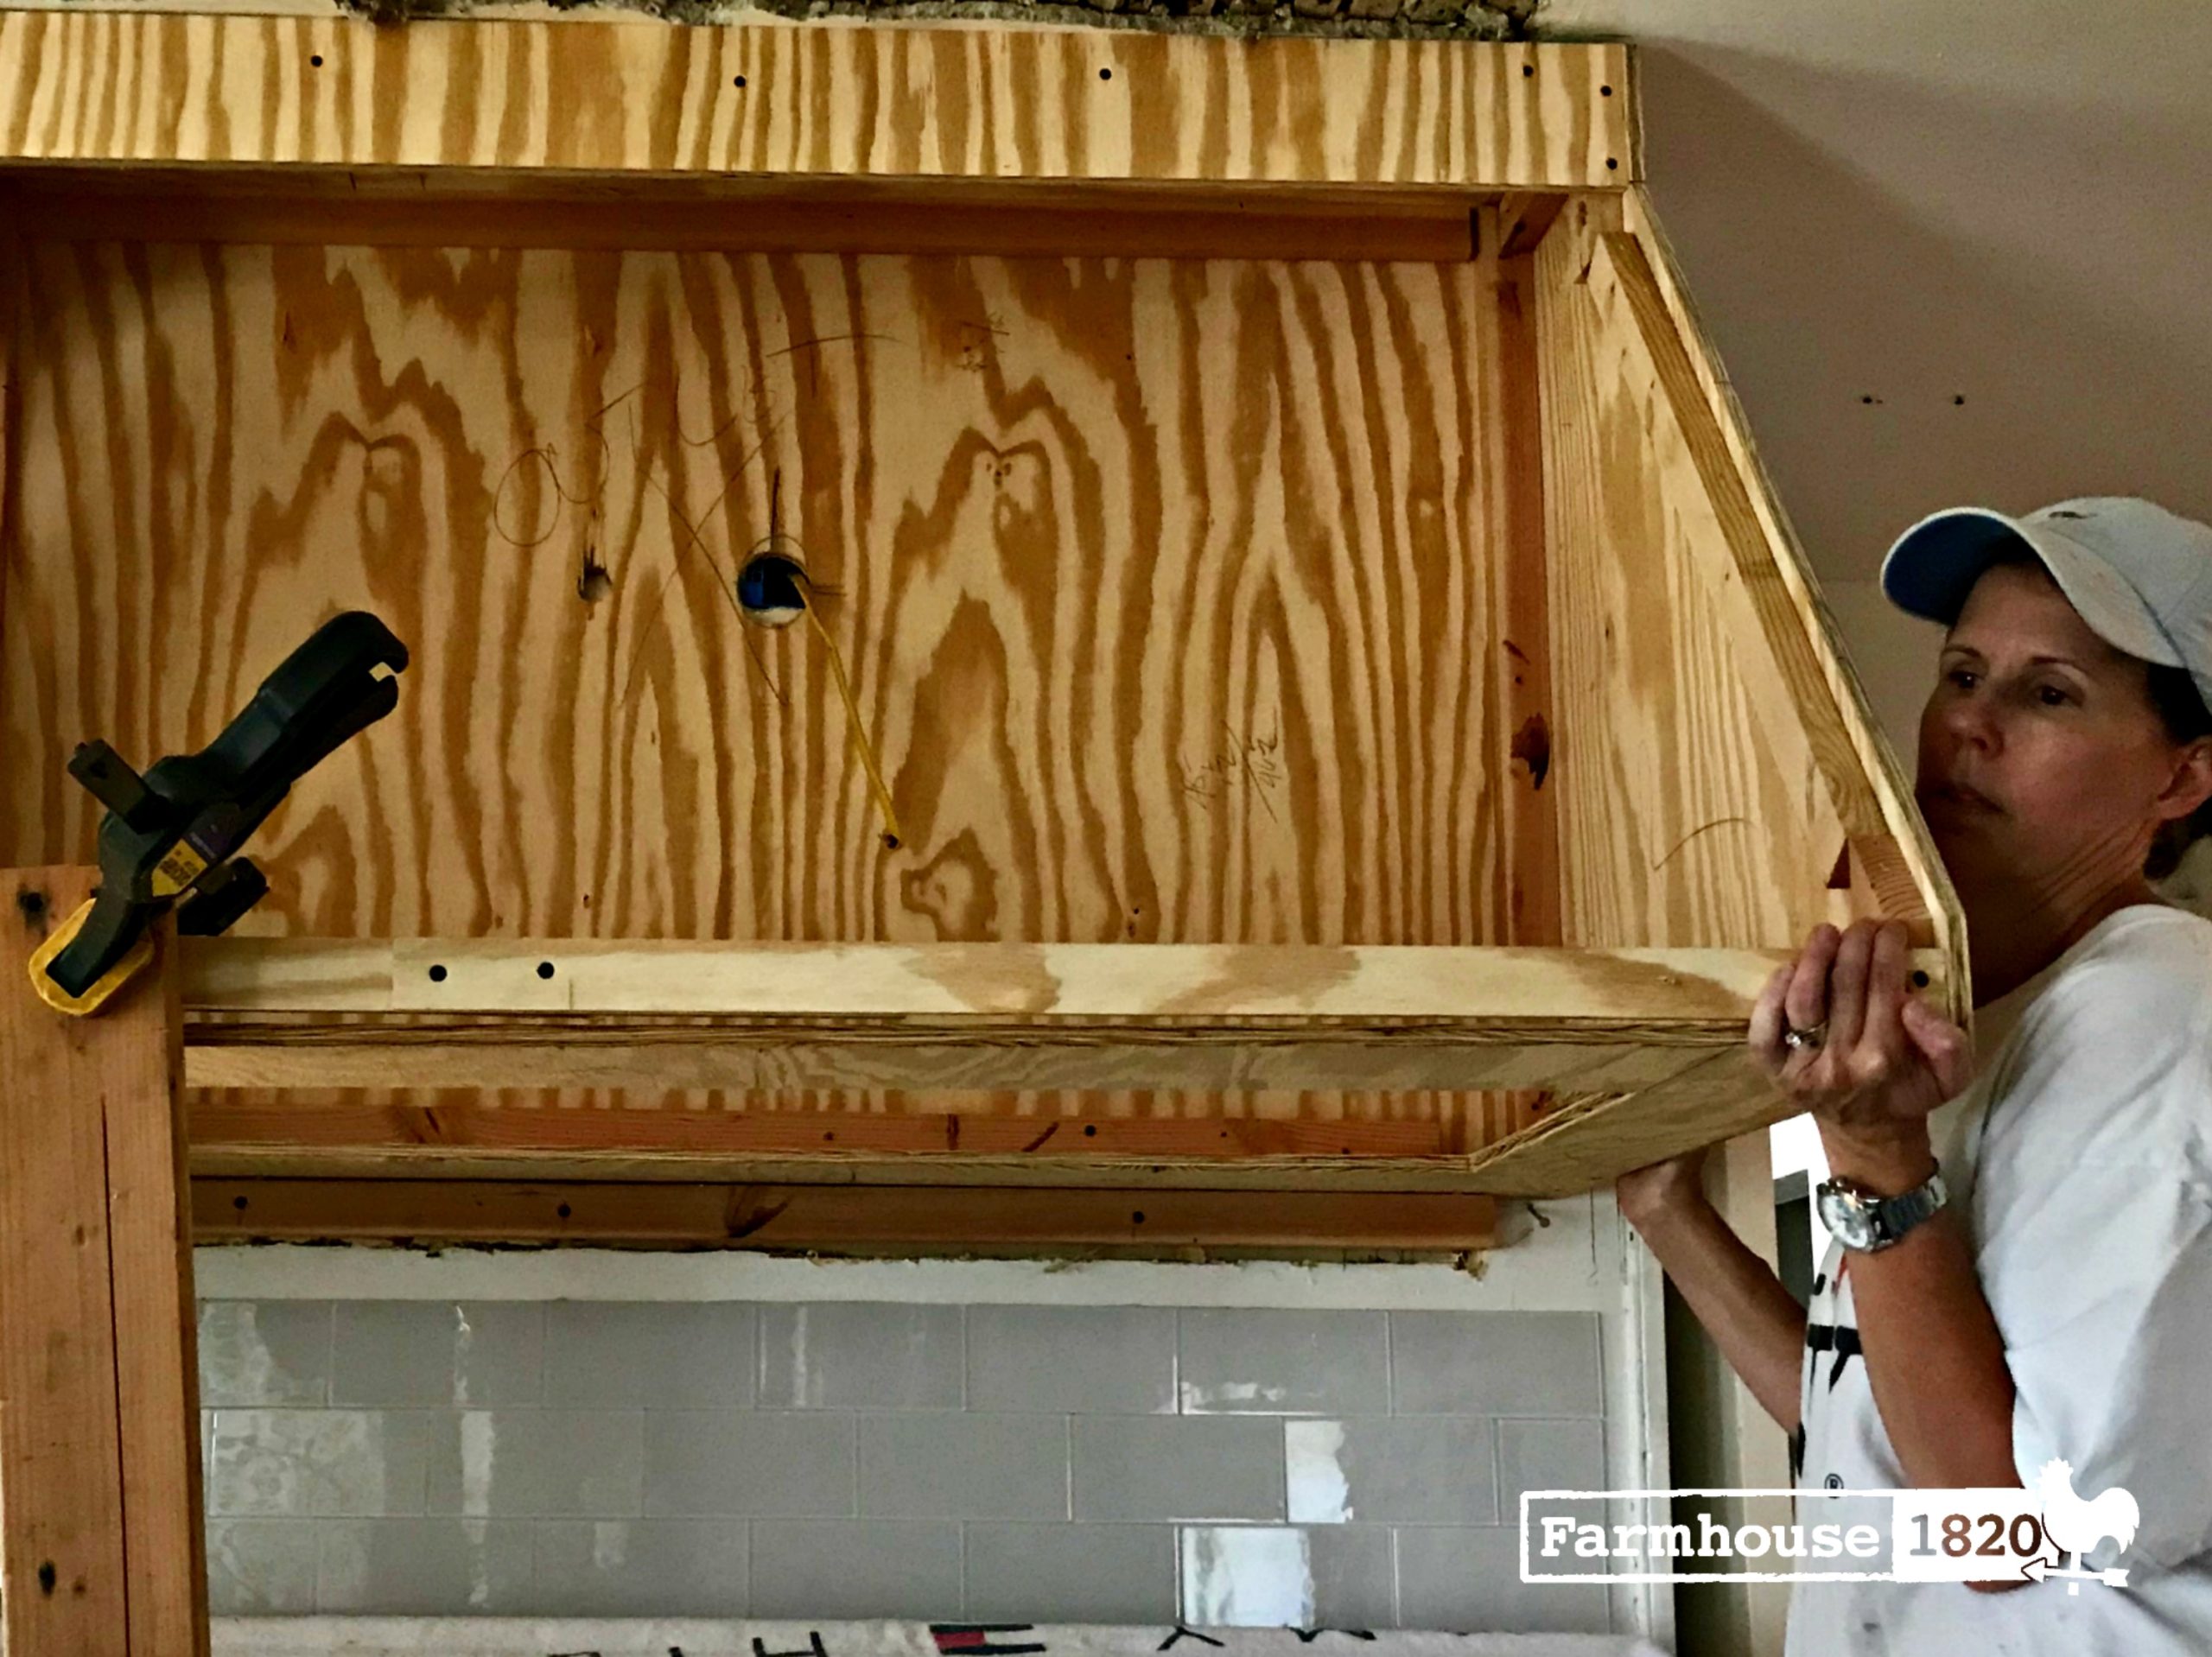
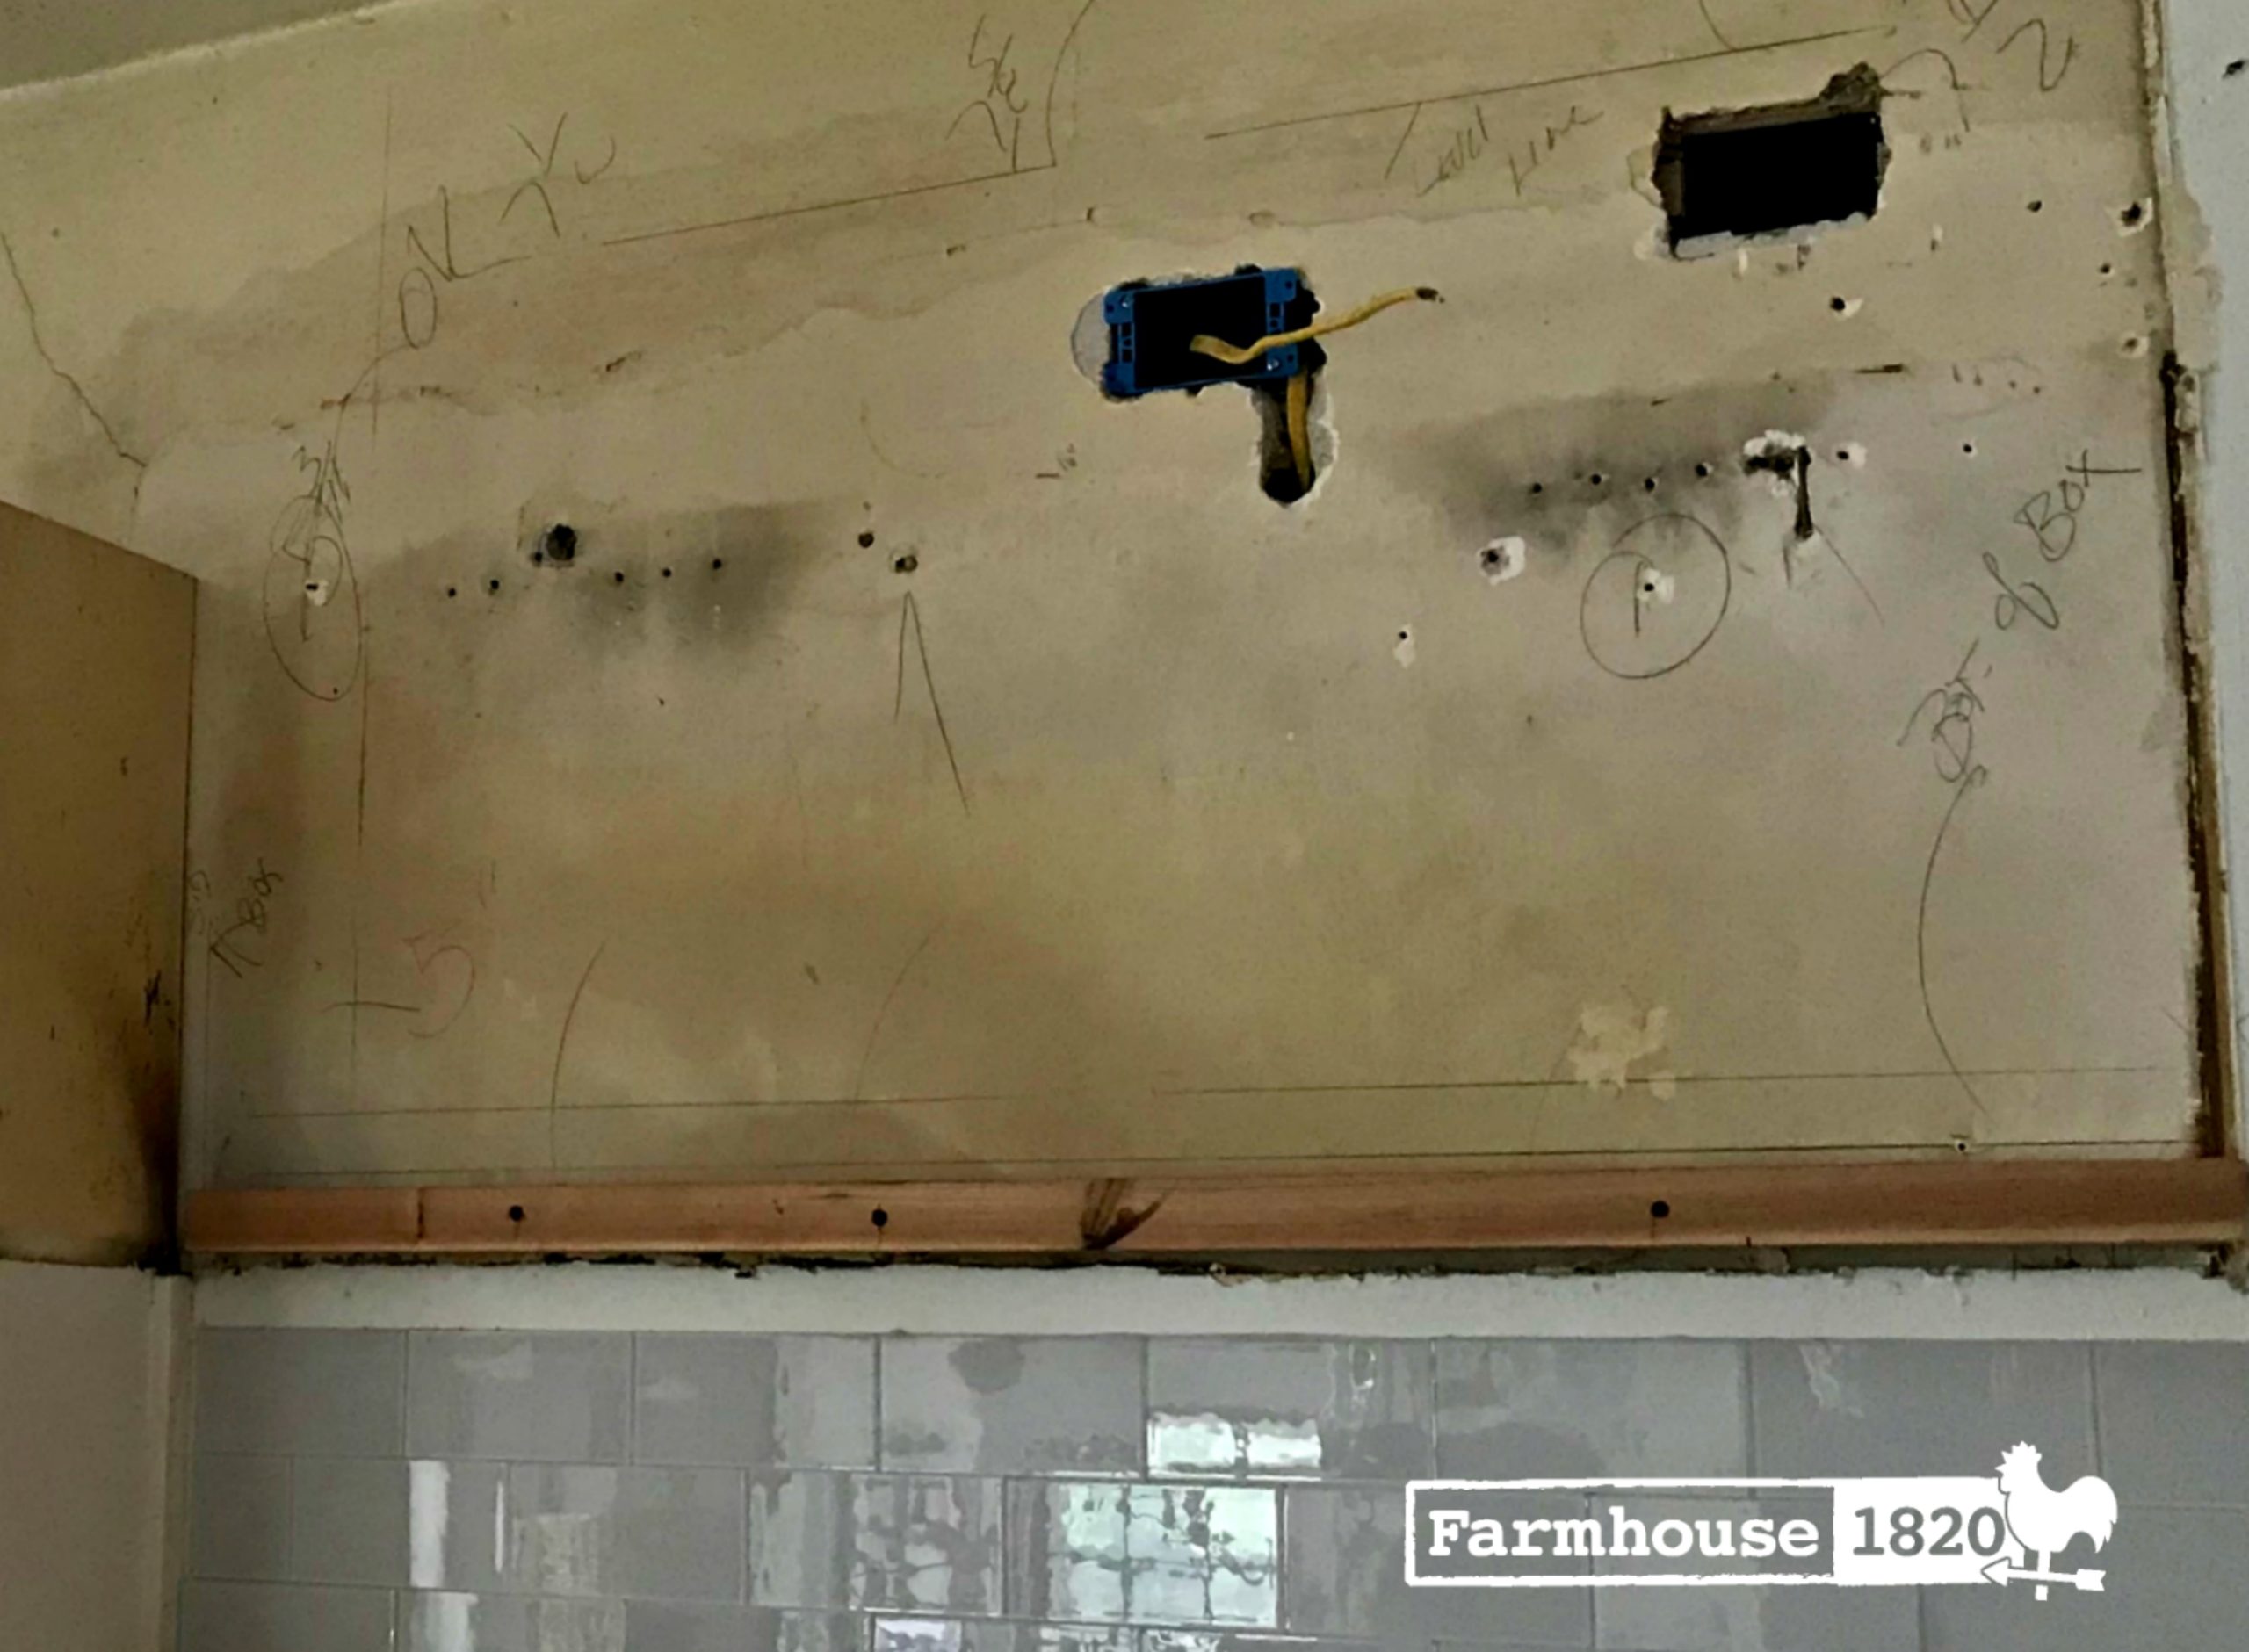
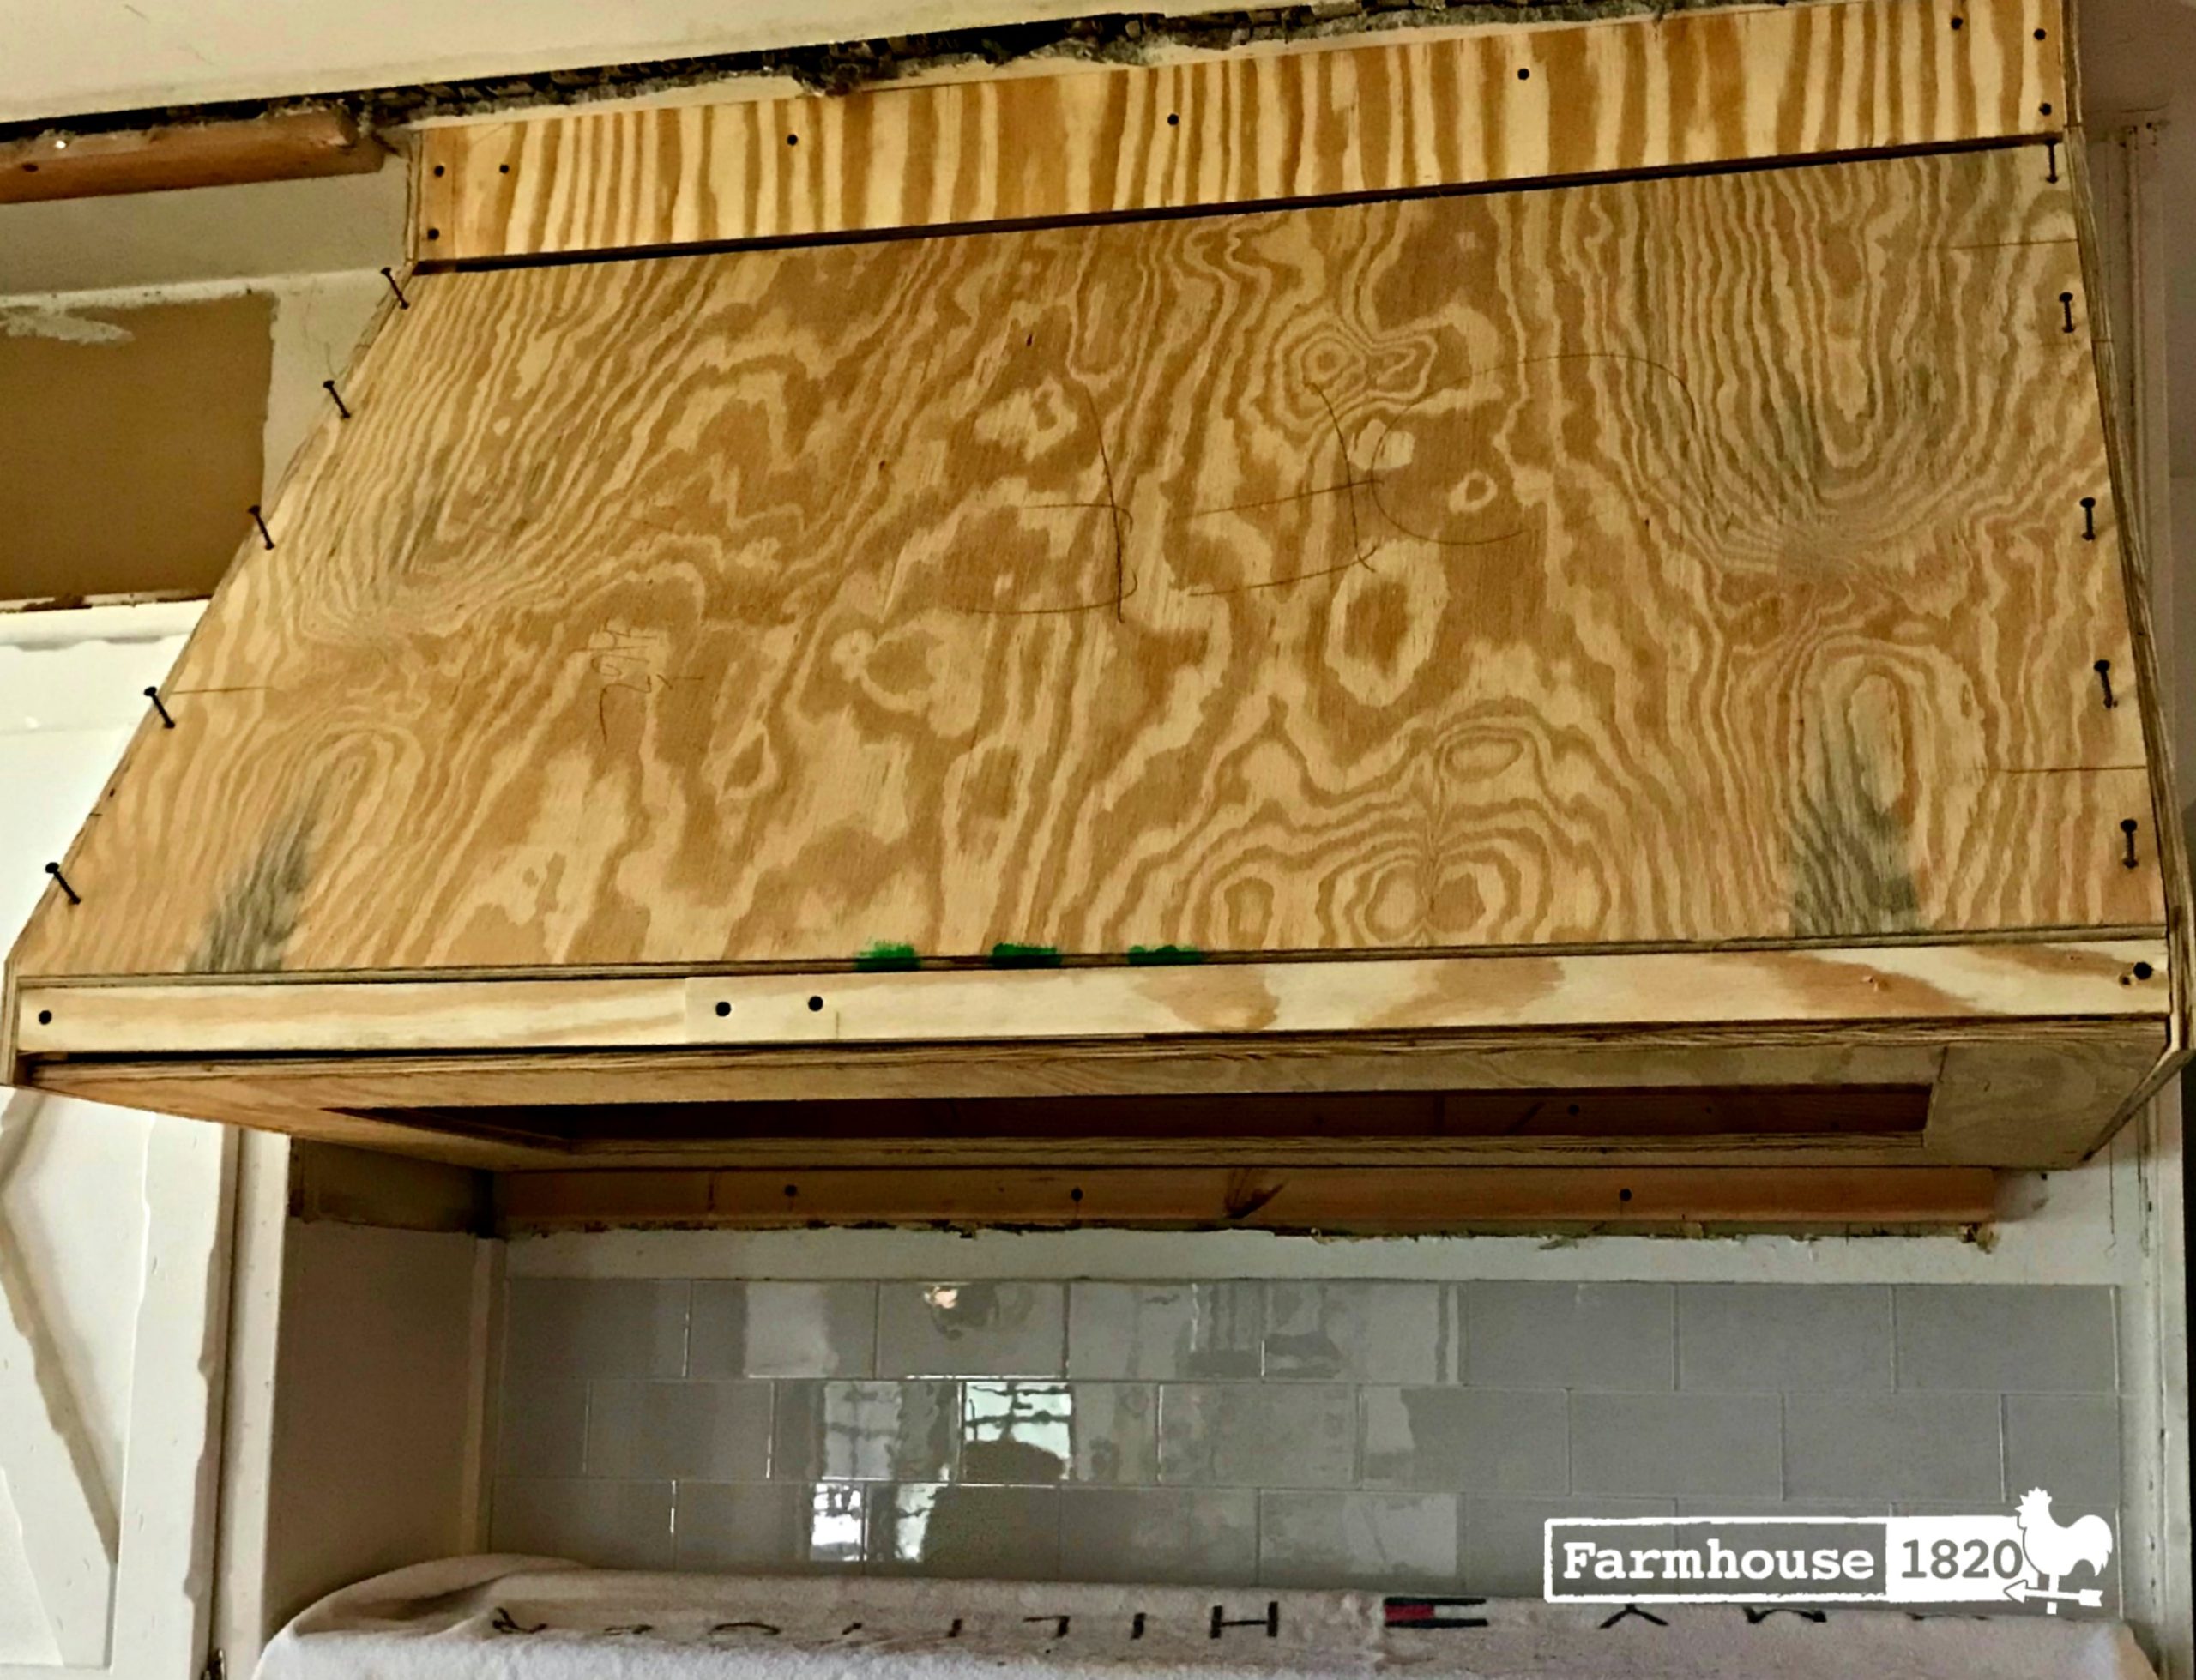
With a custom designed range hood, an insert is required. The guts of the thing with the pretty stuff left to the shell. I determined that this range hood insert would work best for our needs. We used sanded ply wood for the base of the range hood. Once the technical stuff was out of the way, I could concentrate on the design, and wood was my answer. A farmhouse kitchen, in my opinion, requires a certain amount of wood and with a traditional stain color, and I landed on this color stain.
Turns out, we had the tongue and groove wood boards left over from when we took the back porch ceiling down. With a good sanding and even coats of stain, the boards were cut and the hood was ready to assemble.
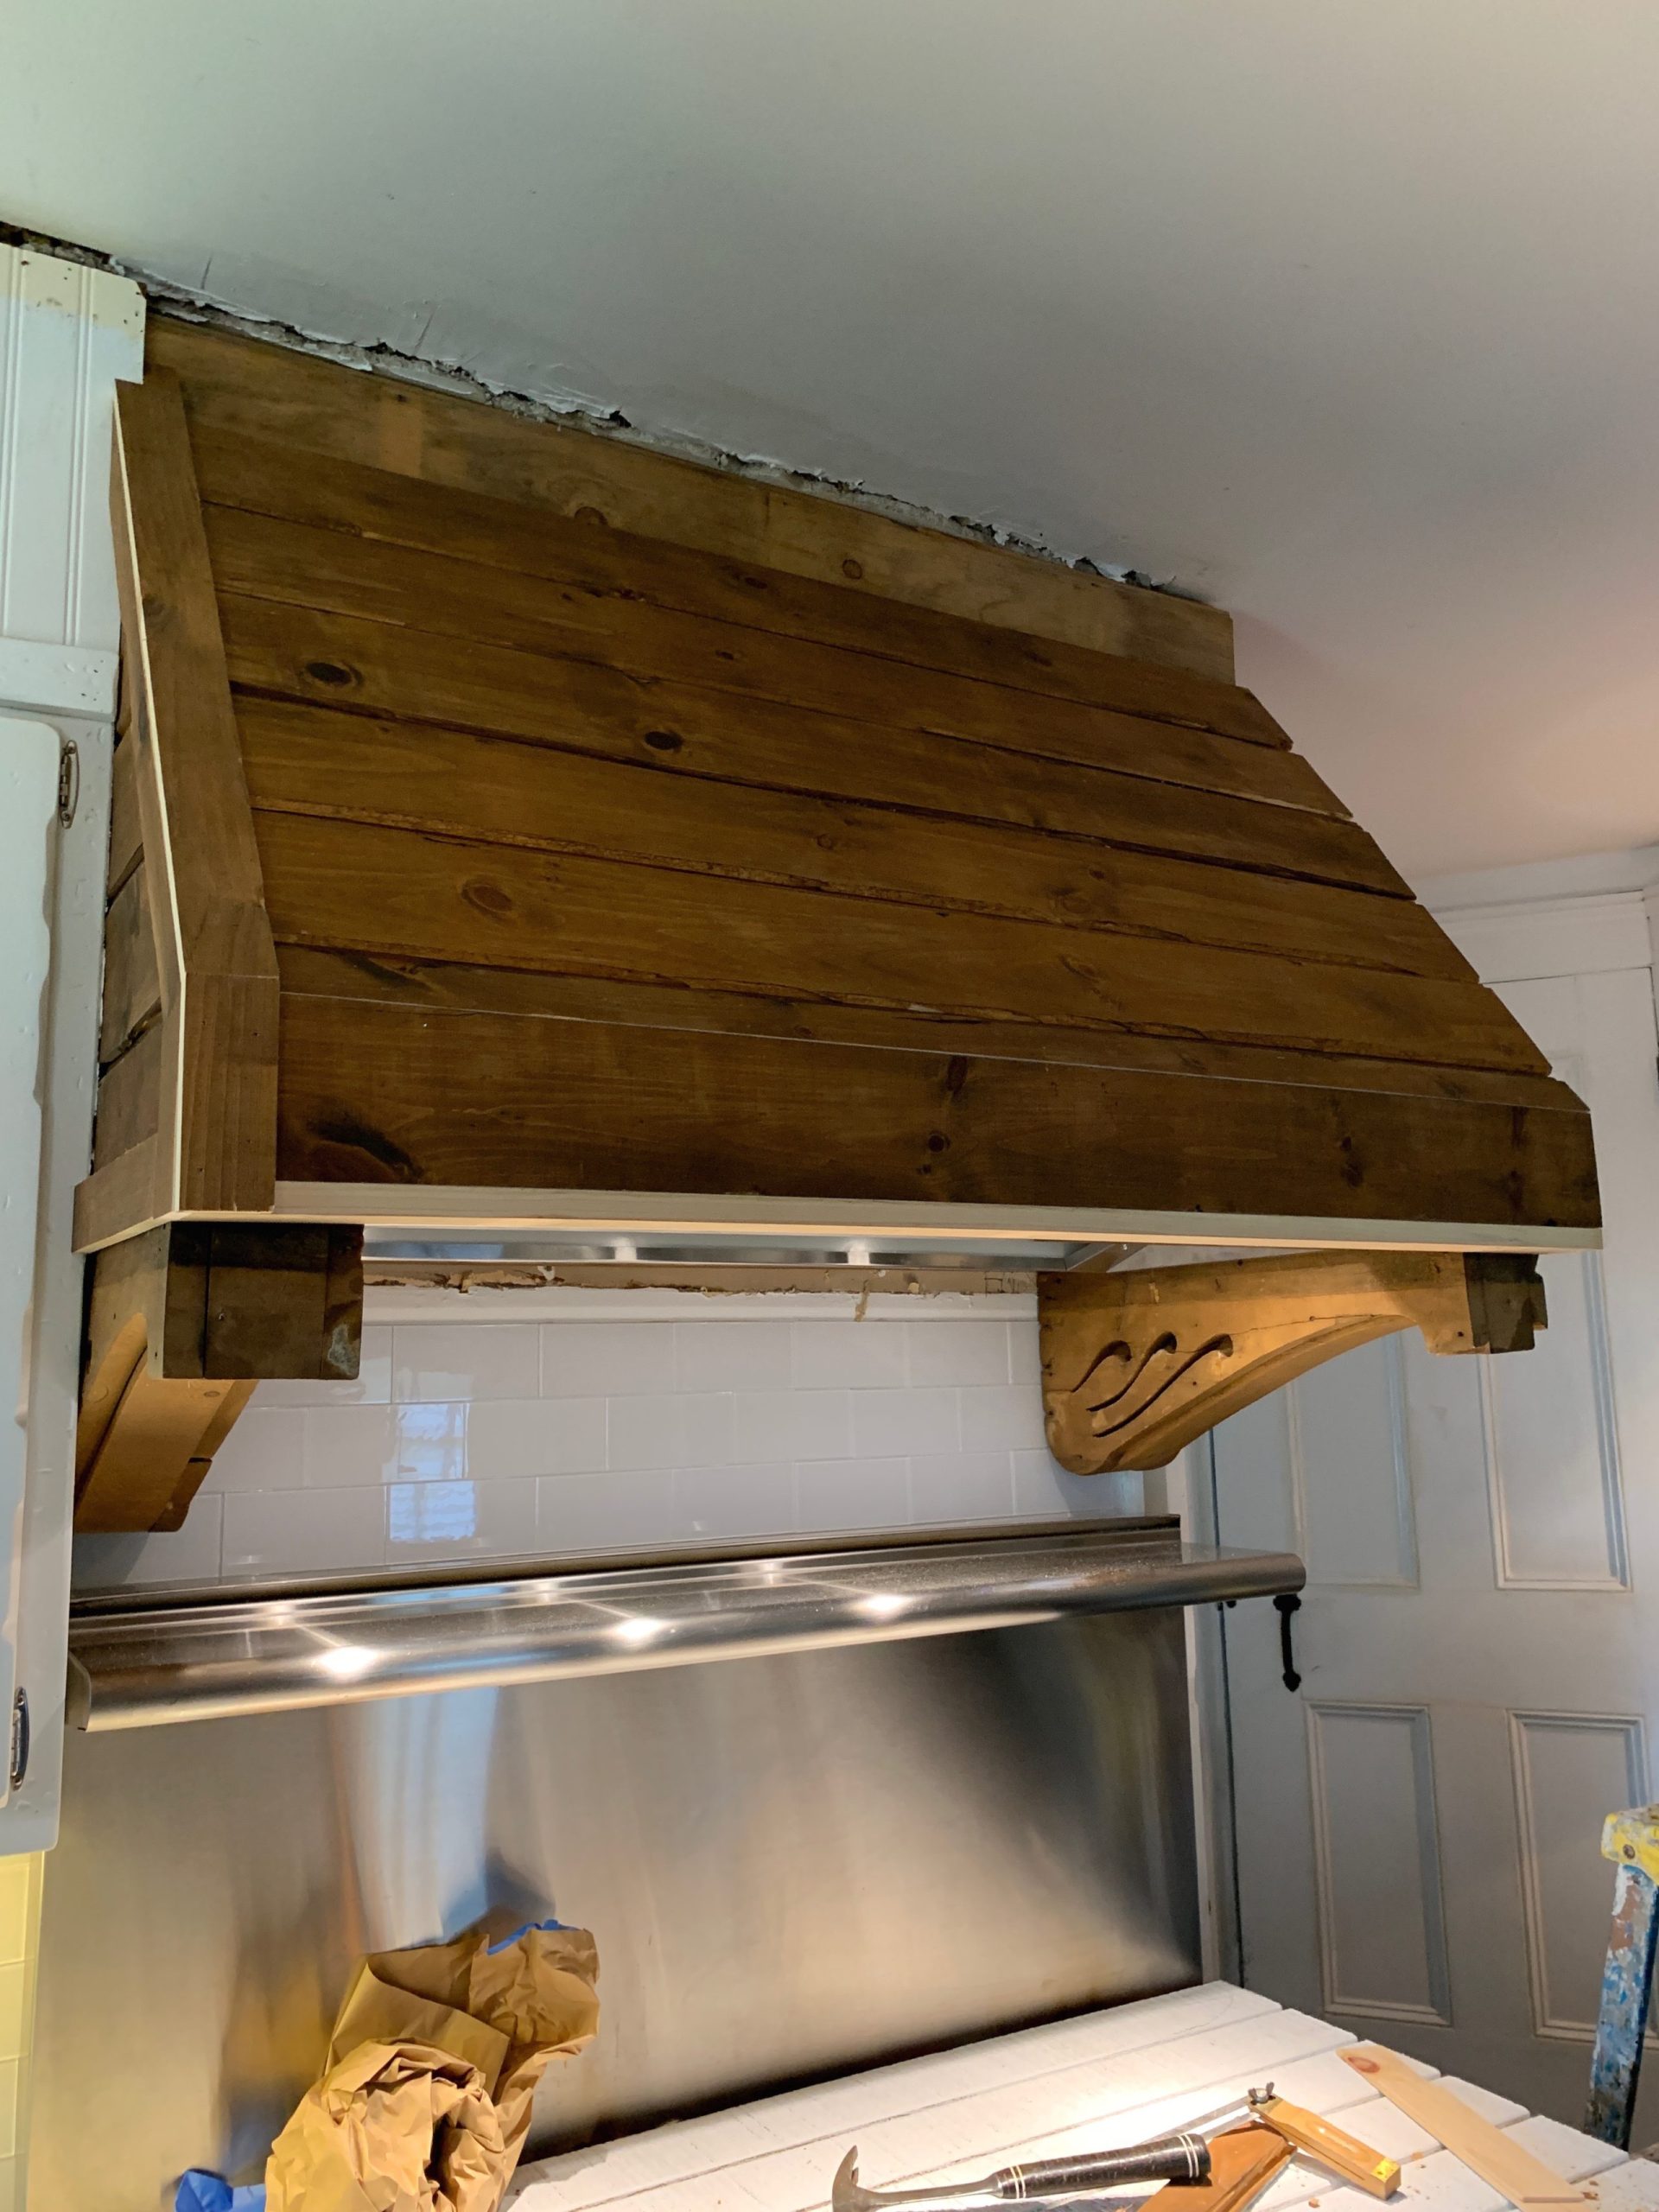
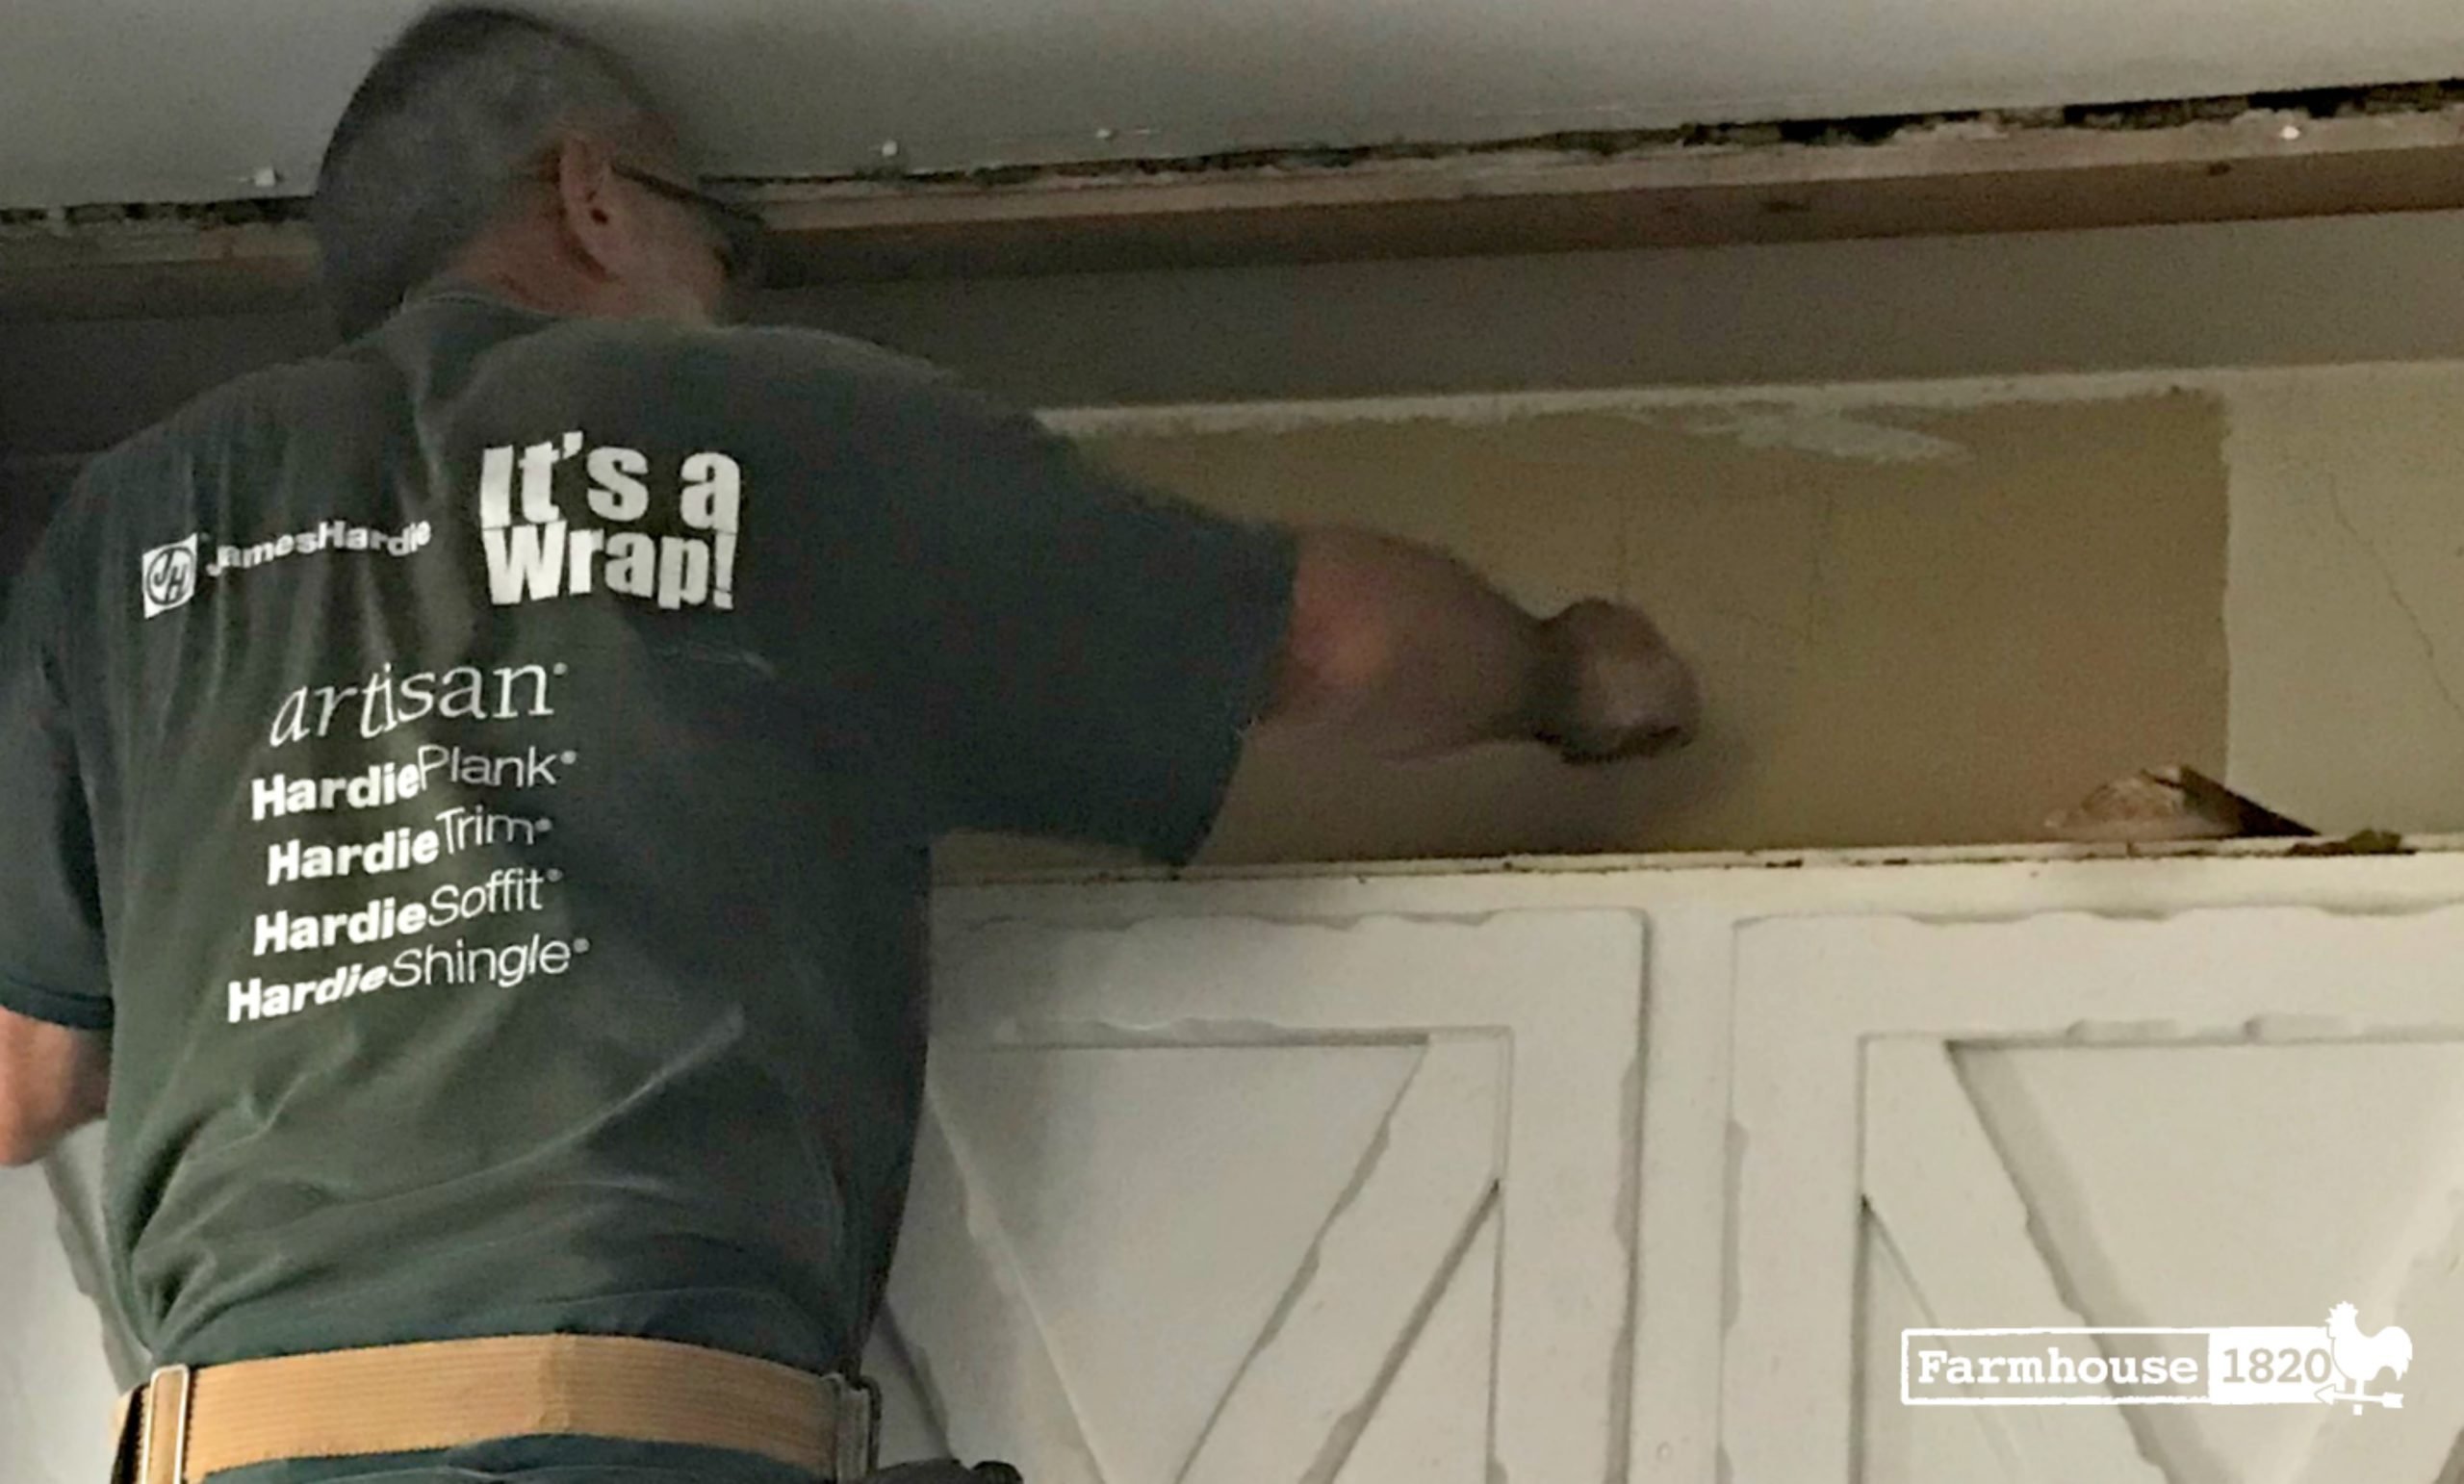
The frame first, natch, and then the boards. Piece by piece. Screw in the insert and hook up the exhaust. Attach the trim. All sounds easy. And it was for me because I wasn’t the one building it. A couple hiccups along with way, but nothing that brought me to tears.

I turn on the range hood almost every time I cook. Air quality control. No more opening and closing doors. No more fanning a towel. The smoke and smells get sucked up and pushed outside. Everyone always likes to know projects costs. This custom range hood came in at right around $1000, all in. I saved quite a bit on materials because I already had the wood boards. But still, this just goes to prove that even custom can cost less that off the shelf.
Shop this post:
**this blog post contains an affiliate link.


