**This DIY concrete countertop series is sponsored by QUIKRETE. All opinions and concrete conversation are all my own.

As a DIYer, I’m pretty proud of the fact that I’m able to complete a lot of the projects that we take on with the 1820. Some projects are more difficult than others, natch, but one project that I didn’t have the intention of doing myself at first, was building concrete countertops.
I’ve wanted them for years. Every place, every home I’ve lived, I wished for concrete countertops, so when it came time to start some kitchen renovations here, I went to a local reputable place and got an estimate to have them built and installed. Well, it took only one email for my eyes to pop out of my head. The cost was insanely high and so far out of our budget that I couldn’t even mull the estimate around in my mind. I was so fixated on concrete countertops, that Plan B was my only other option.

Plan B: Build the concrete countertops ourselves.
I met the representatives of QUIKRETE at the DIY Bloggers conference, Haven, that I went to last year, and I am going to attend again this year. I showed them photos of our kitchen and went on and on about my dream of concrete countertops, waving my arms around and all that. They gladly agreed to sponsor this project and gave me oodles of information about the how to.
To say the least, to get this project going was intimidating. I haven’t done anything remotely close building anything with concrete, so I begged my handyman, John, to help me out. I devoured several how to videos on youtube and online and we got to work. Demo was the easy part, and saying goodbye to the old countertops only took a few minutes.

First, we built a brace for the sink that will be going in, which is around 125 pounds. We checked for levelness, and added a shim here and a shim there to level perfectly. Next, we cut 1/2 inch plywood to size and attached it to the counters with wood screws.

There are several different edging forms to choose from, and I chose a square edge simply because it is a classic edge. Since we were building the concrete countertops in place, there is an edge that will stay in place and that edging going along the back of the countertops and around the sink. To get the edge to curve around the sink, we cut slits every 1/2 inch to get the edging make the curves, and secured with screws every inch or so. The front edging also was secured with screws.
To reinforce the concrete and to help distribute the weight and keep the concrete from cracking, fiber mesh needs to be installed. Rebar can also be used, but I went with this system because it looked and did prove easier to use. And too, the reviews I read and most of the videos I watched highly recommended this system


To attach, pop the mesh into the first row of clips. Screw the row of clips down along with inside edge, of the edge. Pull the mesh back and then pop in to the rest of the clips, clipping every 5-6 inches. Secure each clip down with a screw.

Next step is to pour the concrete. Following the directions on the package for the mix / water ratio, we mixed and poured. Mixed and poured. We spread the concrete with a spreader, making sure it was evenly distributed.
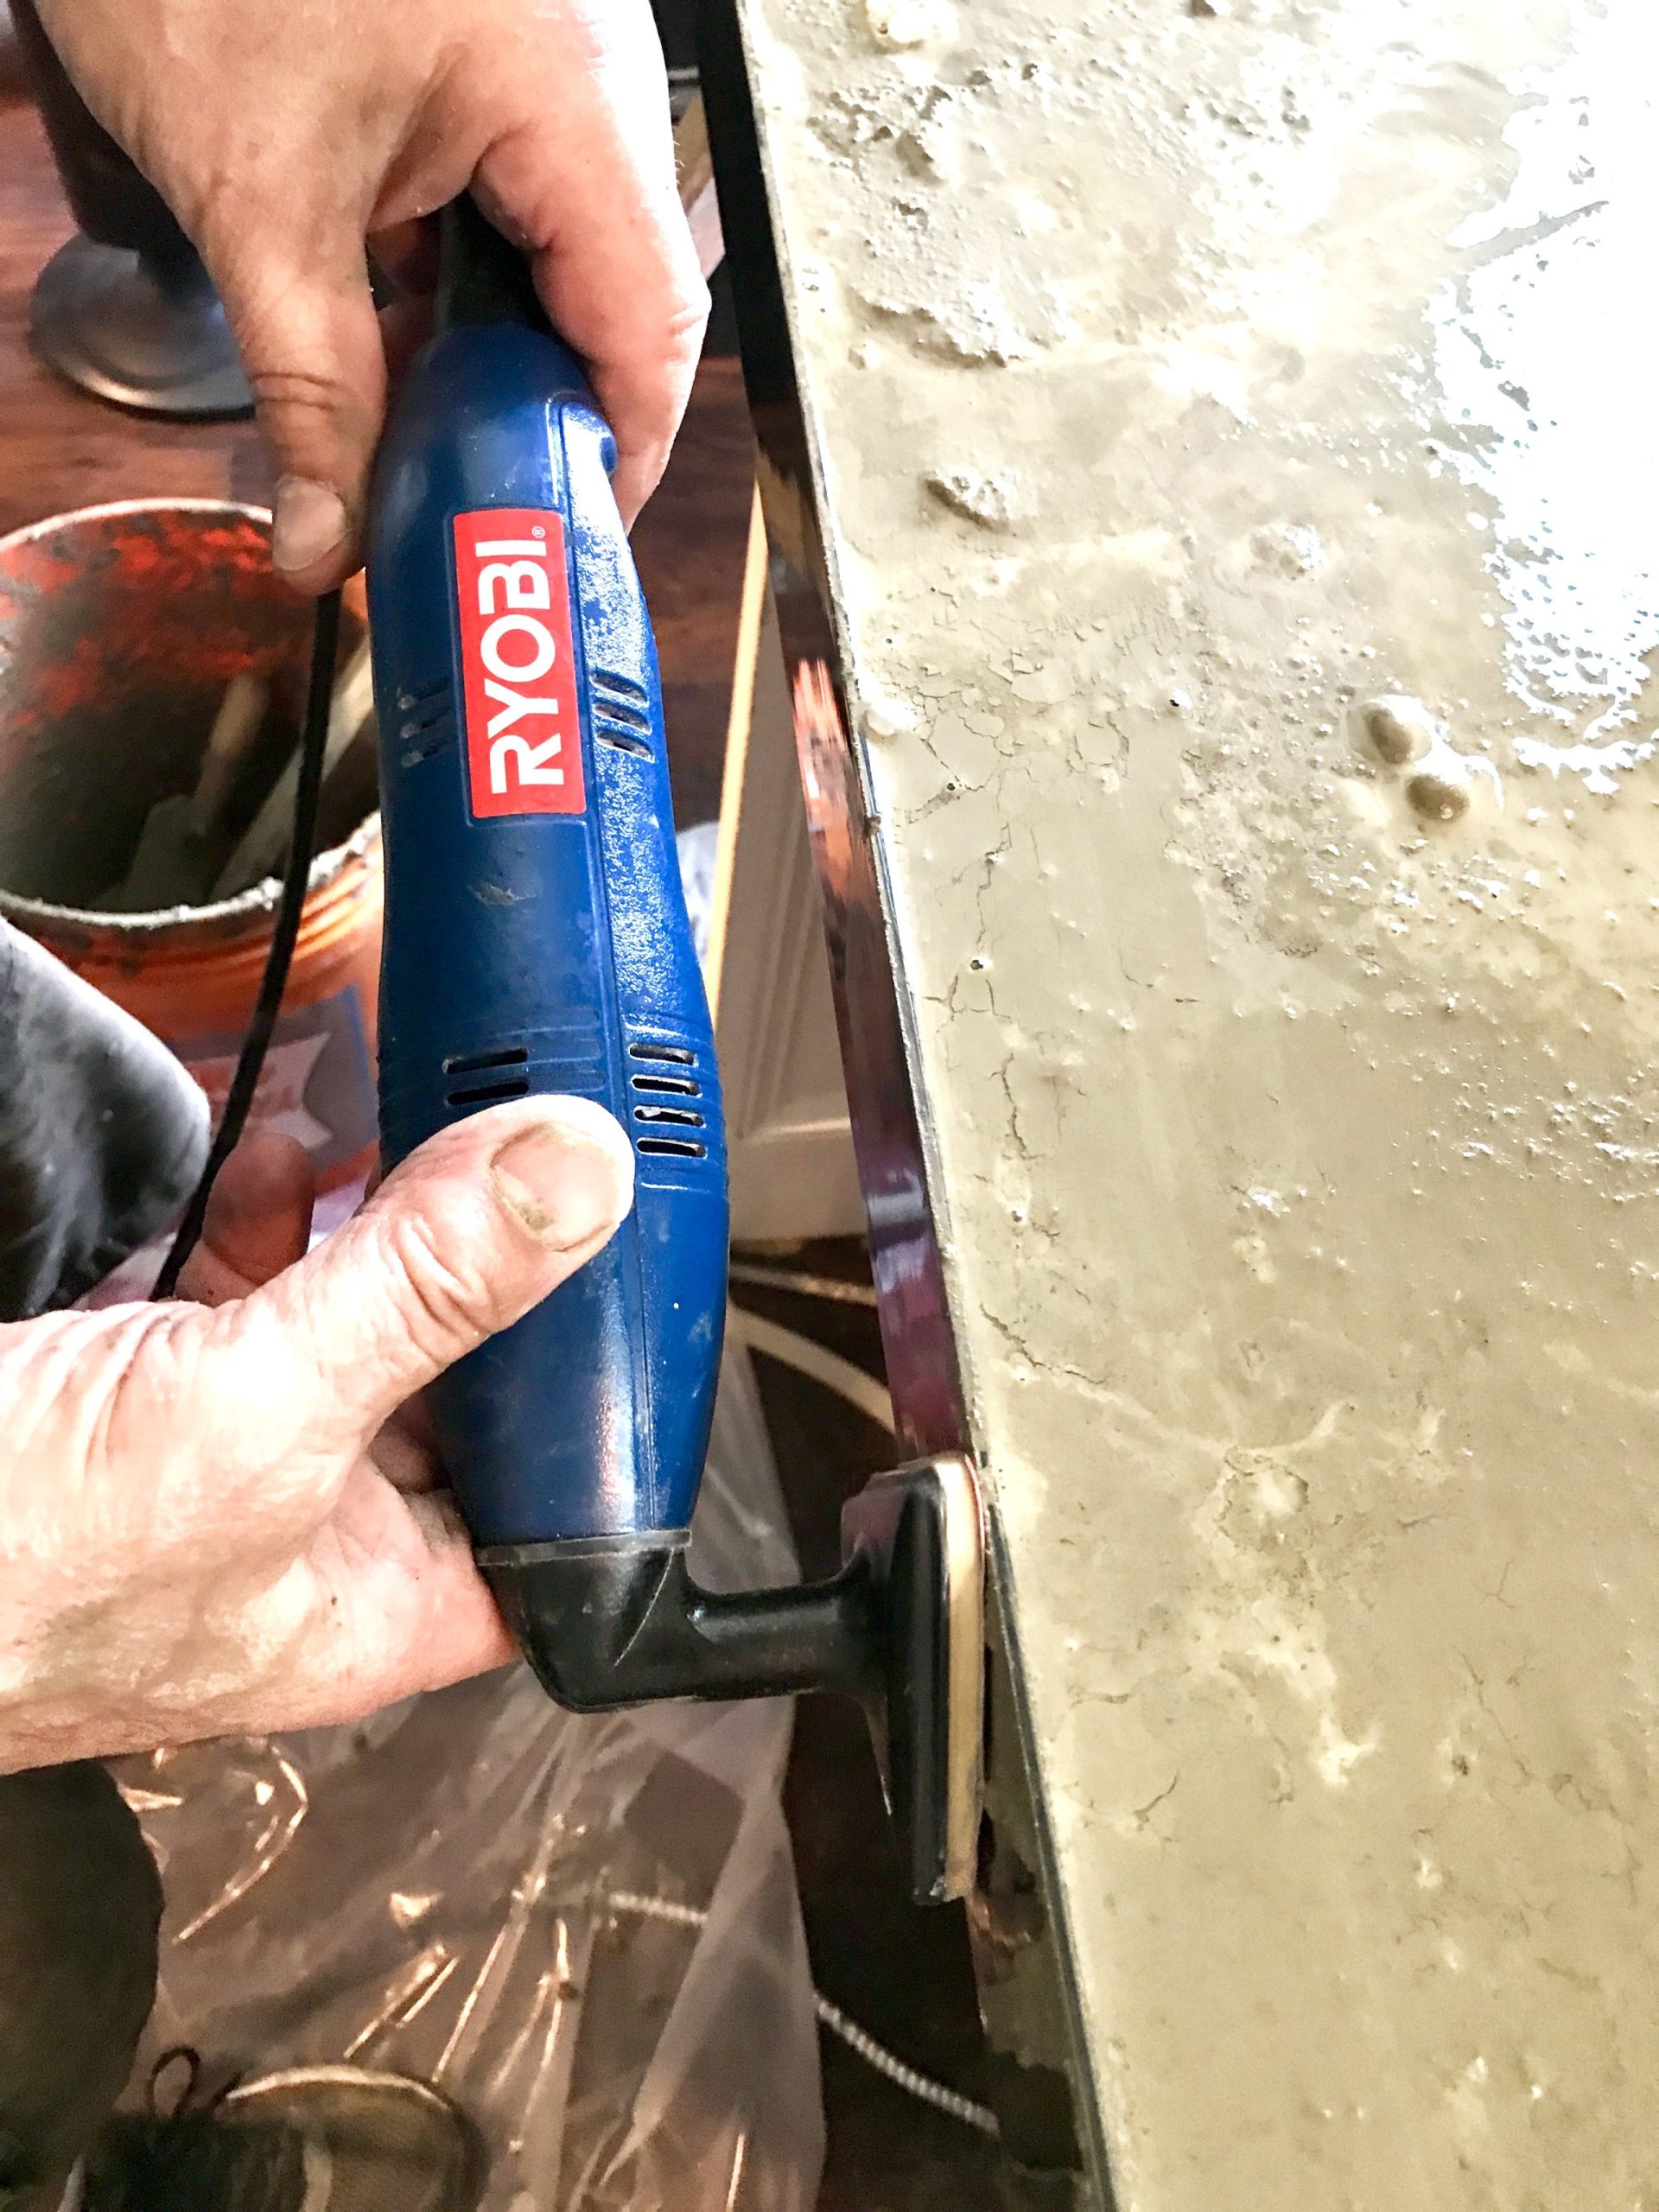
To get the air bubbles out, we slowly ran a power sander along the edge to vibrate out the bubbles.

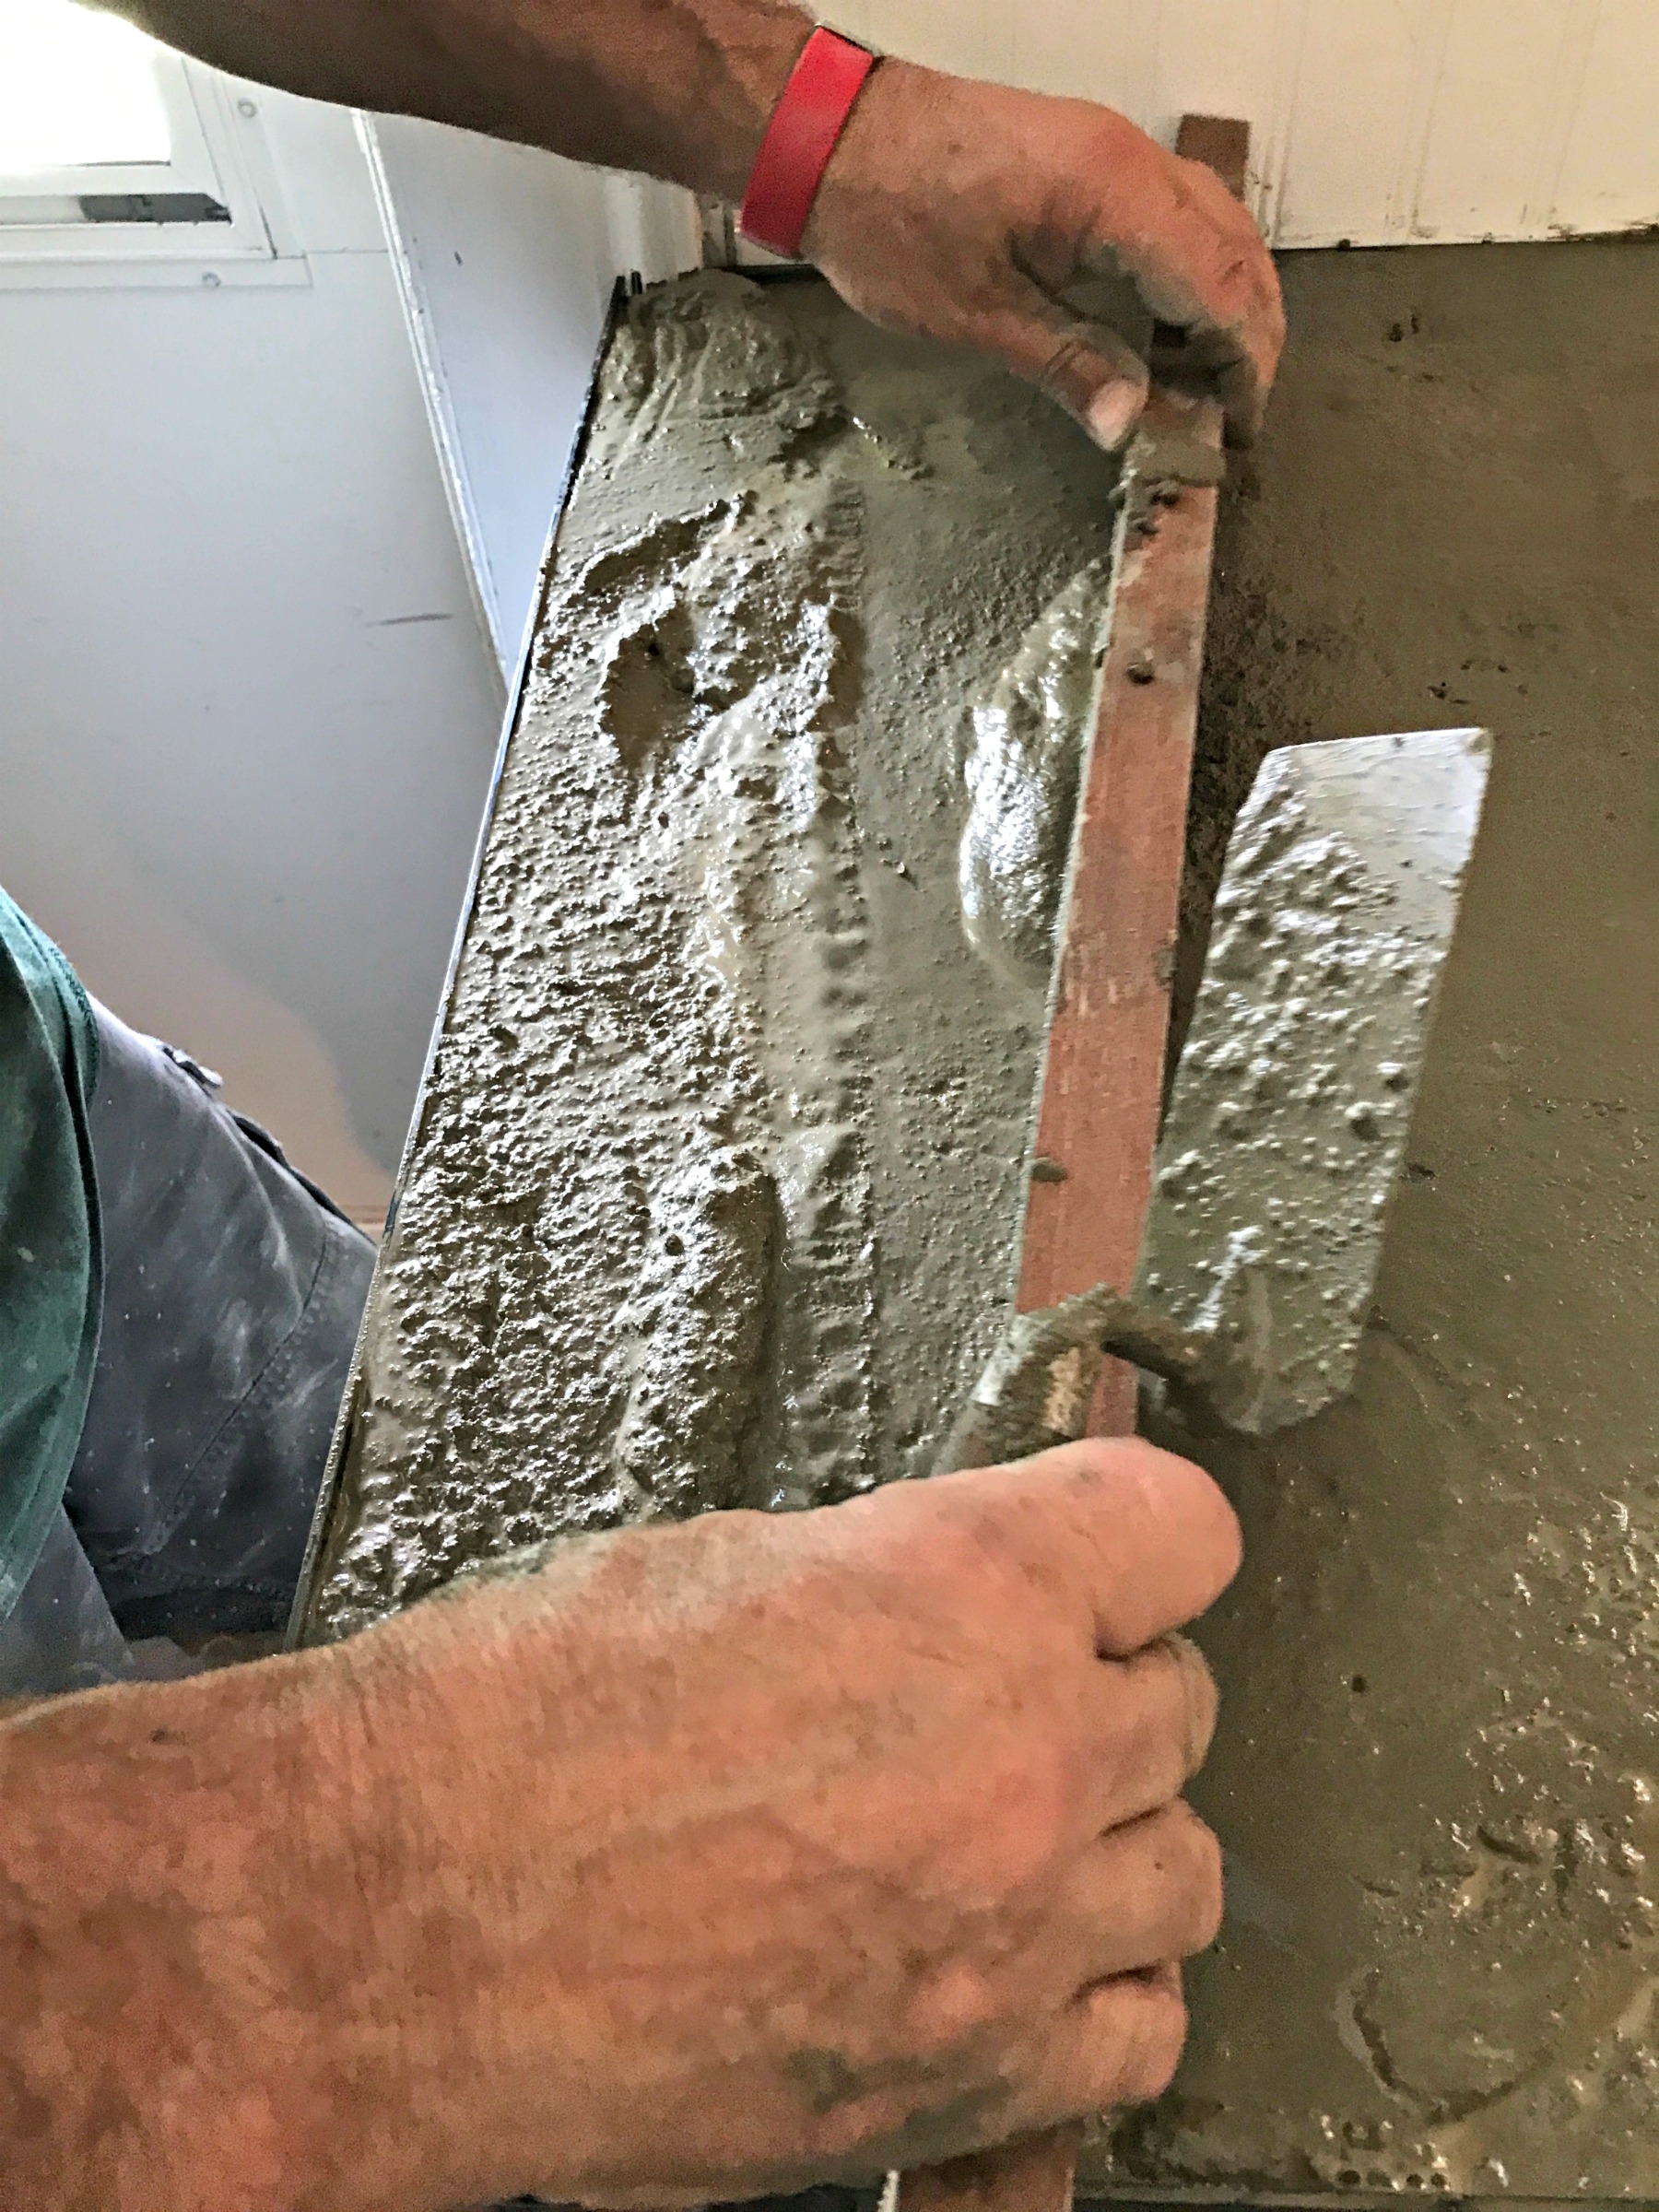
We left the concrete to set up for about 2 hours, then went in with the trowel to smooth out the surface. We did this process 3 times to get the surface just right.
And this is where we are now. It takes about 48 hours for the concrete to set up. The front edge of the countertops will get popped off later today. Since the sink is so heavy, we’re waiting to install until next Wednesday, just to be on the safe side.
Next, I’m going to seal the concrete with a sealer which will smooth out the surface even more and will also provide protection. I’ll share that process with you in Part Two.
Stay tuned!


