
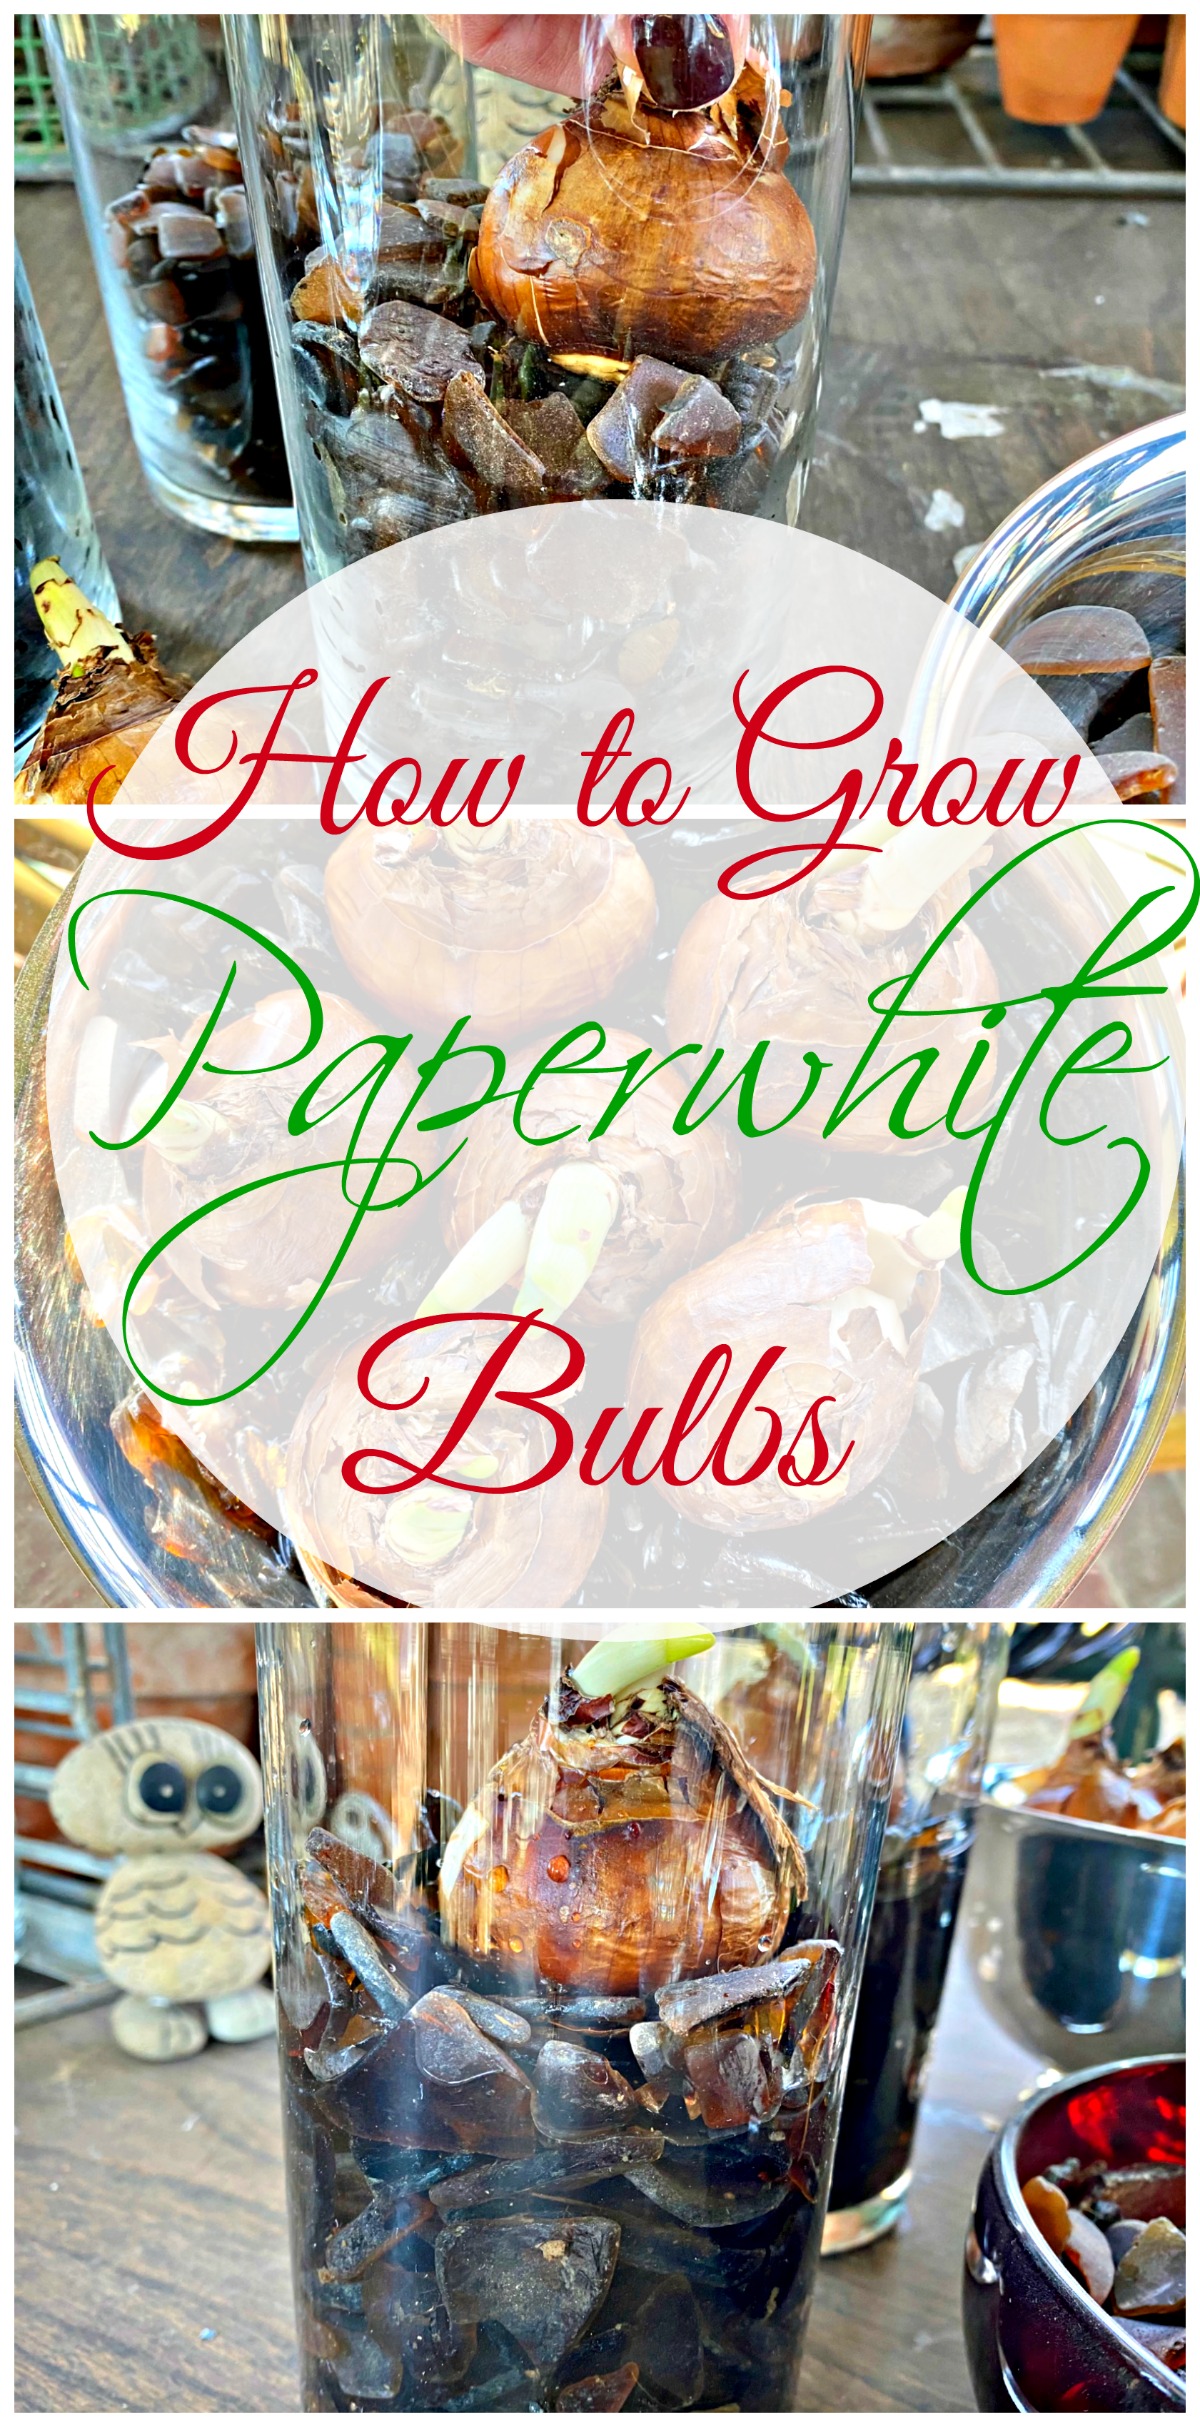
Forcing paperwhite bulbs indoors and growing is easy. Here’s how to force bulbs and grow narcissus indoors to enjoy for the holidays.

I’ve always been one of those that bought paperwhites at the grocery store, put them in a “new” container, and tried to pass them off as my own doing. Nothing wrong with that; total time saver, and last minute I-totally-need-a-gift-for-my-friend-type-thing. I’m all in for “semi-homemade,” but this year, I wanted to try my hand at forcing paperwhite bulbs and growing them indoors, in my own containers.

Forcing Paperwhite Bulbs
Paperwhites, or, if you want to get all science on me, narcissus, are always a big hit around the holidays. I’m not sure why they’re associated with the November/December time of year, but in all truths, you can force these bulbs well into January and February. For me, and the purpose of this how-to, let’s talk about how to plant paperwhite bulbs now.
Although this is my first time forcing these gorgeous blooms from bulbs, the process could not be easier, and the end result will not only be pretty, but smell amazing as well.
Here Is The Supply List
Let me just be straight – if you want to enjoy gorgeous narcissus blooms right around Christmas, or even a week or two before, then you need to plant the bulbs now.
I’m being honest.
Once the bulbs are planted, they take anywhere from 4 weeks to 6 weeks to bloom. The tighter the bulb, the longer the bloom will take. Here, the bulbs have started to germinate, so it’s a safe guess that these bulbs will be in all their glory in about 4 weeks.
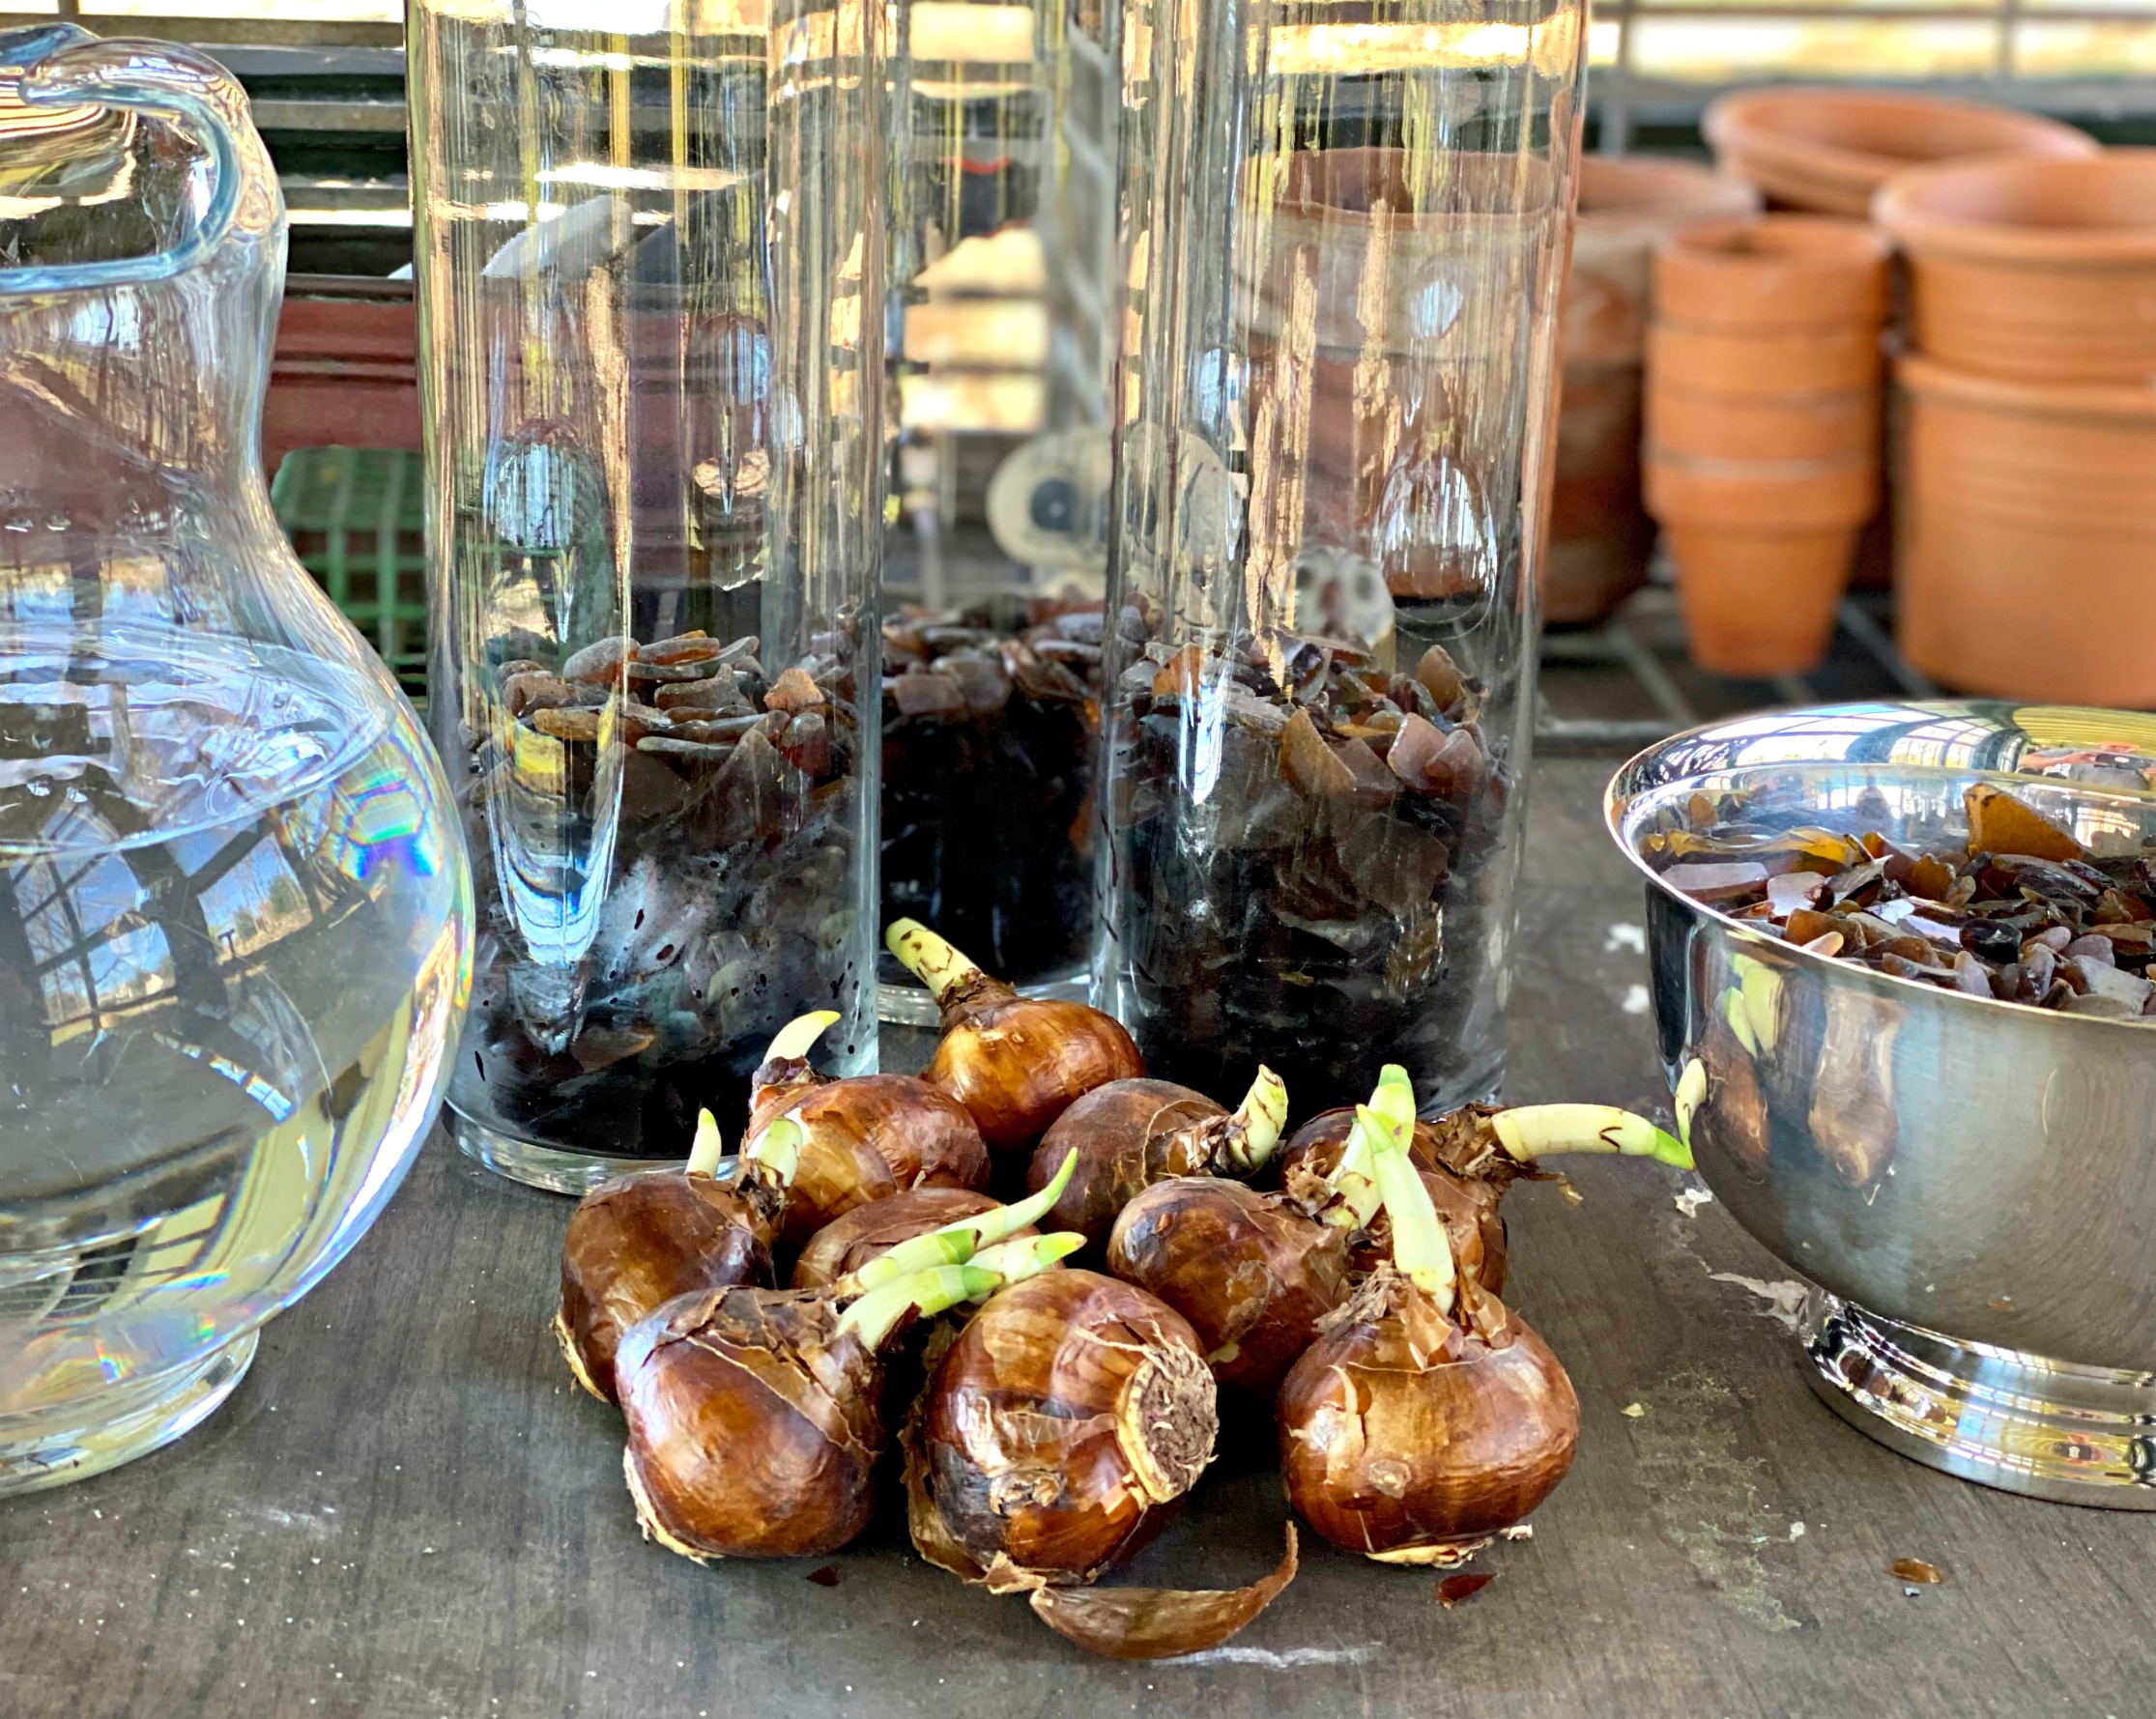
I’ve compiled a list of everything you’ll need to grow paperwhite indoors:
- Narcissus Paperwhite bulbs
- Glass cylinder vase(s)
- Shallow terra cotta bowl
- Decorative rock pebbles
- Glass marbles
How To Force Paperwhite Bulbs And Grow Indoors

Choose a vessel that you want to display these beauties. Here, I’ve chosen a couple of glass cylinder vases, along with a sterling silver bowl, and a garnet red glass bowl, too.
For the soil/filler, I’m using brown sea glass that I have collected over the years. For those of you that are new around here, I’m an avid collector of sea glass, never leaving a single piece behind, no matter what the color. However if you don’t collect sea glass, mulch, glass marbles, and rock pebbles work just as beautifully.
To start with the glass cylinder vases, fill them with the pebbles (to keep things easy) about a quarter of the way up the container. Place the bulbs, pointy side up, into the pebbles. Depending on the width of the vase, nestle one or two bulbs within the glass or pebbles, about a quarter of the way up the bulb.
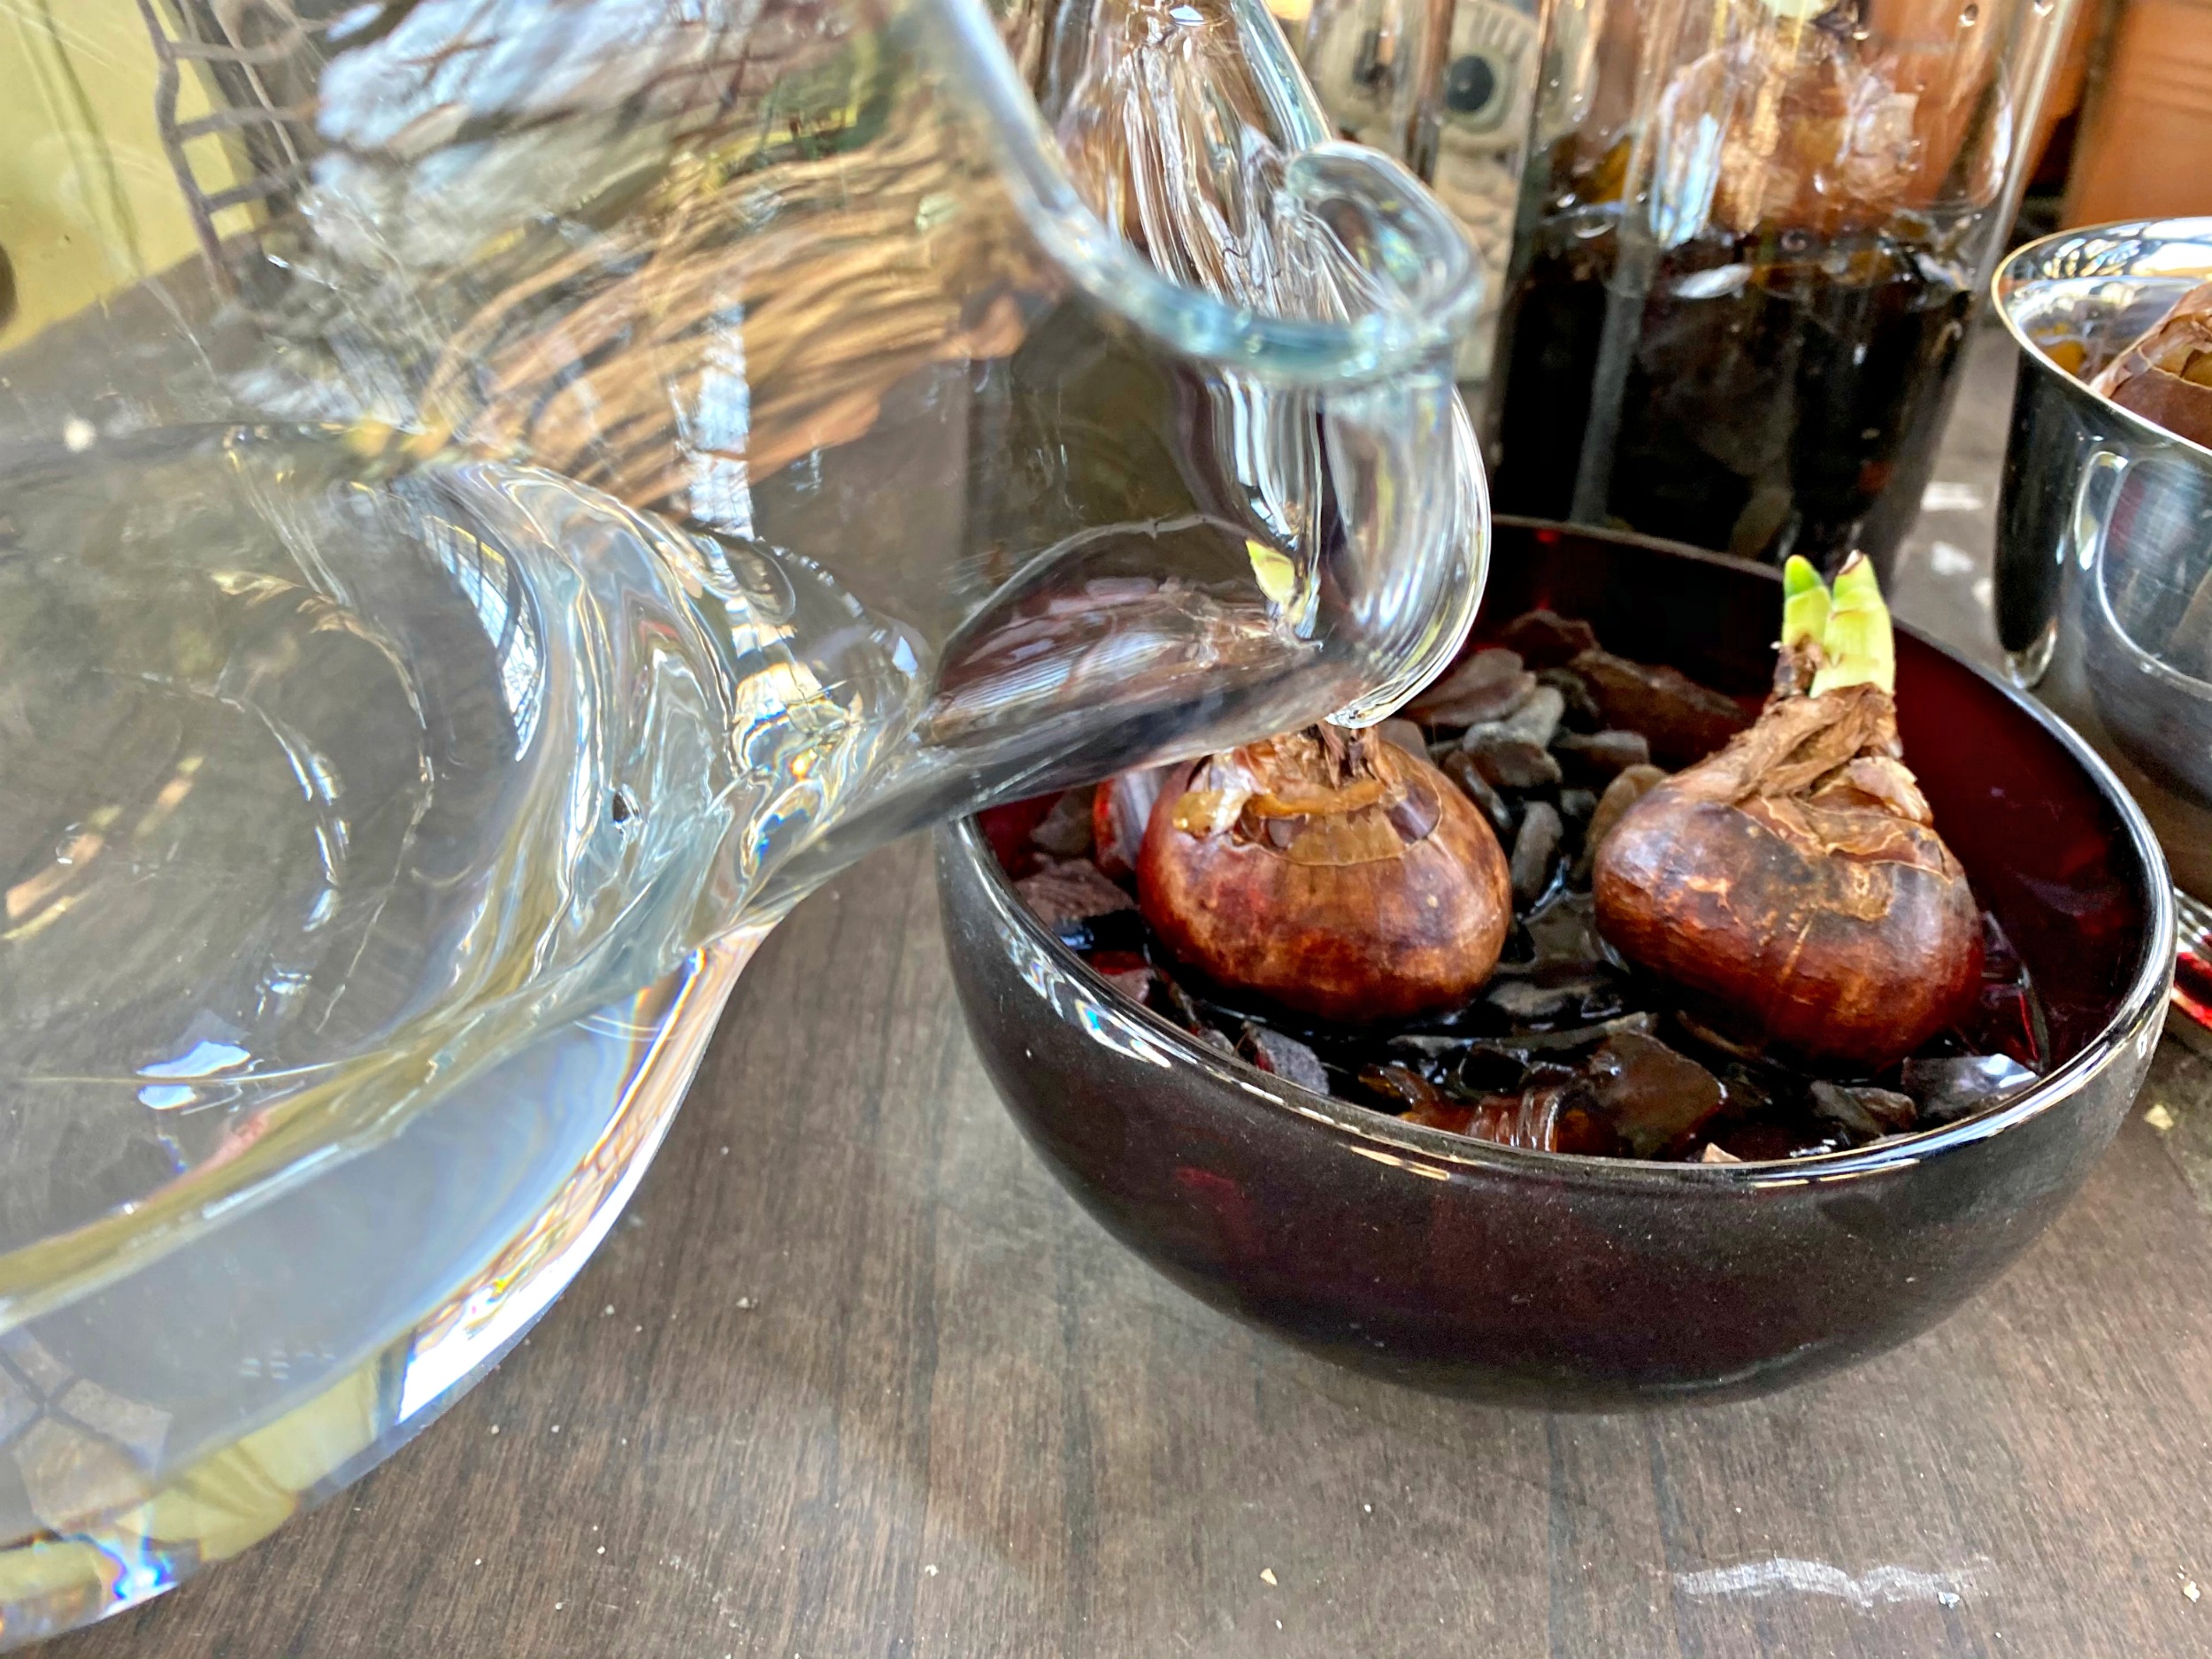
Fill the vessel with water, keeping the water just touching the root portion of the bulb.
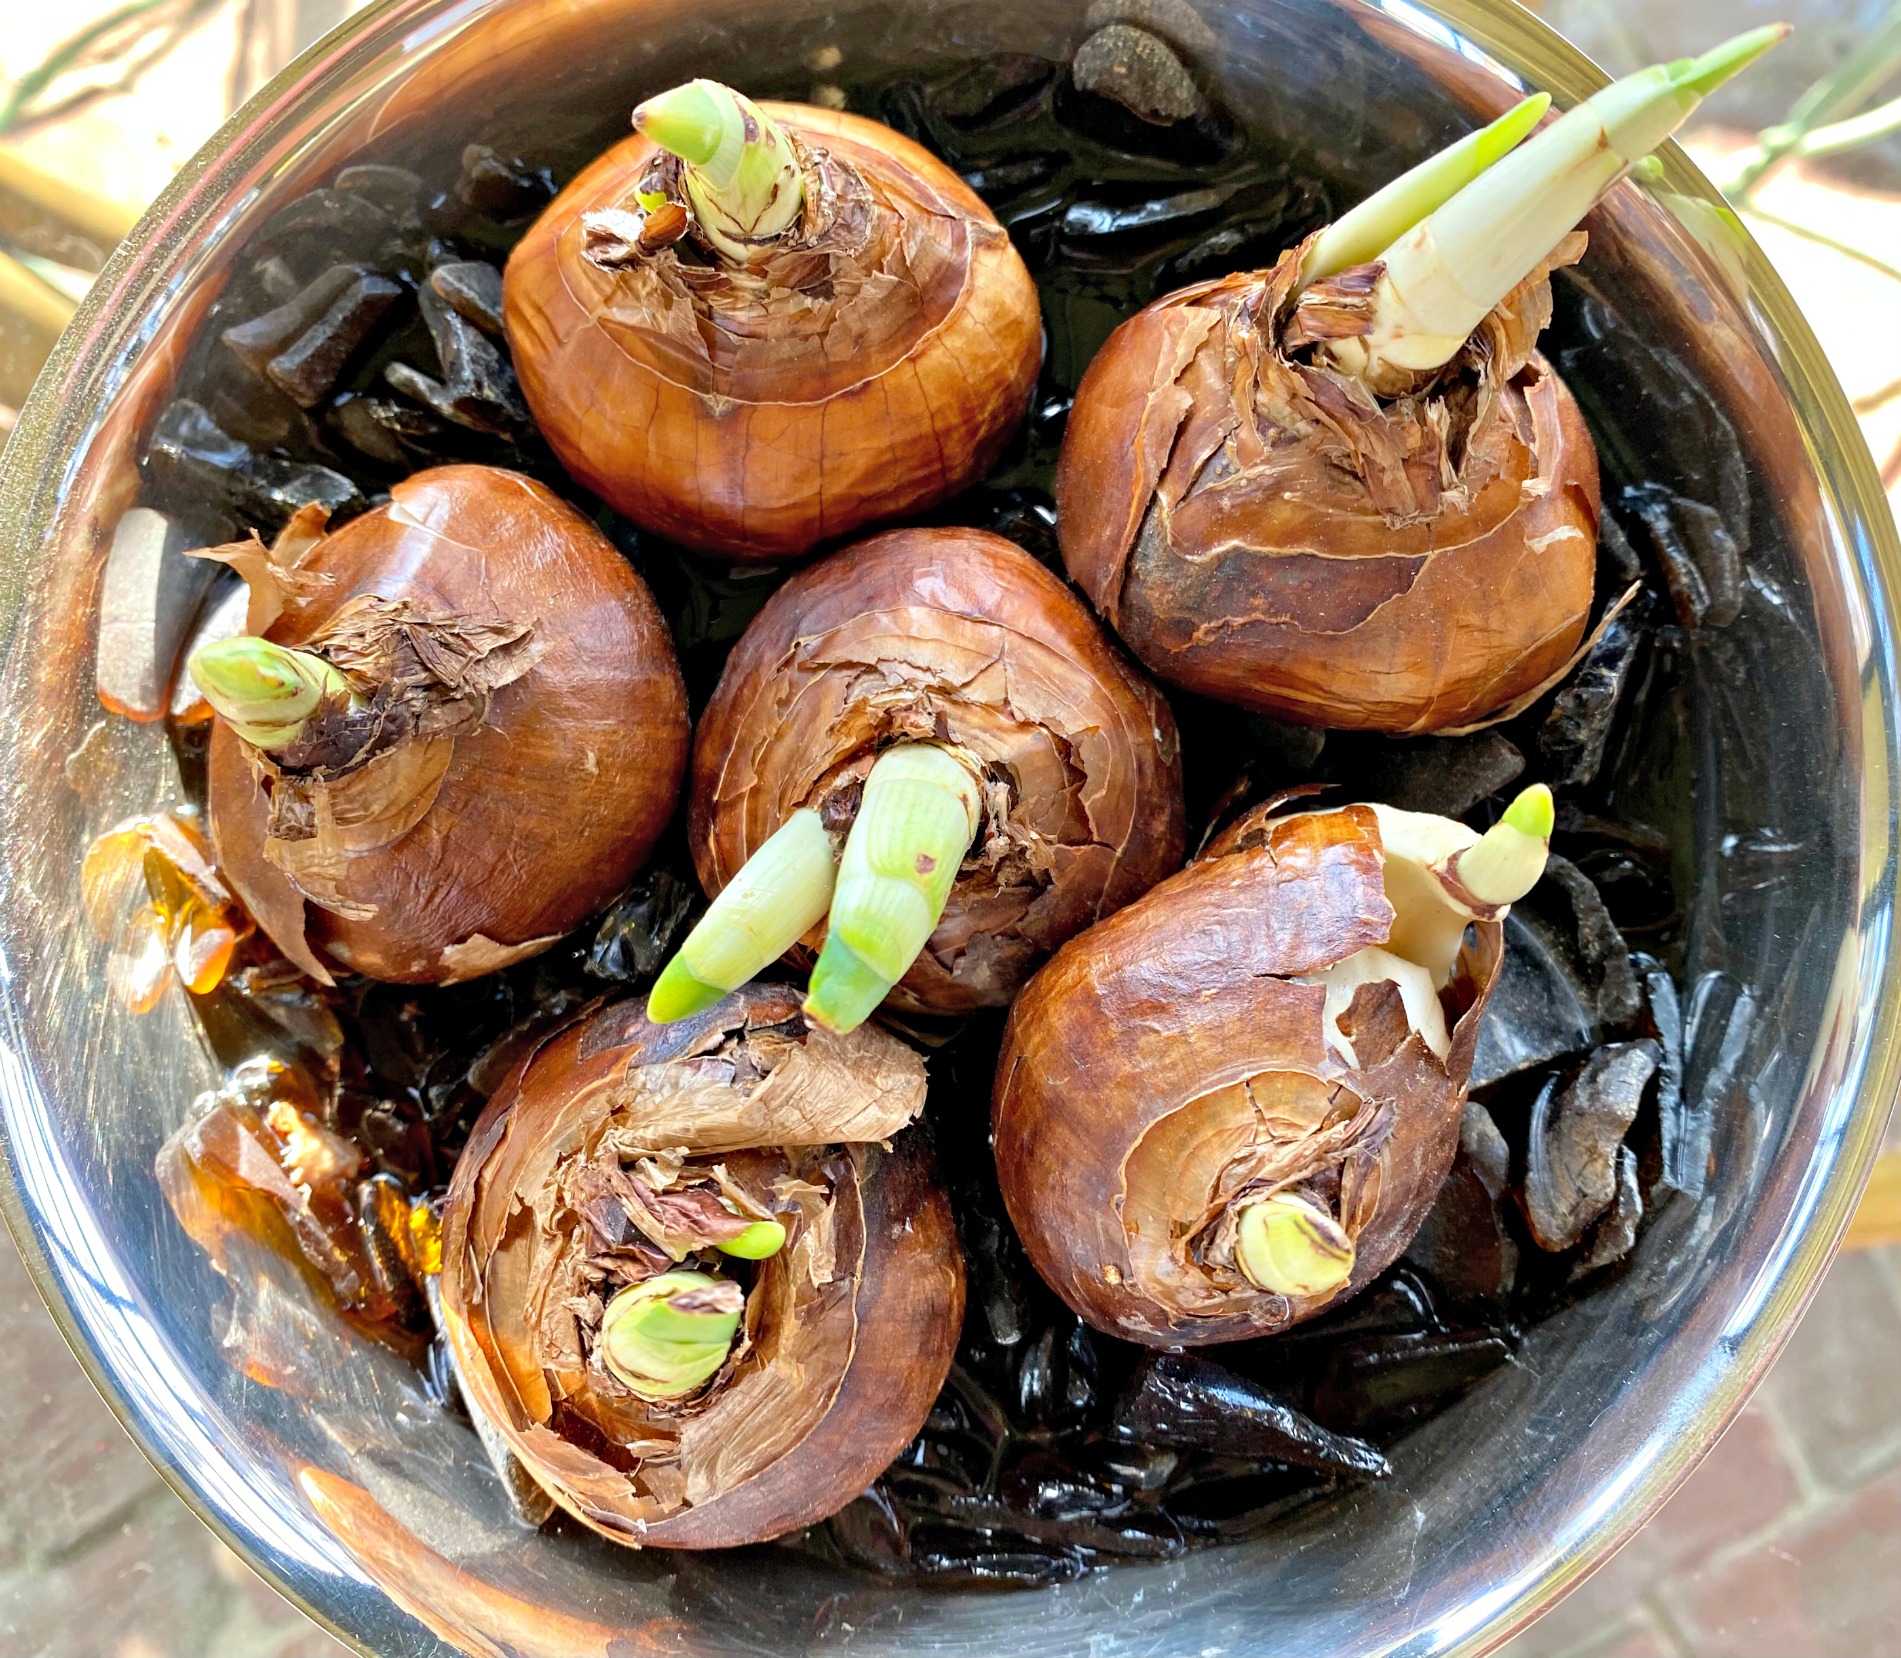
For a silver plated bowl like I have here, place 6 bulbs around the bowl, in a circular pattern. No need to worry if the bulbs are touching each other, because if they are, that’s totally fine. Another tip I want to share if planing bulbs in a bowl, is to secure a few sticks to the plants to use as support when they grow. Paperwhites are tall, lengthy plants, and they’ll need some sort of support.

The name of the game here is to not drowned the bulbs, but rather give them as much water as they require, keeping the bulbs hydrated, Keep an eye and if the water isn’t touching the root system, then add a little more. Once all are planted, place in a sunny spot and watch them grow.
And here you go – your paperwhites are on their way to beautiful blooming success. You can try to make the process harder, but why would you. I’ve done all the research for you.
Thinking ahead and want to force bulbs in the doldrums of winter? Here’s another great way to force narcissus bulbs to bring in that coveted spring vibe indoors.
And, here is a refresher on planting flower bulbs outside


