
I love to create centerpieces, especially when entertaining outdoors. Here’s how to design a hanging centerpiece that will last all summer.
Way back before we bought the 1820 and came to give it a look, the minute we walked into the back yard, I was sold. I didn’t even need to go inside, though I’m totally glad I did. There’s a wide open space with a grassy hill prefect for rolling down; there’s an area that gets full sun and ideal for my vegetable garden, and then there are two trees that, in our opinion, are perfect. They’re majestic in size, and provide an above average area for shade. I had big plans for under these trees.

And our plans continue to grow and evolve. We built my garden house just beyond those trees to take advantage of their shade, and slowly I have been creating a shade garden with sitting areas and a spot for entertaining. Different spots to provide respite and reprieve and to enjoy a summer breeze for a few. These are my favorite kinds of outdoor areas and when I can share with friends and family, then all the better.

We built a 12-foot long picnic table a few years back, and after clearing loads of brush and debris, the table now sits beneath a sturdy branch, ideal for a centerpiece to hang from. I love the idea of straddling the bench of a picnic table to sit down, and better yet, adding a unexpected elements to dress up the table.

With all of these little sitting and entertaining areas in mind, this summer my goal was to create outdoor spaces that look inviting all season, like walking into a living room and dining room, but outside. I wanted to dress up that picnic table, and create a centerpiece that didn’t take up surface space, complimented its surroundings, and one that will last all summer long.

Knowing that live stems and leaves would turn brown after a week or so, faux was the way to go. Artificial stems have come a long way, especially foliage, and I had lots of greens and textures in mind to create a hanging centerpiece.
Outdoor Entertaining

Before I get down to the nitty-gritty of the how-to, I have to share a crafting tool that is a lifesaver designing wreathes, floral arrangements and pretty much everything where you think a hot glue gun would work. It works a lot like a hot glue gun, but is way more effective, less messy, and is simply easier to use. It’s a hot glue skillet, and in my opinion, it’s the next best thing to sliced bread. It’s perfect for all floral craft projects. Simply plug it in, add glue chips and once they’re melted, start dipping stems. Great for gluing moss, too. And, the glue withstands the elements of weather.

Here is the list of supplies needed for a hanging centerpiece:
- hot glue skillet
- glue chips
- wire wreath form
- fern stems (2)
- eucalyptus garland
- wisteria vine stem
- faux greenery leaves
- small greenery for filler
- moss
- wire cutters
- floral wire
- sticky tack
- hanging garden chain
It’s always fun to do a craft project with a friend, and if you have the afternoon to spend together and create, then all the better. My friend Peter is an accomplished florist and he gave me some great tips in designing this hanging centerpiece. All in, this craft project took us 30 minutes, but we easily could taken longer.
How To Design A Hanging Centerpiece That Will Last All Summer
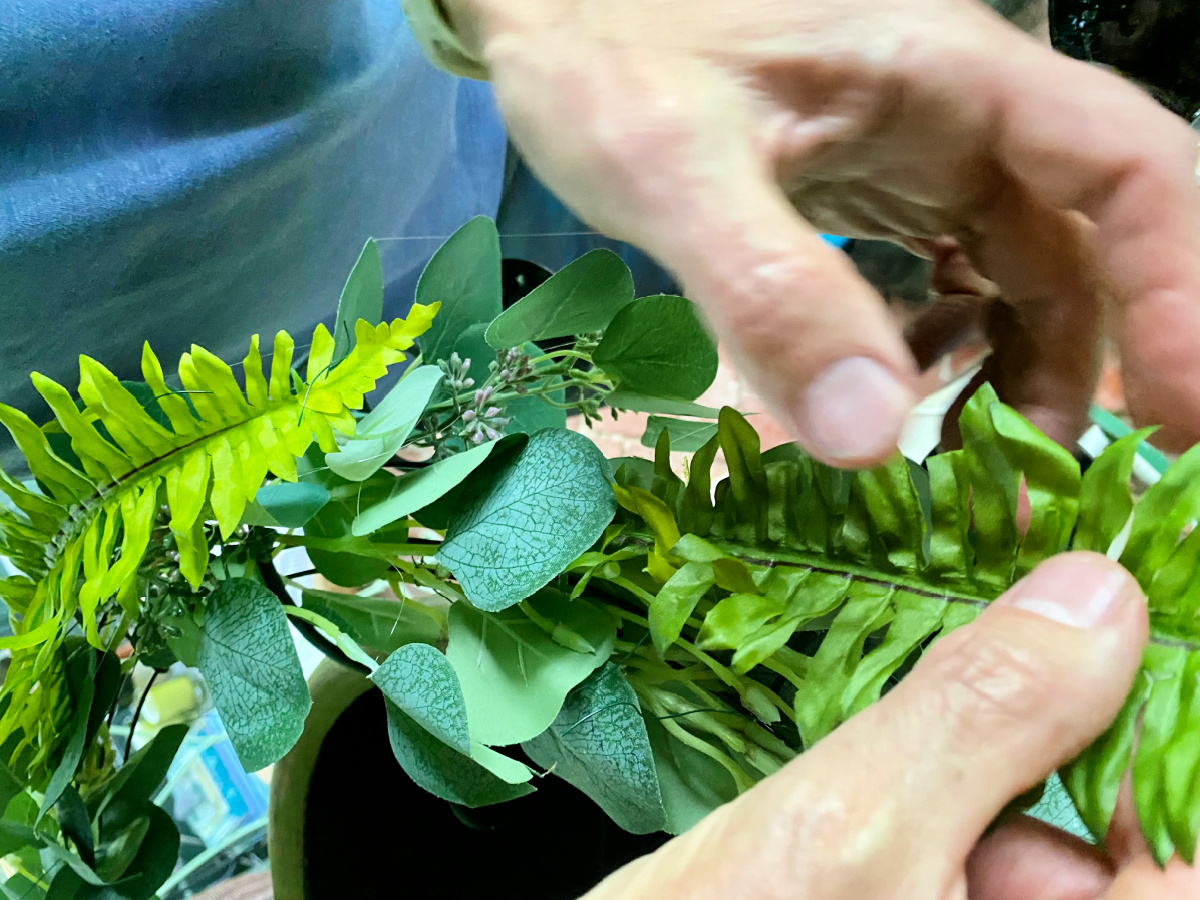
Add glue chips to the hot glue skillet and preheat. Meanwhile, using wire cutters, cut small stems off fern branch and of the greenery.

Attach the eucalyptus garland to the wire wreath form with floral wire.

Dap the end of a fern stem in the hot glue, and tuck in to the eucalyptus. Continue until you have added all the way around the wreath. This will be the bottom of the centerpiece.


Turn form over and add more fern stems.

Glue wisteria stems to drape and hang down from centerpiece.

Fill in with small greenery all the way around.


Dip moss in hot glue( careful with your hands because the glue is H.O.T. ) and place wherever there is exposed wire wreath form.
Fluff the greenery to add volume to the centerpiece. Tuck in candles with sticky tack. I used these LED candles.
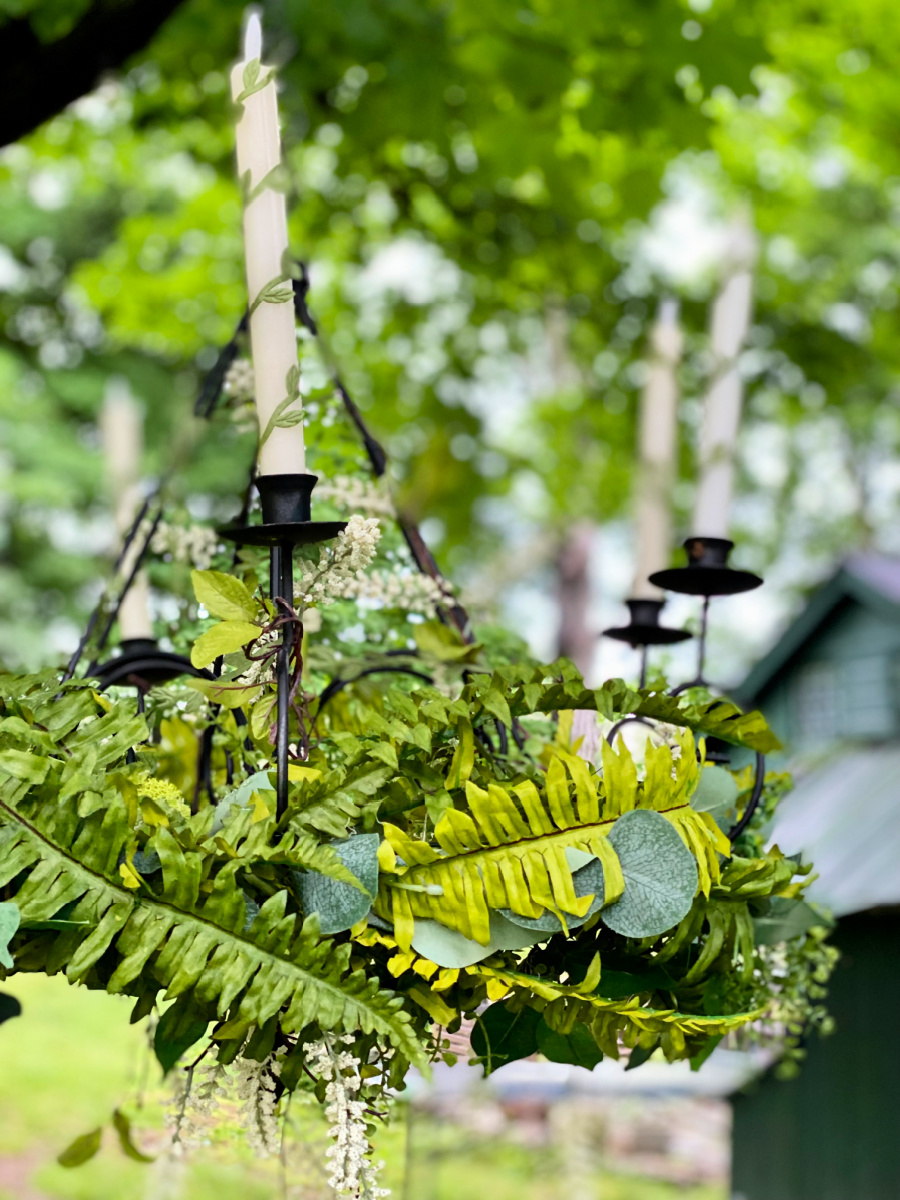
Attach the hanging chain in four places ( I recommend at 2:00, 4:00, 8:00 and 10:00 ) and gather at the center to hang.


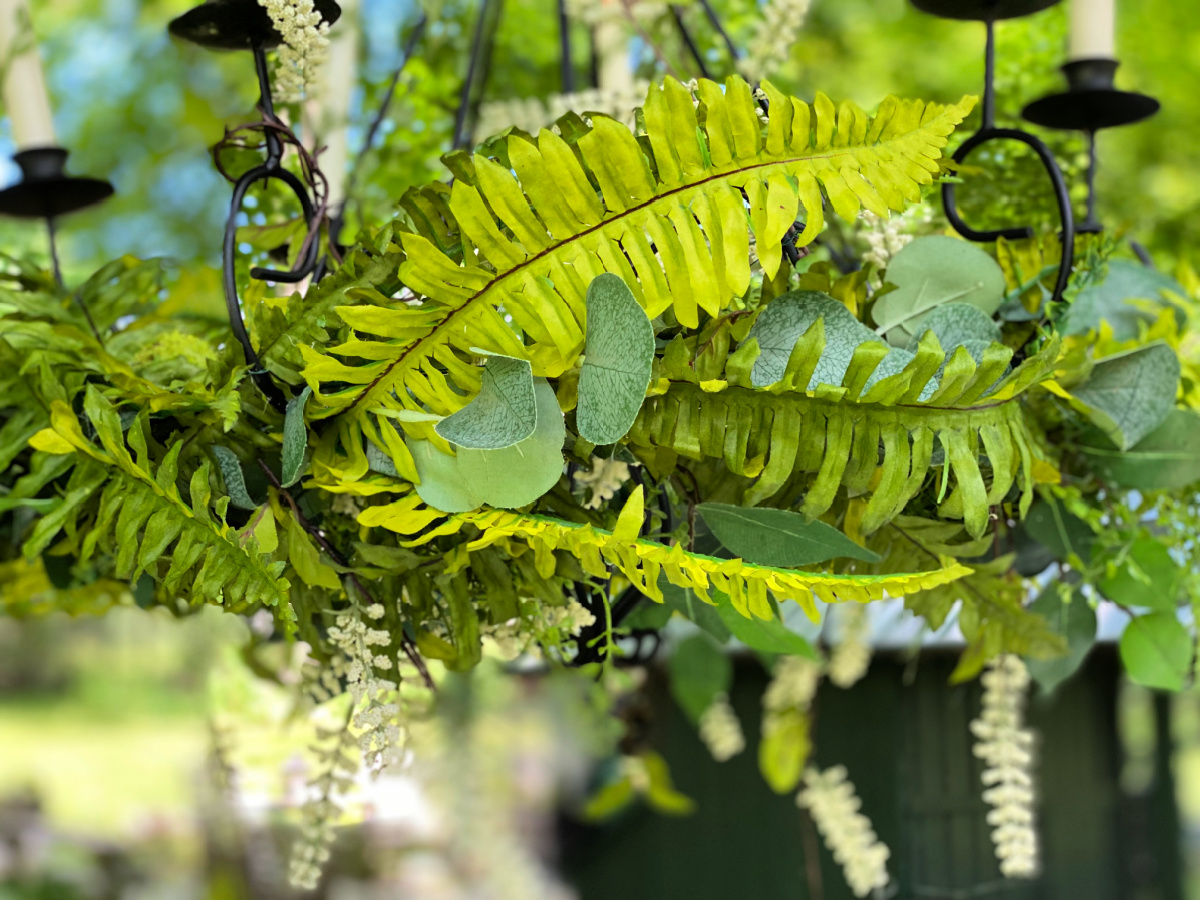
So far, this hanging centerpiece has withstood two big rain storms and a few gusts of wind. It still looks great and is proving that it will last all summer long.
This post contains affiliate links. I do receive a small commission on items that you purchase, at no cost to you. Thank you always for your support!


