
Installing a stair rug runner is easier than you think. Here is the easy tutorial to install a stair runner yourself.
Every year in the wintertime, I find myself in total nesting mode. With cold temps and the garden off duty for a few more weeks, it’s all about inside projects. Whether I’m reorganizing, rearranging, or just plain putzing around, I’m all about the homey feels. It’s funny – when you’re stuck inside, you really notice the wear and tear the floors take over the year. It’s like, I see something and I think to myself, How long has this floor been so tattered? Was I under a rock?
Not entirely under a rock because I do see on a daily basis during all seasons, that our beautiful wide-planked wood floors that we refinished right before we moved into the 1820, just aren’t really so beautiful right now. Nor, are the front stairs just inside the front door. The culprit is this guy…


Our beloved Hudson with his heavy step and big dog claws has managed to scratch every surface of floor around here. With his age (he’s 12) his hind legs buckle every now and then, and he uses those claws to regain his step. Bless him.
And our floors.
Same story with the steps. Although they were painted with a few coats of heavy duty porch paint, it really didn’t stand a chance with the non-spry dog. They looked a little something like this:

Not only were they scratched, but downright impossible to keep clean. It was time for a stair runner install, not just to help out Hudson with going up and down, but for decor and aesthetics as well. I priced out carpets and installations, but I figured since it’s not wall to wall carpet, and a small square footage, then we would go ahead and tackle this project ourselves.
Turns out, installing a stair rug runner was so much easier than I thought.

** As a side note, I had every intention of publishing this post earlier this morning, but I did get a little sidetracked. So, without further ado, here is how to install a rug runner yourself, a thorough tutorial of tips that worked for us, along with lots of photos.

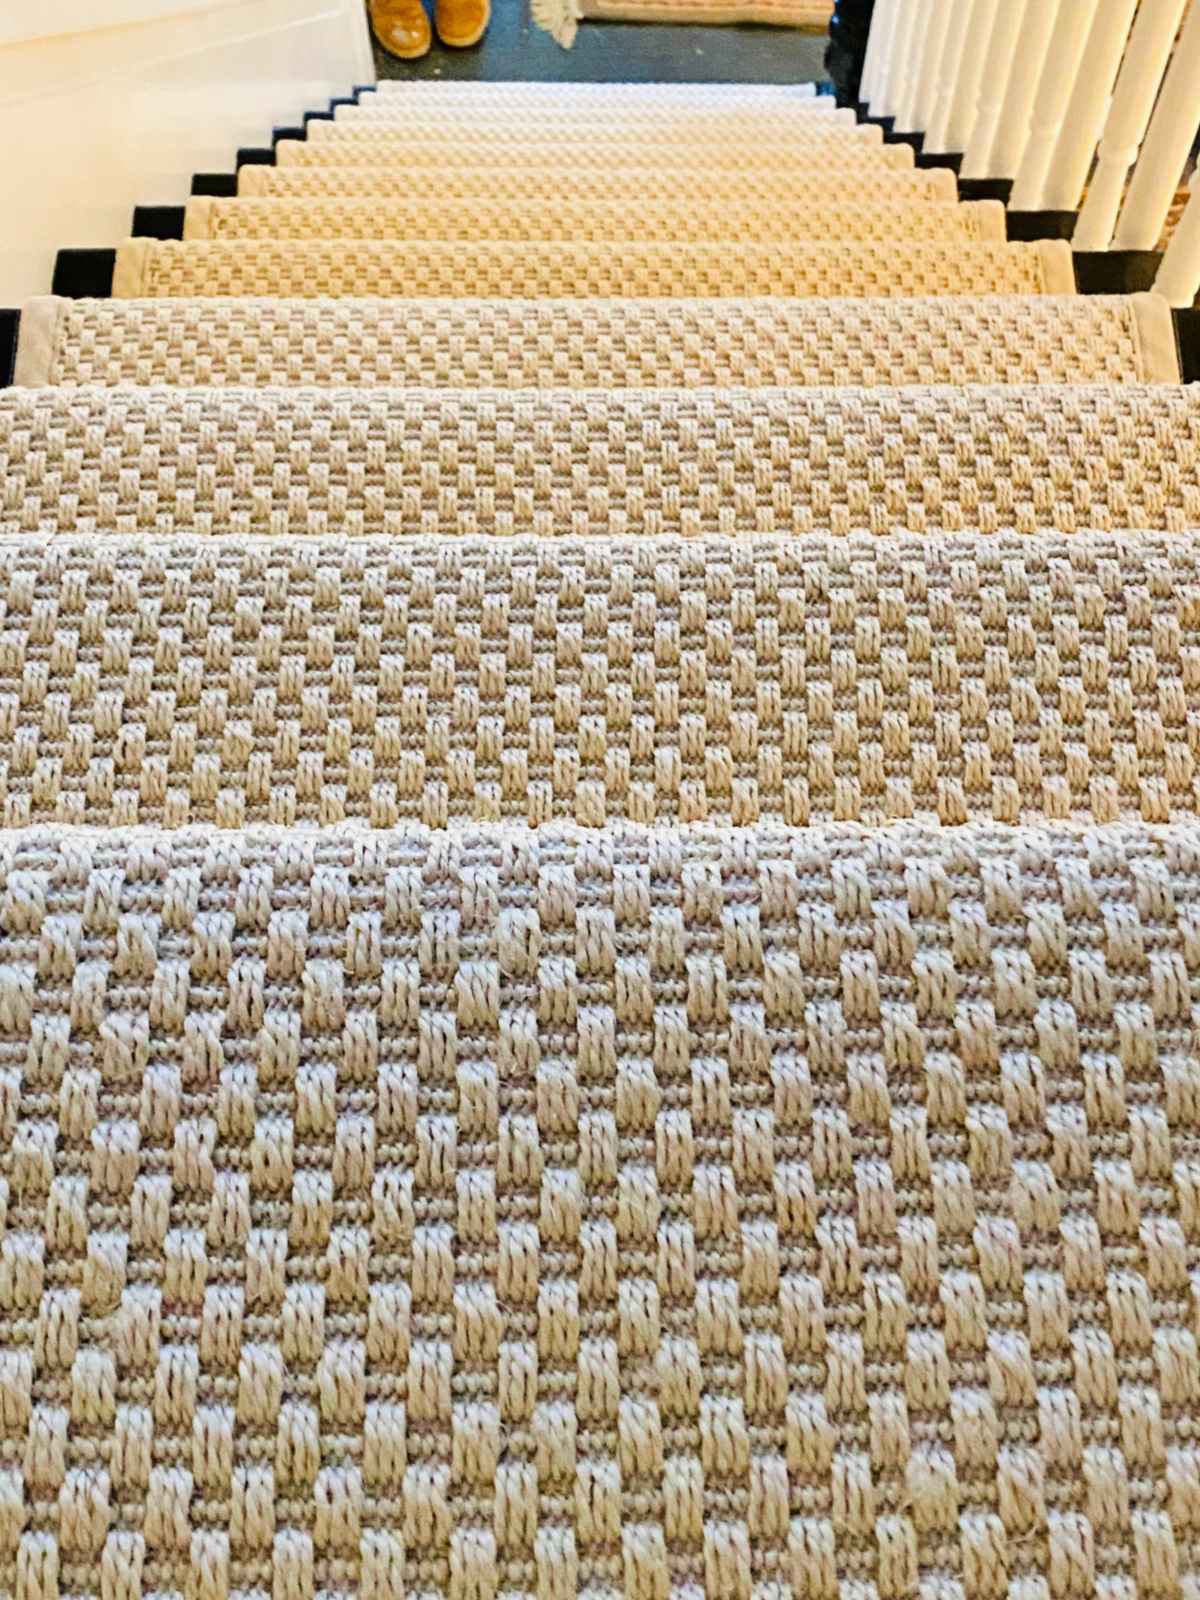
After pouring over rug options, I landed on this one. This rug runner is the exact color and texture that I had in mind. I measured the stair risers and treads and came up with the length I would need, which was two 10-foot rug runners. Here is how to install a stair rug runner.
First, vacuum and thoroughly clean the stairs. Touch up the side edges with paint (if you choose), before installing anything. There was a random hole in one of the top stairs that needed to be filled. Turns out, we needed a long wooden dowel that we filled the hole with, along with filling in around the dowel with wood putty.


After all the holes were filled, I lightly sanded the tread surfaces to smooth out.

As with all carpet / rug installs, a rug pad is needed. Knowing that we only needed the pad for the top of the treads, this premium rug pad proved perfect, measuring 2’x3′. Each step required a 12 inch pad, so I was able to cut each rug pad into thirds. Four rug pads, each cut into three pieces was the perfect measurement. Quick tip: buying rug pads that can be cut to fit, saves on budget and garners zero waste.
How To Install A Stair Rug Runner Yourself

To install the rug pads and runner, a power staple gun is needed. Don’t try to use a manual utility stapler as you just won’t get the staples in tightly enough, they will not stay in the floor and will fall out. This is the power staple gun that we have, that works like a charm. Each pad was installed center on the top of the stair tread.

To ensure the the runner was installed straight down the middle of the stairs, I measured the width of the runner, subtracted that number from the width of the stair treads, then divided in half leaving me with the measurement needed for each side of the runner. From there, I took that measurement and drew a line for Sean to follow, keeping the edge of the rug even with the drawn lines.
When doing my research, I found a great tip to use a gold sharpie to color the tops of the staples so that they will blend in with the rug. Try as we might, it was difficult to hide every staple. This was a valuable tip.

Another tip was to use double-sided carpet seam tape on the stair risers to help keep the runner tight against the stairs. I did cut strips for each riser and this tip certainly made the install even easier.
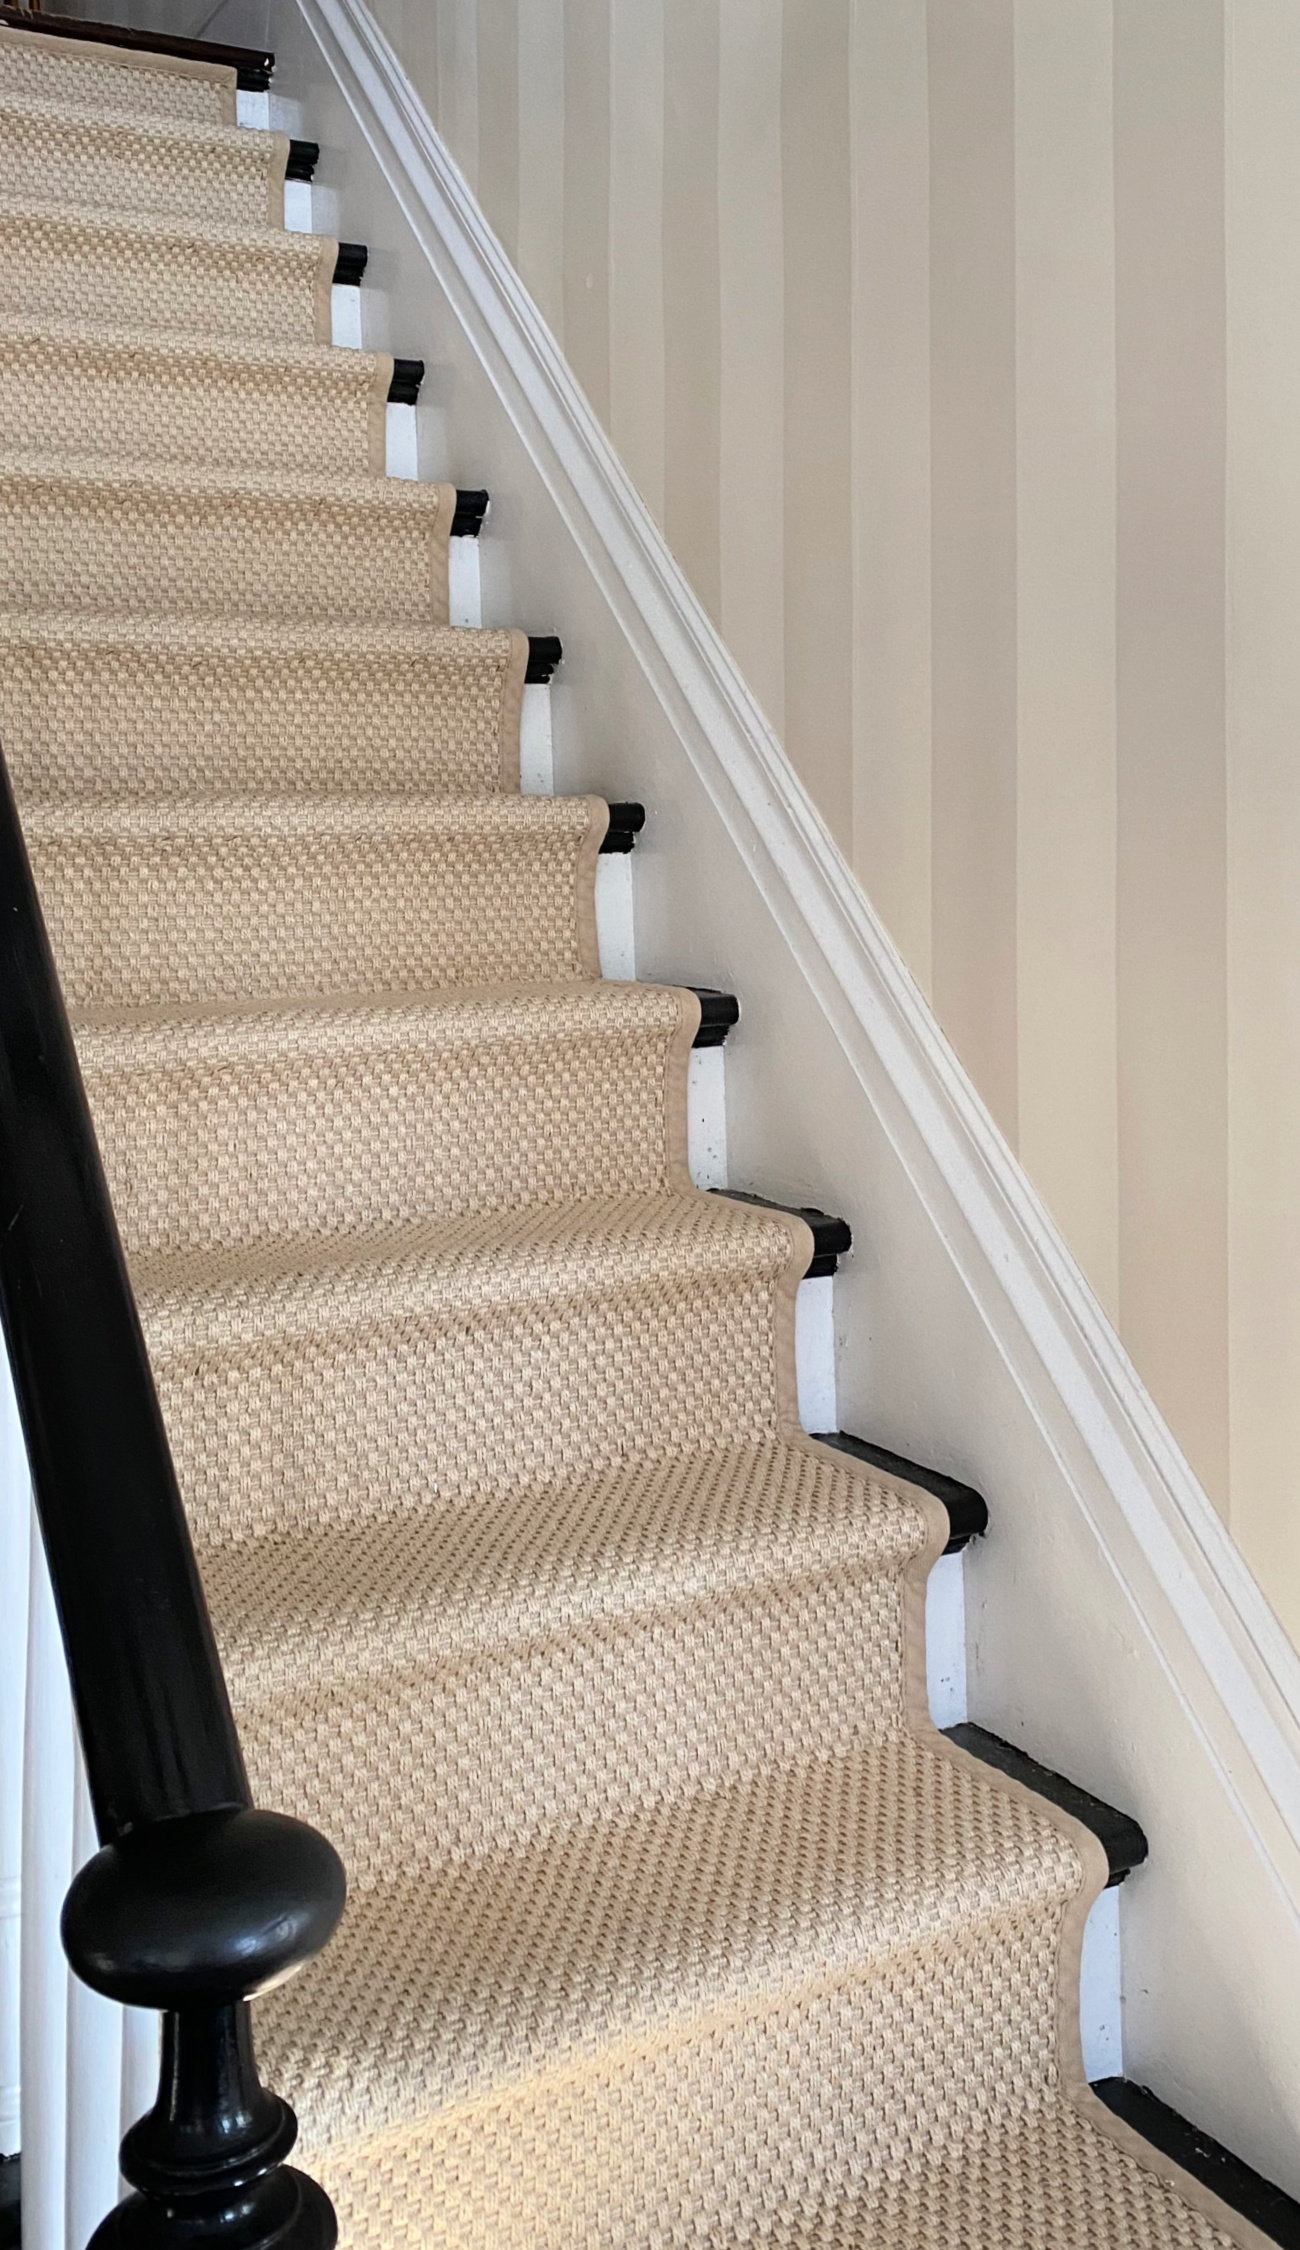
With the seam tape and the lines drawn to keep things even, Sean started at the top with a rug runner and stapled as he went, pulling the rug tightly and doing his best to keep the staples hidden.

He used this carpet knife (worth its weight in gold!) to cut the bottom border off the rug to end at the bottom of the riser, also cutting the top border off the second runner to meet at the seam. We also used seam tape here to bind the two rugs together. On the last step, the border was cut and the end was tucked under slightly to finish it off.
All in, this project took us a little over an hour, which surprised me. I honestly had pictures in my mind of fighting with the rug and having it unroll over the bannister; weird things like that. But it really was zip zip. All in, our costs came in under $200 for this stair rug runner install.

No more scratched, eye-sore stairs, and an added plus that Hudson can maneuver the stairs a little bit better. A project I had envisioned would be a debacle, ended up proving just the opposite. Installing a stair rug runner is much easier than you would think.
Shop The Post!

This post contains affiliate links.


