
We love to decorate eggs and we have fun with all the different ways you can. Here’s the easy way how to marbleize Easter Eggs that’s fun!
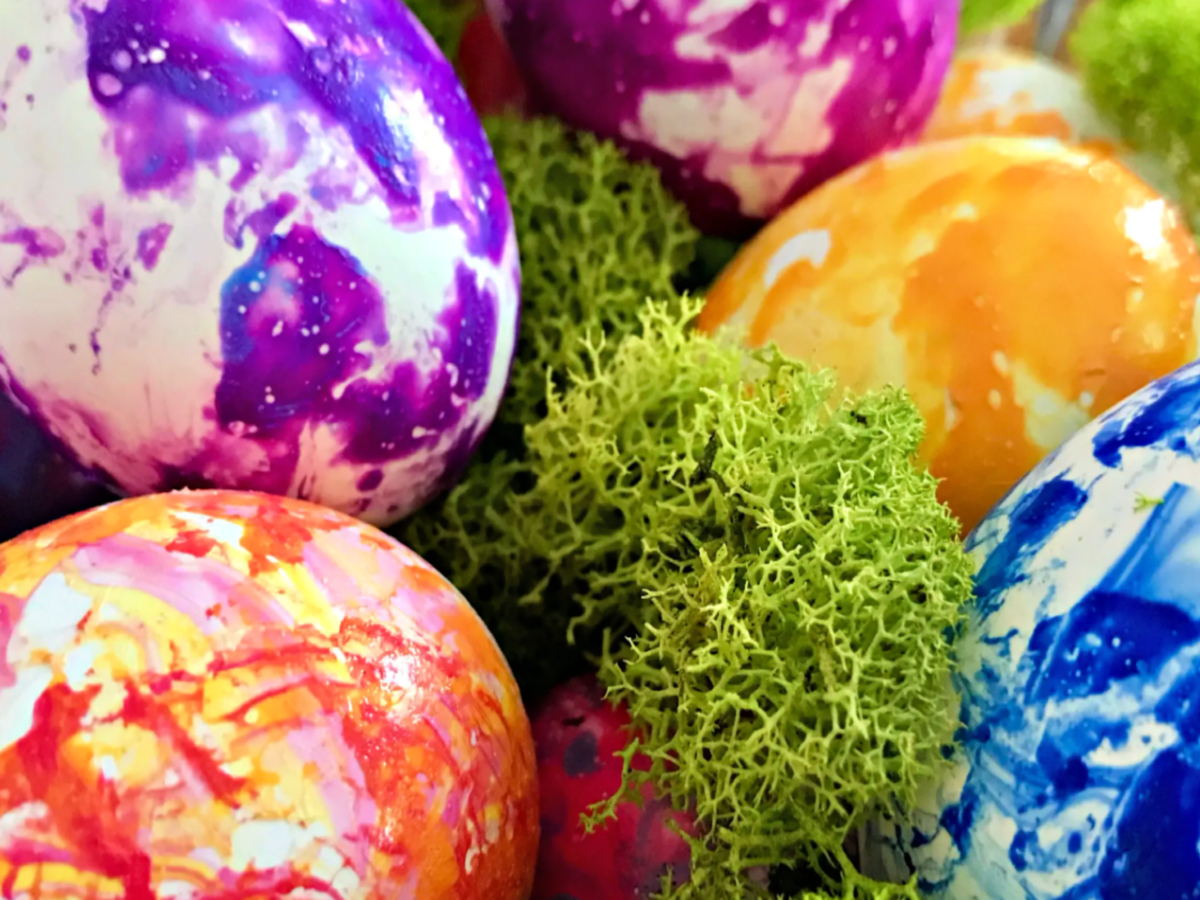
As our children are almost out of their teenage years, those secret holiday traditions have been out-ed and modified. It’s bitter and sweet in a way, but one tradition that is here to stay around here is decorating Easter eggs. The kids love to decorate them, and these days the decorating has become a little tricked out, from decoupaged, to hand painted, and now to marbleizing.
Marbleizing Easter eggs is easy, and all you need is disposable plastic containers, cheery nail polish colors, water, and blown out eggs.

How To Blow Out An Egg

The secret is to start with room temperature eggs.
Step 1. Holding the egg over a bowl, take a hat pin or a T pin and carefully poke a hole in the top of an egg. Expand the hole by poking around the original hole ever so slightly. Turn the egg over and poke another hold on the bottom, and continue to poke around the hole until you get the size of a small skewer.
Step 2. Take a thin skewer and carefully poke around the inside of the egg, breaking up the egg yolk and whites.
Step 3. Take an ear blower, and carefully (I feel like I’m saying carefully a lot, but you’re working with a delicate shell) place the tip on the top smaller hole and blow until the entire egg comes out and falls into the bowl. You can buy an ear blower HERE.
Step 4. Place empty shell in a bowl of warm soapy water. Once you have finished blowing out all the eggs, carefully clean and rinse the empty shells. Take out and dry.
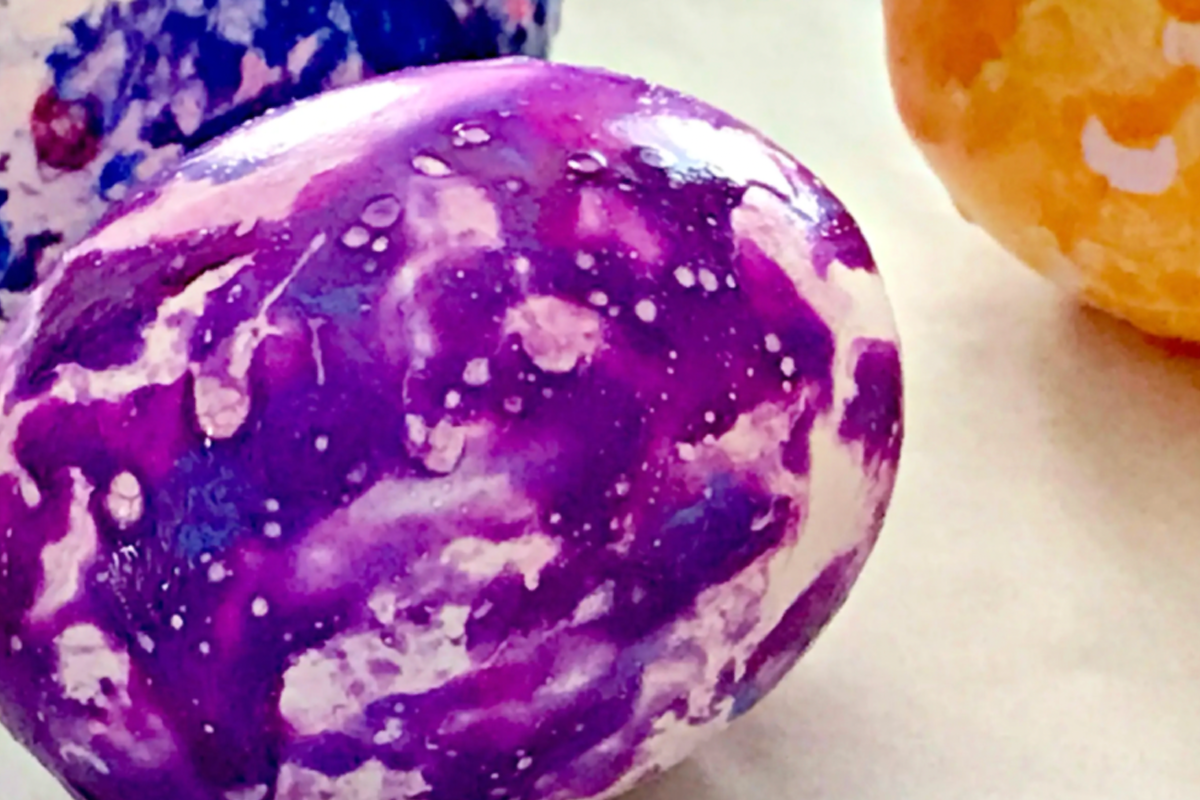
How To Marbleize Eggs Using Fingernail Polish
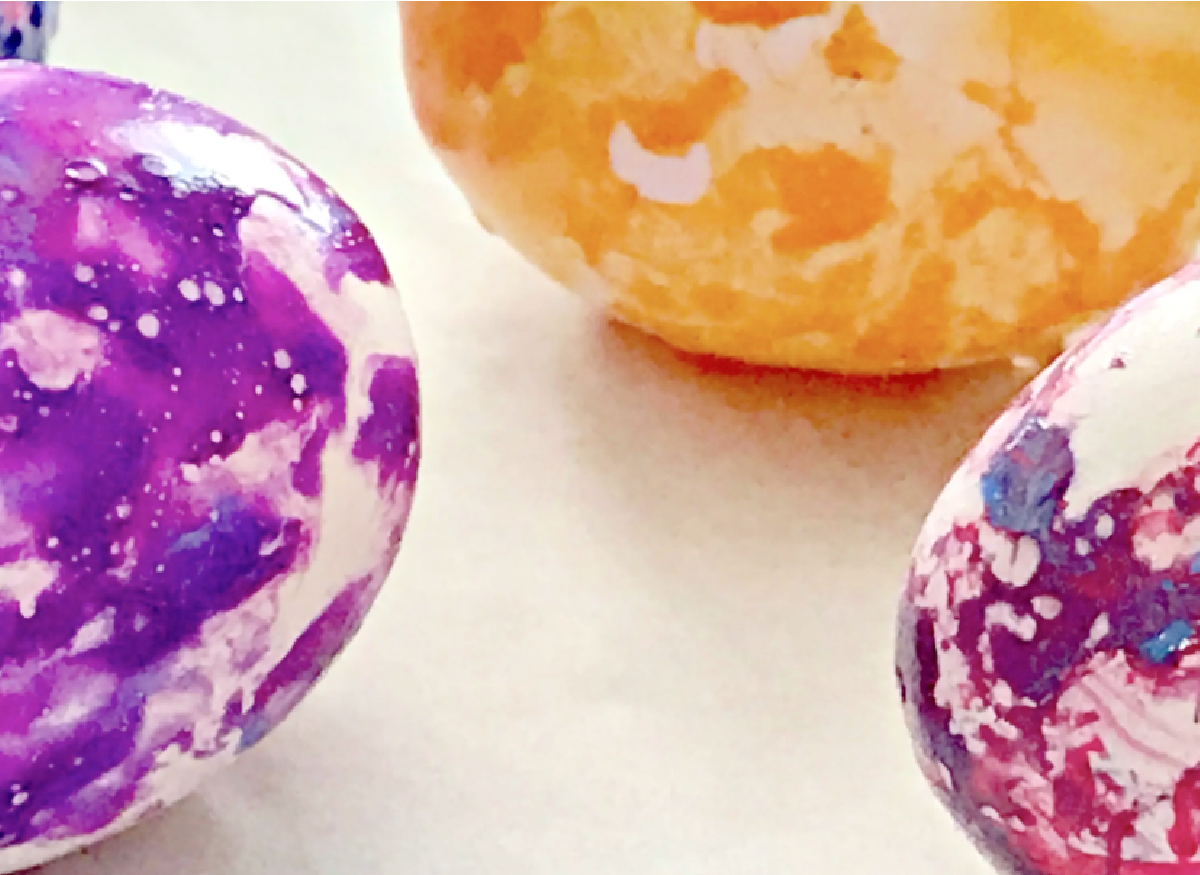
Now for the marbleizing.
Step 1. Fill plastic container 3/4 full of water.
Step 2. With a disposable skewer, swirl the water and then pour in nail polish.

Step 3. Place egg in swirly water, and toss around with the skewer.
Step 4. Remove and place on parchment lined baking sheet. Let dry completely before touching.
Quick Tips To Follow
Here are a few things I would recommend:
- Use metal tongs to remove egg shell from polish to keep your hands from getting covered in polish.
- Also, work in a well-ventilated area as the nail polish smell is potent.
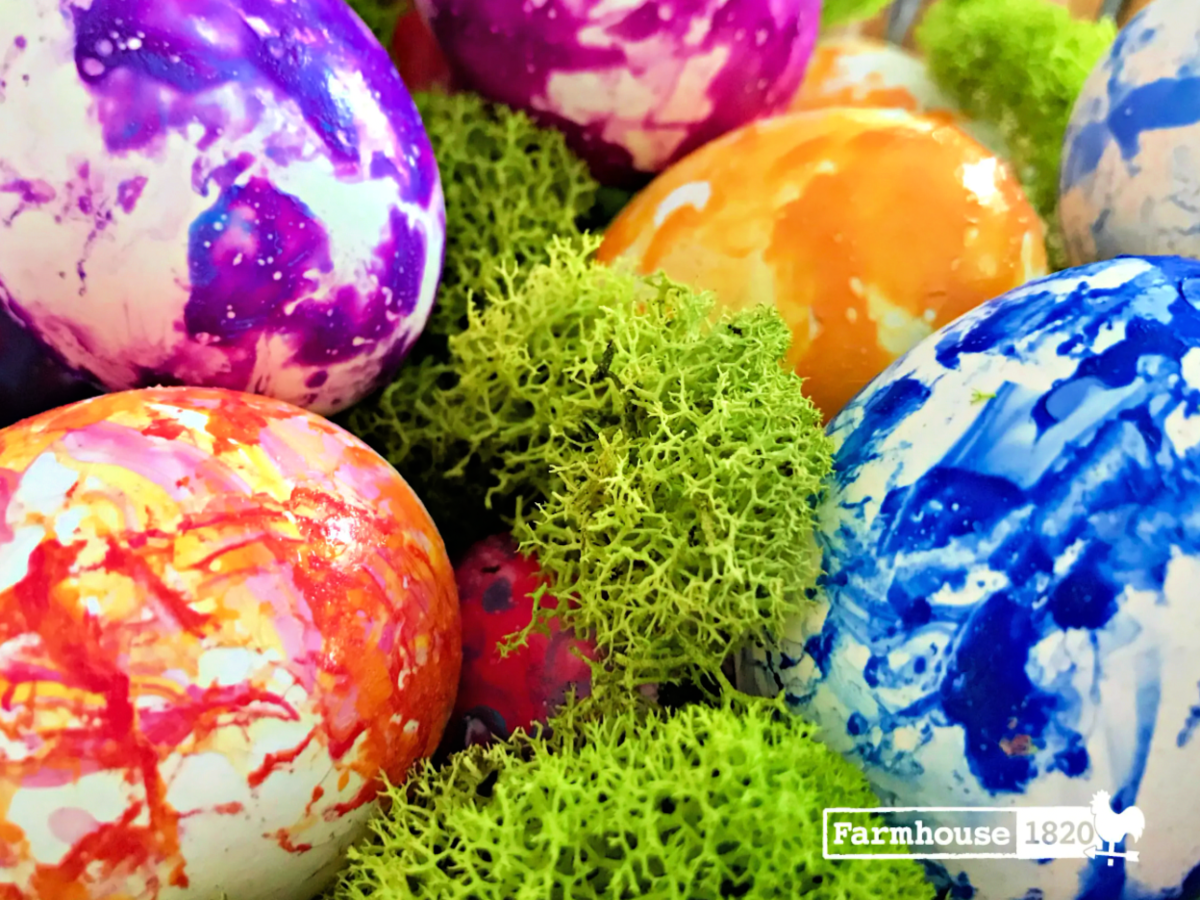
Great and fun craft for the kids, and as long as you’re careful, the shells will last for years.
More Easter Inspiration

Check out 7 more Easter crafts, HERE!
This post contains an affiliate link. I do receive a very small commission on items purchased at zero cost to you. As always, thank you so much for your support!


