
Do you want to change the color of a lampshade without having to go out and buy brand new? I have the secret to painting fabric lampshades!
I shared the secret to painting fabric lampshades three years ago, and this DIY secret has consecutively been my highest viewed post since day one. Garnering thousands of views a month, I thought I would share this amazing how-to again, with some updated photos on even more lampshades that I’ve painted.
Check it out!!


If you’ve been reading my blog for even a hot minute, you know that I have a thing for lamps. Light fixtures, too. Anything that lights and includes a shade is what I gravitate to. Well, I can’t say everything because I am choosy when it comes to lamp bases, and light fixtures, however I don’t feel that you need to spend a lot of Do Re Mi on either one. Details are important and you can upscale any lamp shade with ribbons or trims, and even some paint.
Yes, you can paint a fabric lampshade!
I Have The Secret!
The shades I’m referring to are the ones on our dining room light fixture. As I like to change things up, sometimes more often than not. One my say I’m a tad ADHD when it comes to said light fixture. Perhaps. But in my defense, I love to change things up a bit.
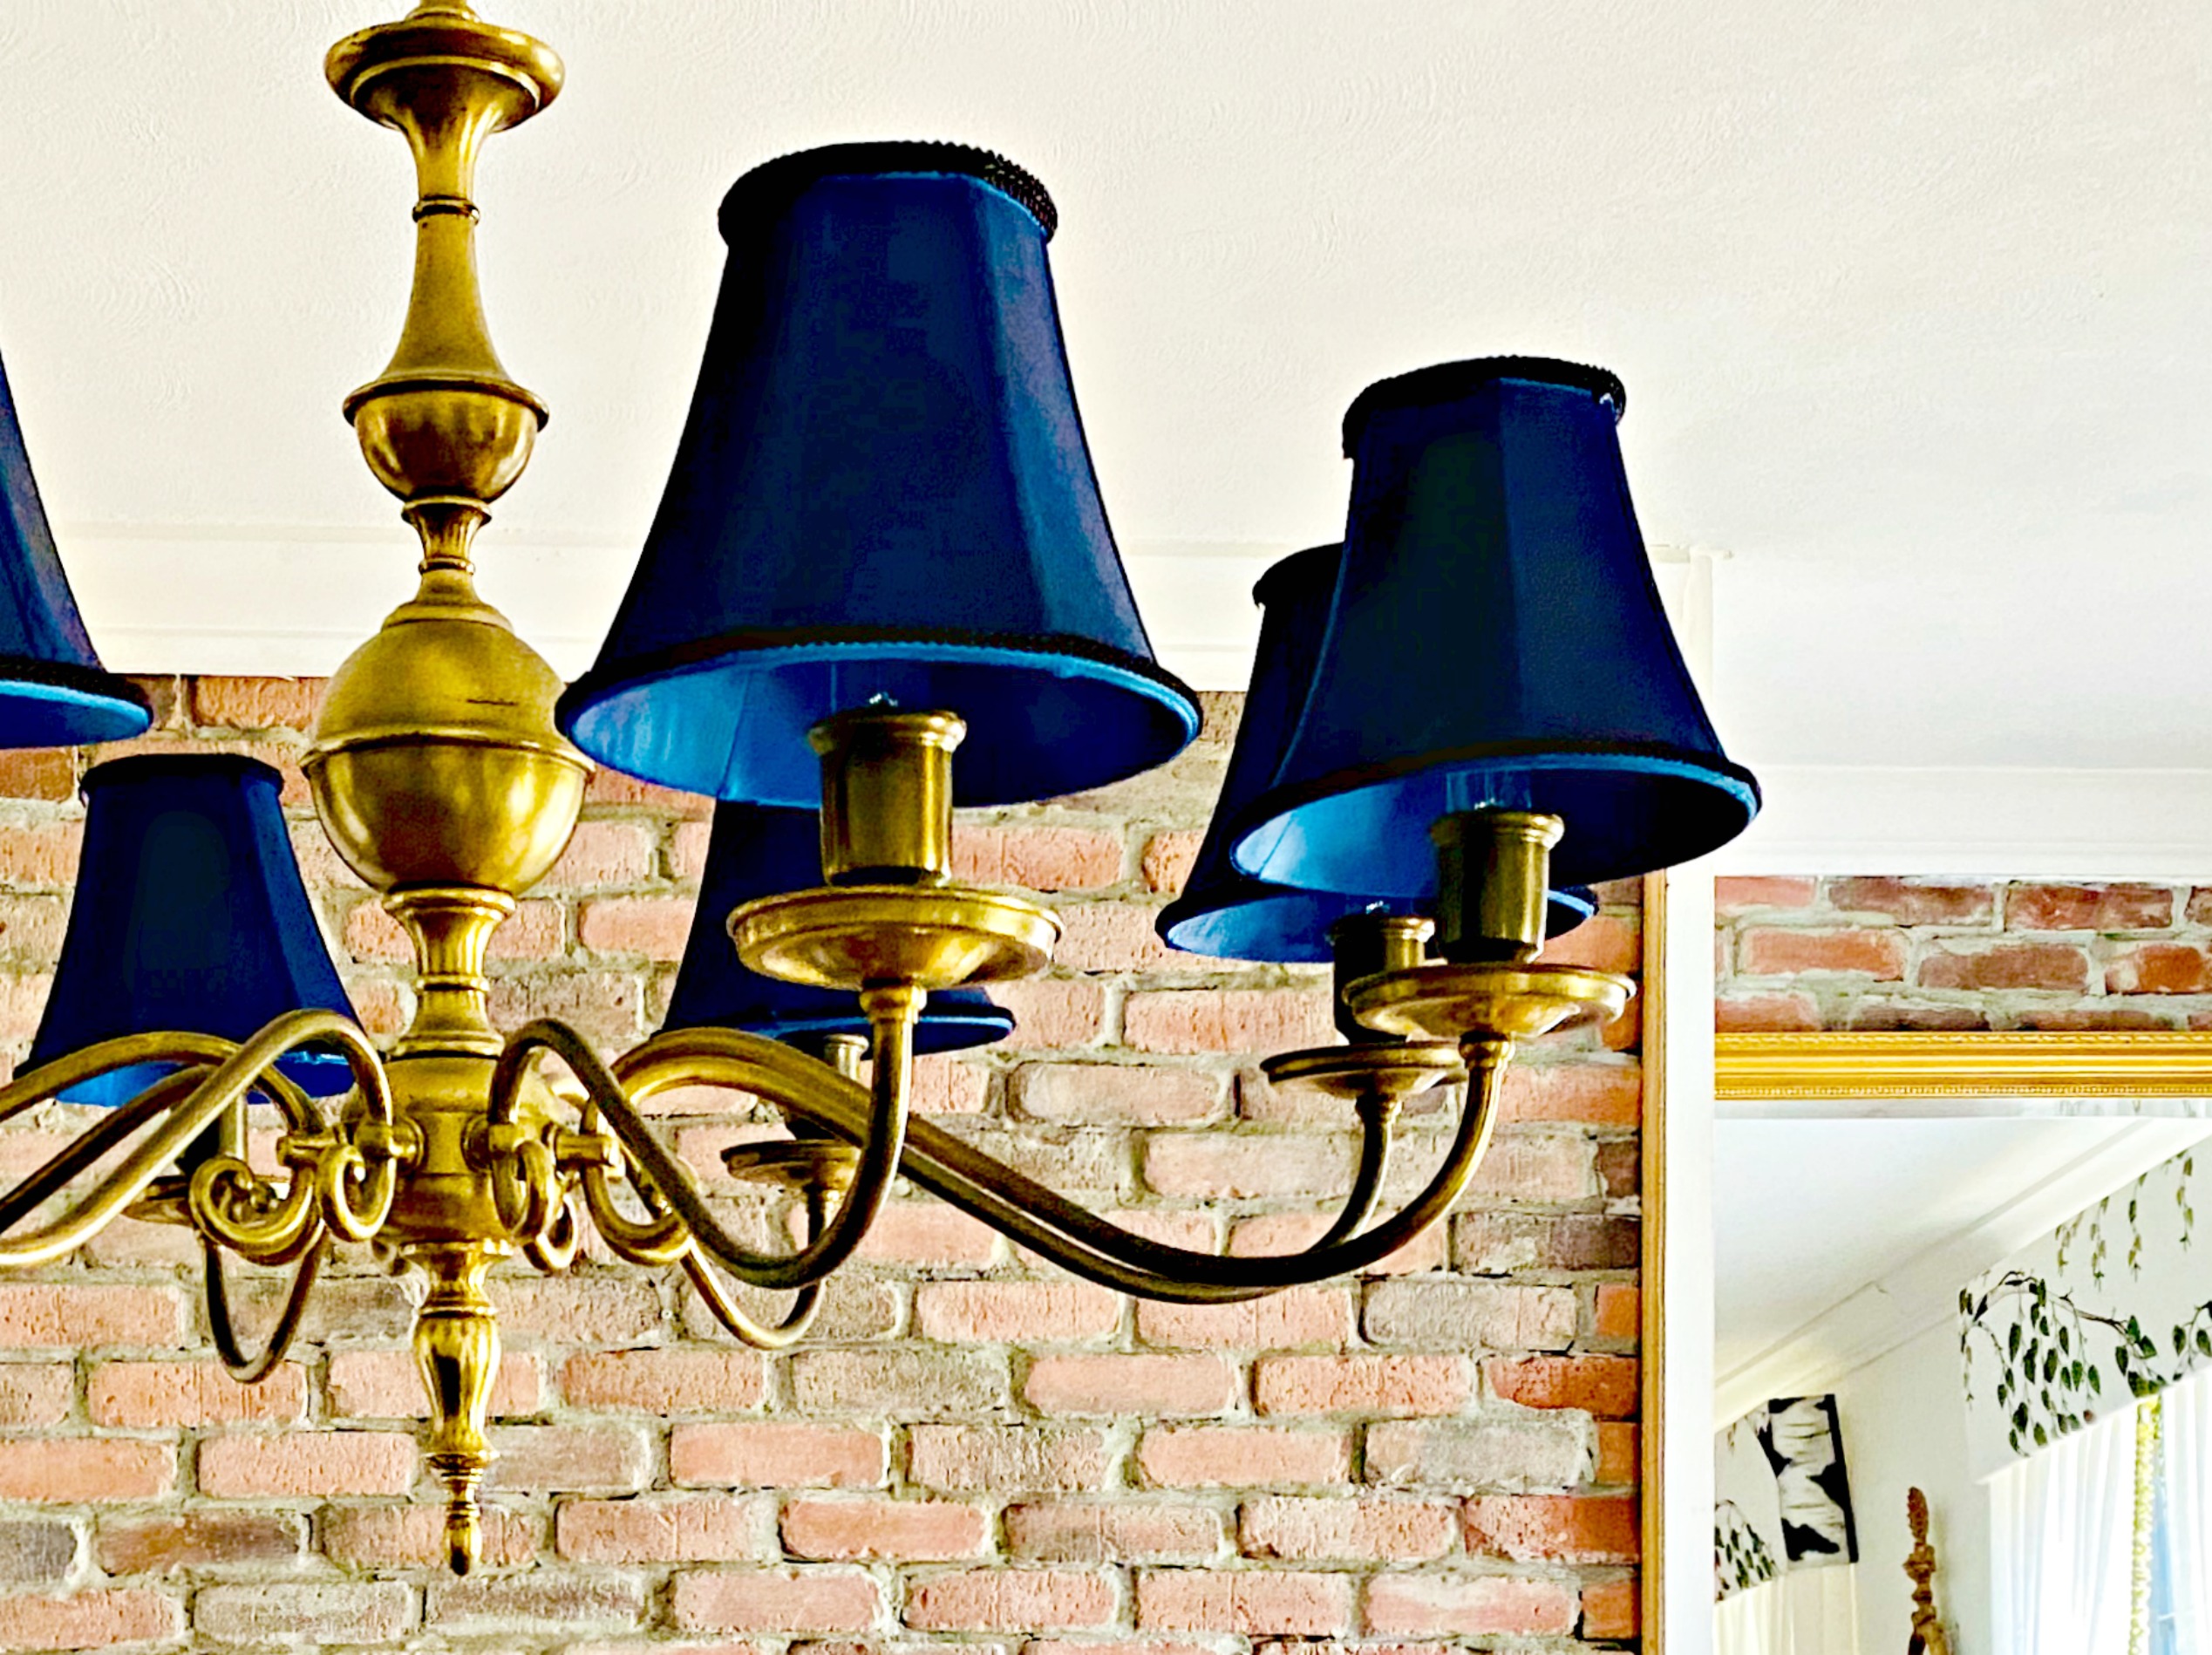
Here are the fabric lampshades I painted in 2020.

The navy blue turned out so beautifully, and totally upped the game on the chandelier. Fast forward two years, and I gave our dining room a total transformation, and yet again, I painted a new set of lampshades.

The Secret To Painting Fabric Lampshades
From thumbing through interior design magazines and books, to watching design shows on TV and YouTube, I always seem to study lampshades. There could be a photo of a gorgeous living room, and I’m zeroed in on the lamp and shade. Go figure. But it’s with all these publications that got me wanting to change out the shades on the dining room light fixture.
Again, and again. Go figure. But with this super easy DIY, why not?!
So I got busy and starting researching and looking for chandelier shades that I had in my mind. Thing is, holy price tag. I mean, I know I always harp on budget, but I’m harping on budget. Such small shades can garner a price upwards of $45 a piece. Our chandelier has 8 arms, so that would certainly add up quickly.
Where It All Started
Let me back up for just a minute and come to the defense of the these original shades. Their shape is perfect, and they’re fabric, albeit some type of manmade kind, which is totally cool, but I just grew tired of the white with black cording concept. Meh. Over it.
But then my wheels started turning. What if I could just paint these fabric shades? I mean, what’s the harm. I got them for a song a long time ago, so even if I messed up, the mistake wouldn’t cost me a fortune.
Then I started mulling over types of paint. Brushing it on was ruled out immediately. Even coverage would be impossible with that method. And, would run the risk of the paint looking caked on. Kind of like a gal in the ’80’s with a bad makeup job.
Spray paint was a must, but what type?
I needed the paint to look soft, as if the fabric was that color to begin with. Then I started thinking about flowers and how they’re painted. I consulted a friend of mine who is an amazing floral designer, and he agreed. Give it a shot, he said.

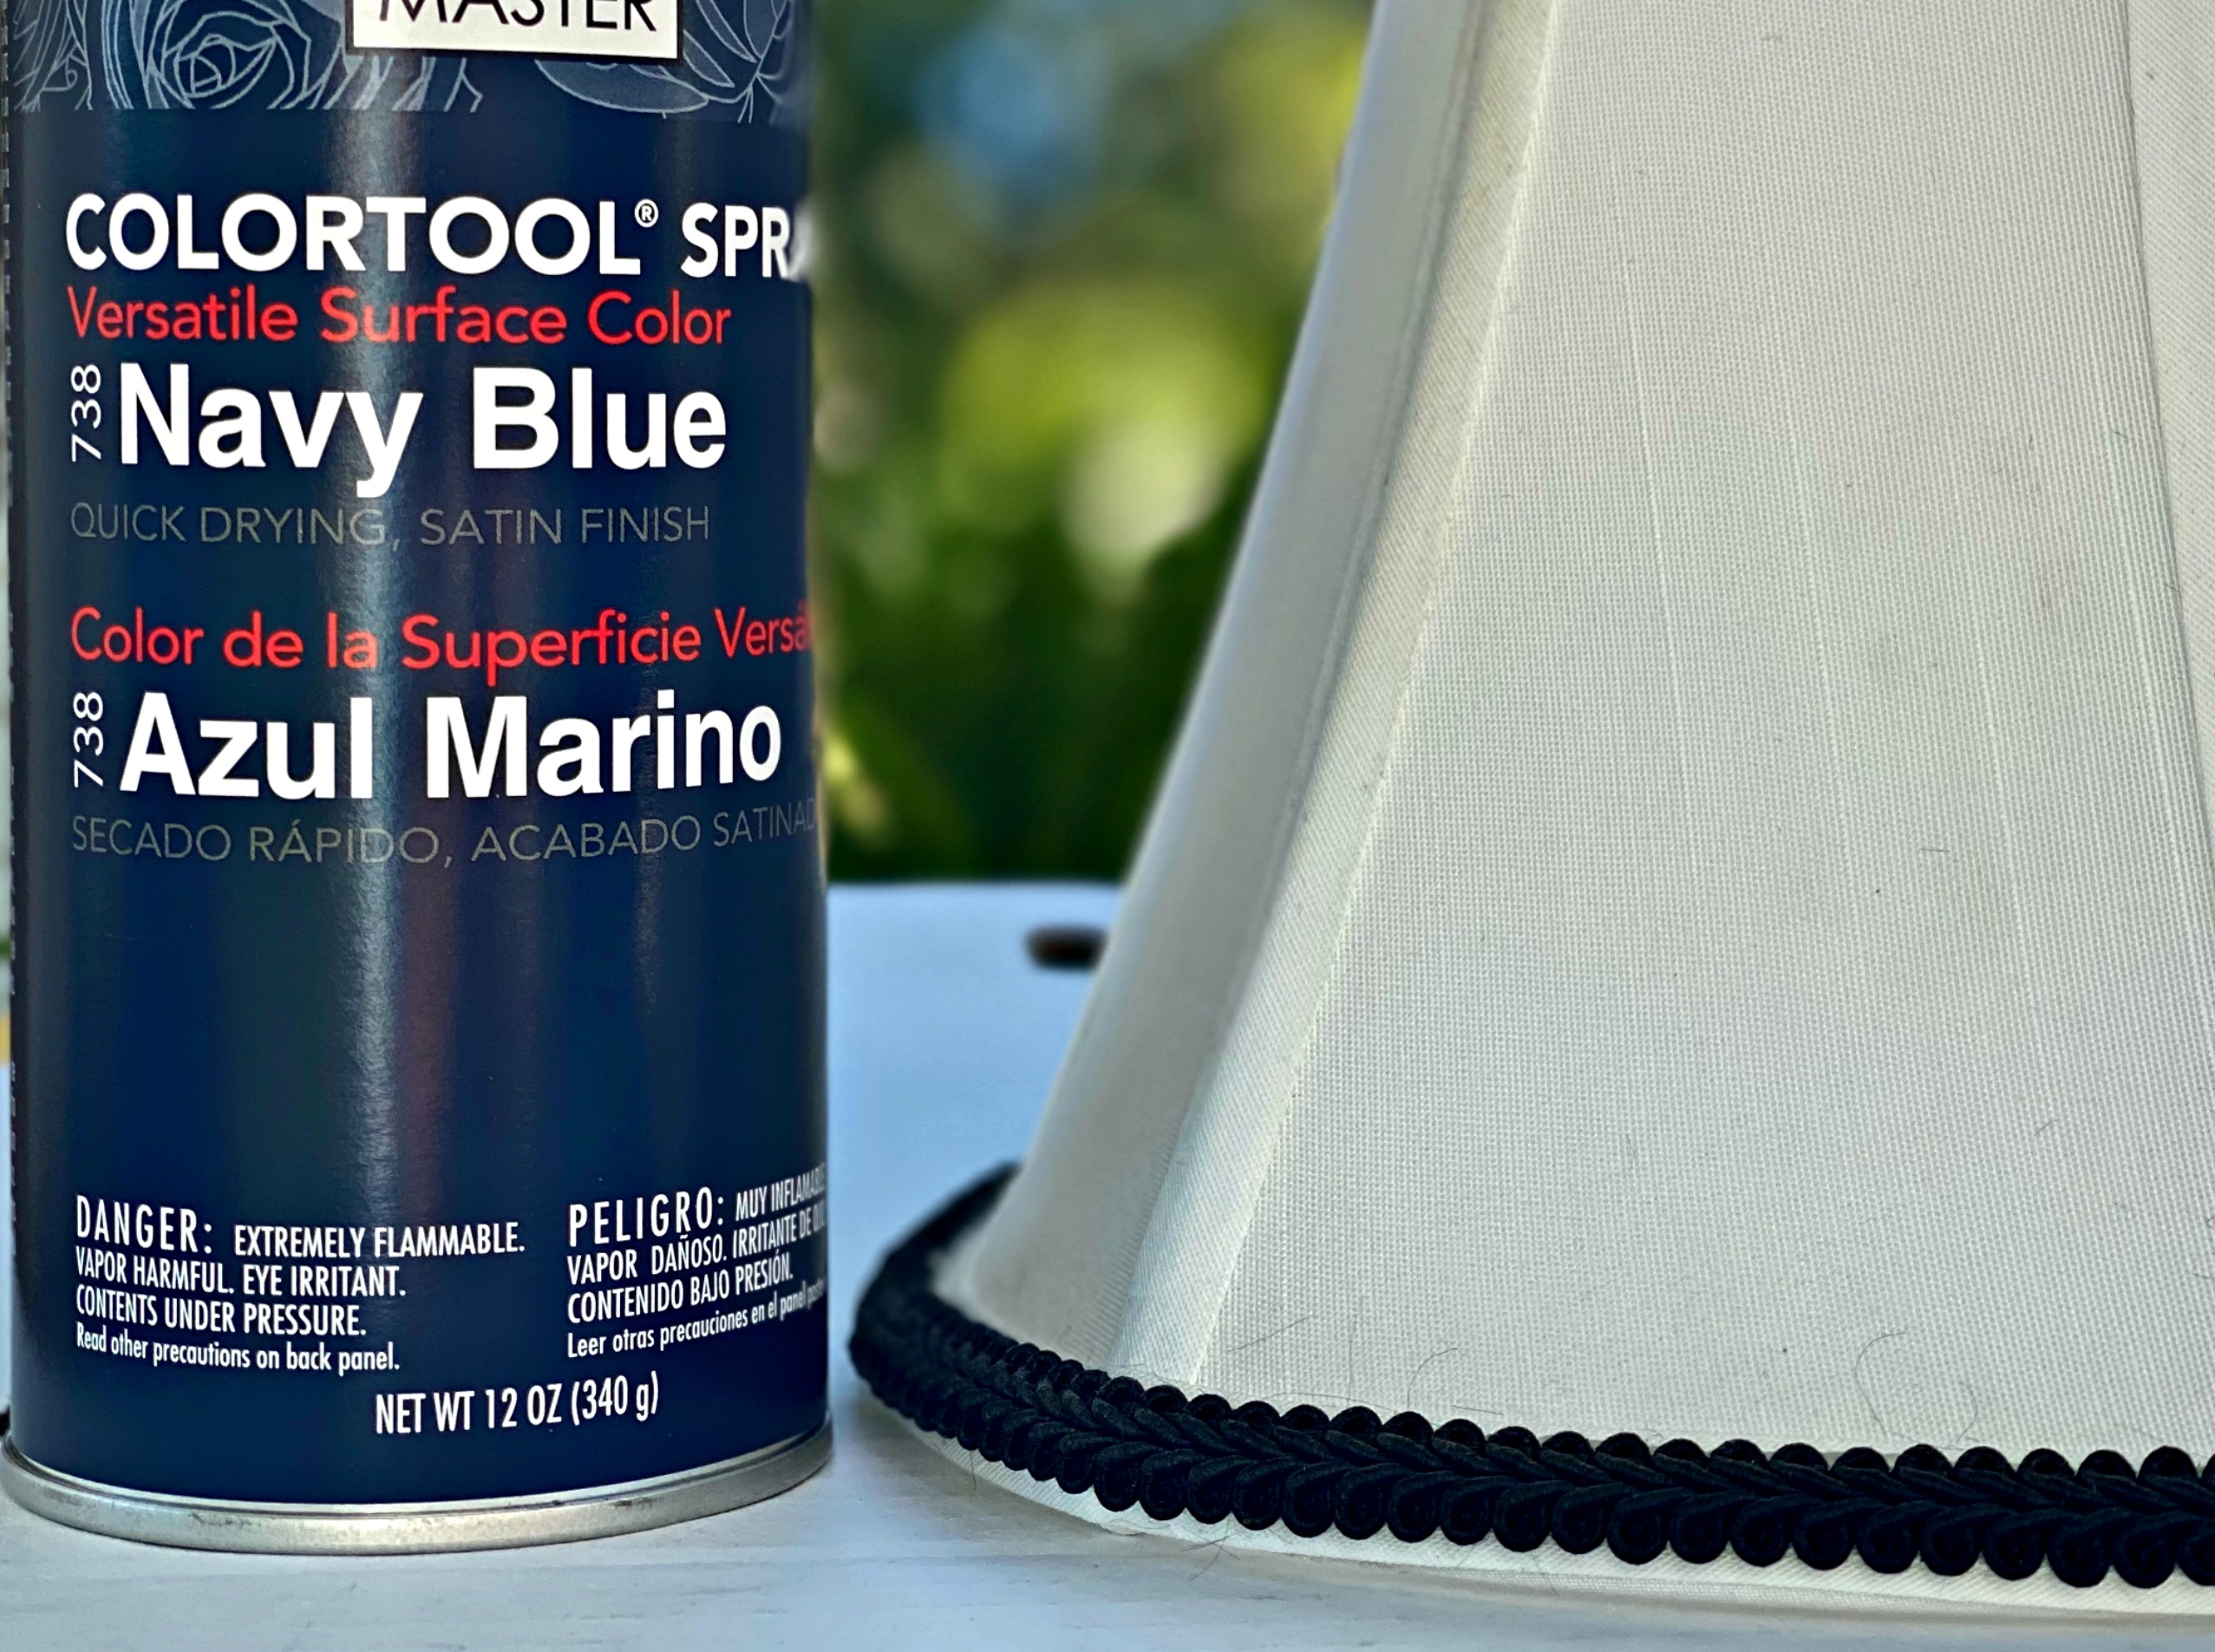
The Secret: Use Floral Spray Paint To Paint Fabric Lampshades!
Turned out to be a genius idea. For real.
Think about it – floral spray paints come in a large variety of colors and they’re designed to spray delicate surfaces, like flowers. Why not lampshades.
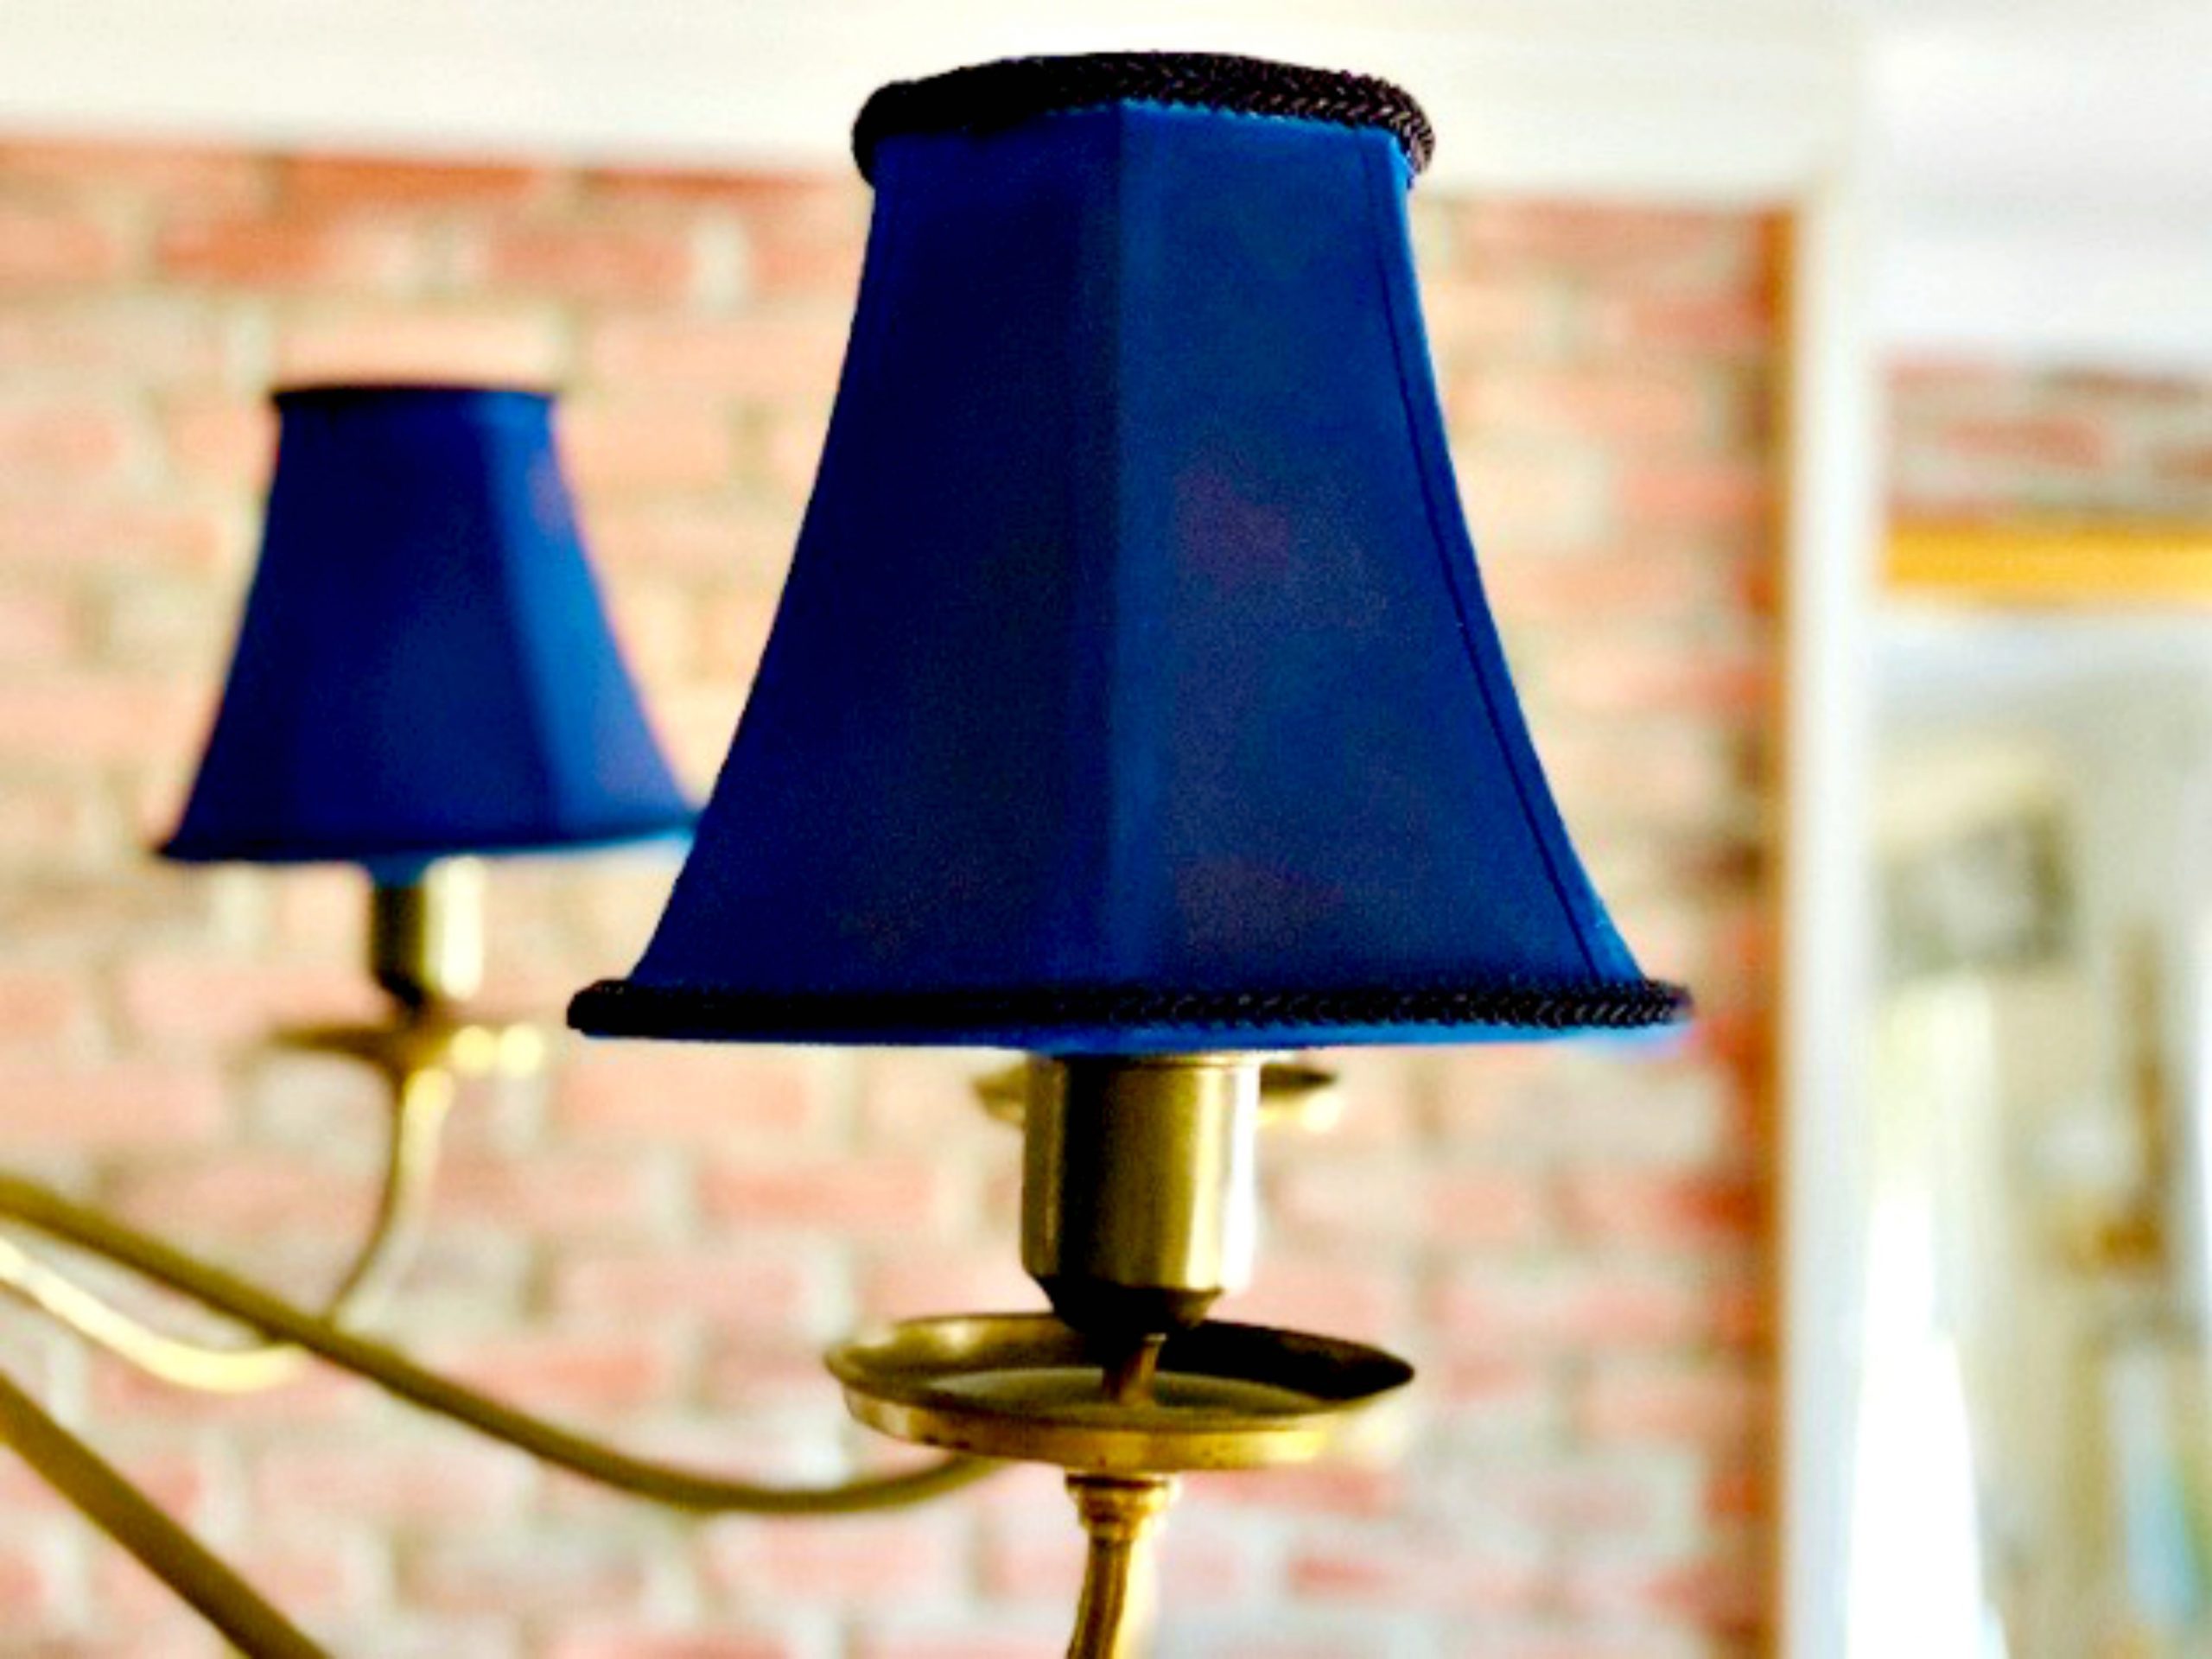
I went for a navy spray, and I went ahead and sprayed over the black cording, which in my opinion, gave the shade even more of a finished look.

And then, when I remodeled out dining room, I found white pleated lampshades at the ReStore for a dollar a piece. (And between you and me, they looked like they were only worth a dollar. UNTIL I PAINTED THEM!)

I ordered the floral spray paint from here.
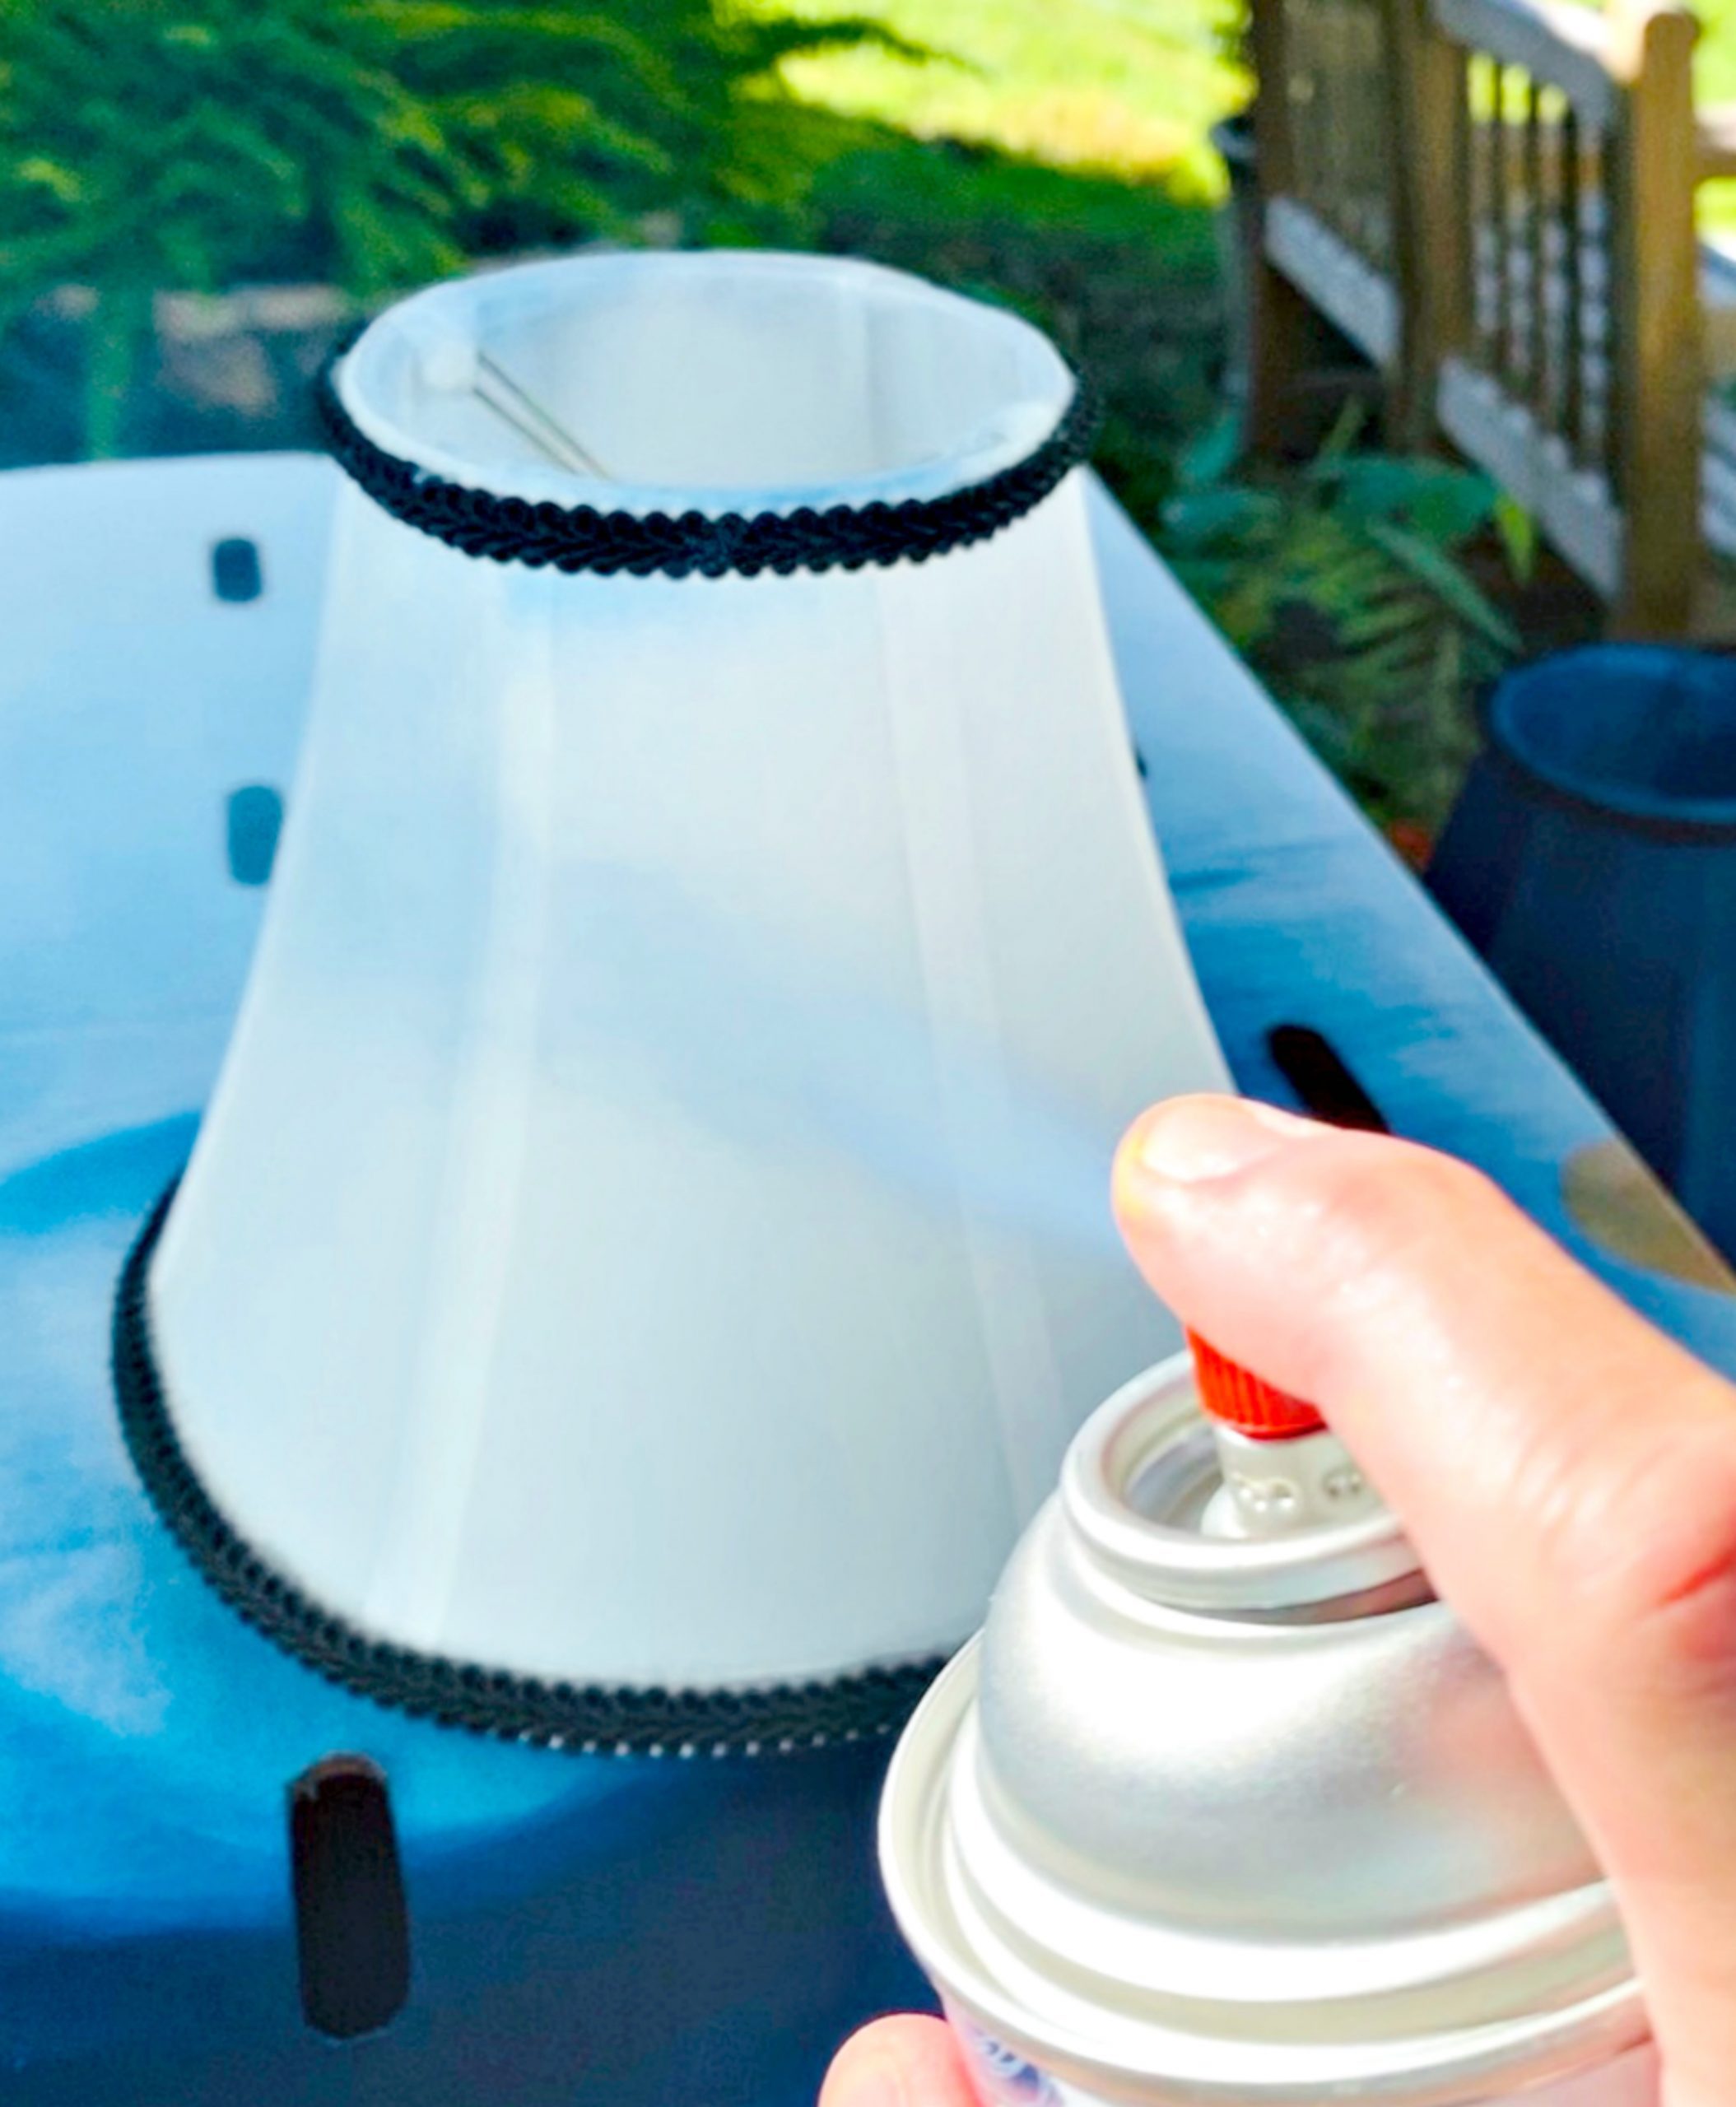
How To Spray Fabric Lamp Shades
Always spray in a well ventilated area.
First, you want to make sure the fabric is free of dust and lint. To do this, simply use a lint roller or tape to remove all the fuzz.
Shake the spray can vigorously for two minutes, which is what the directions on the can state. Pays to follow this step.
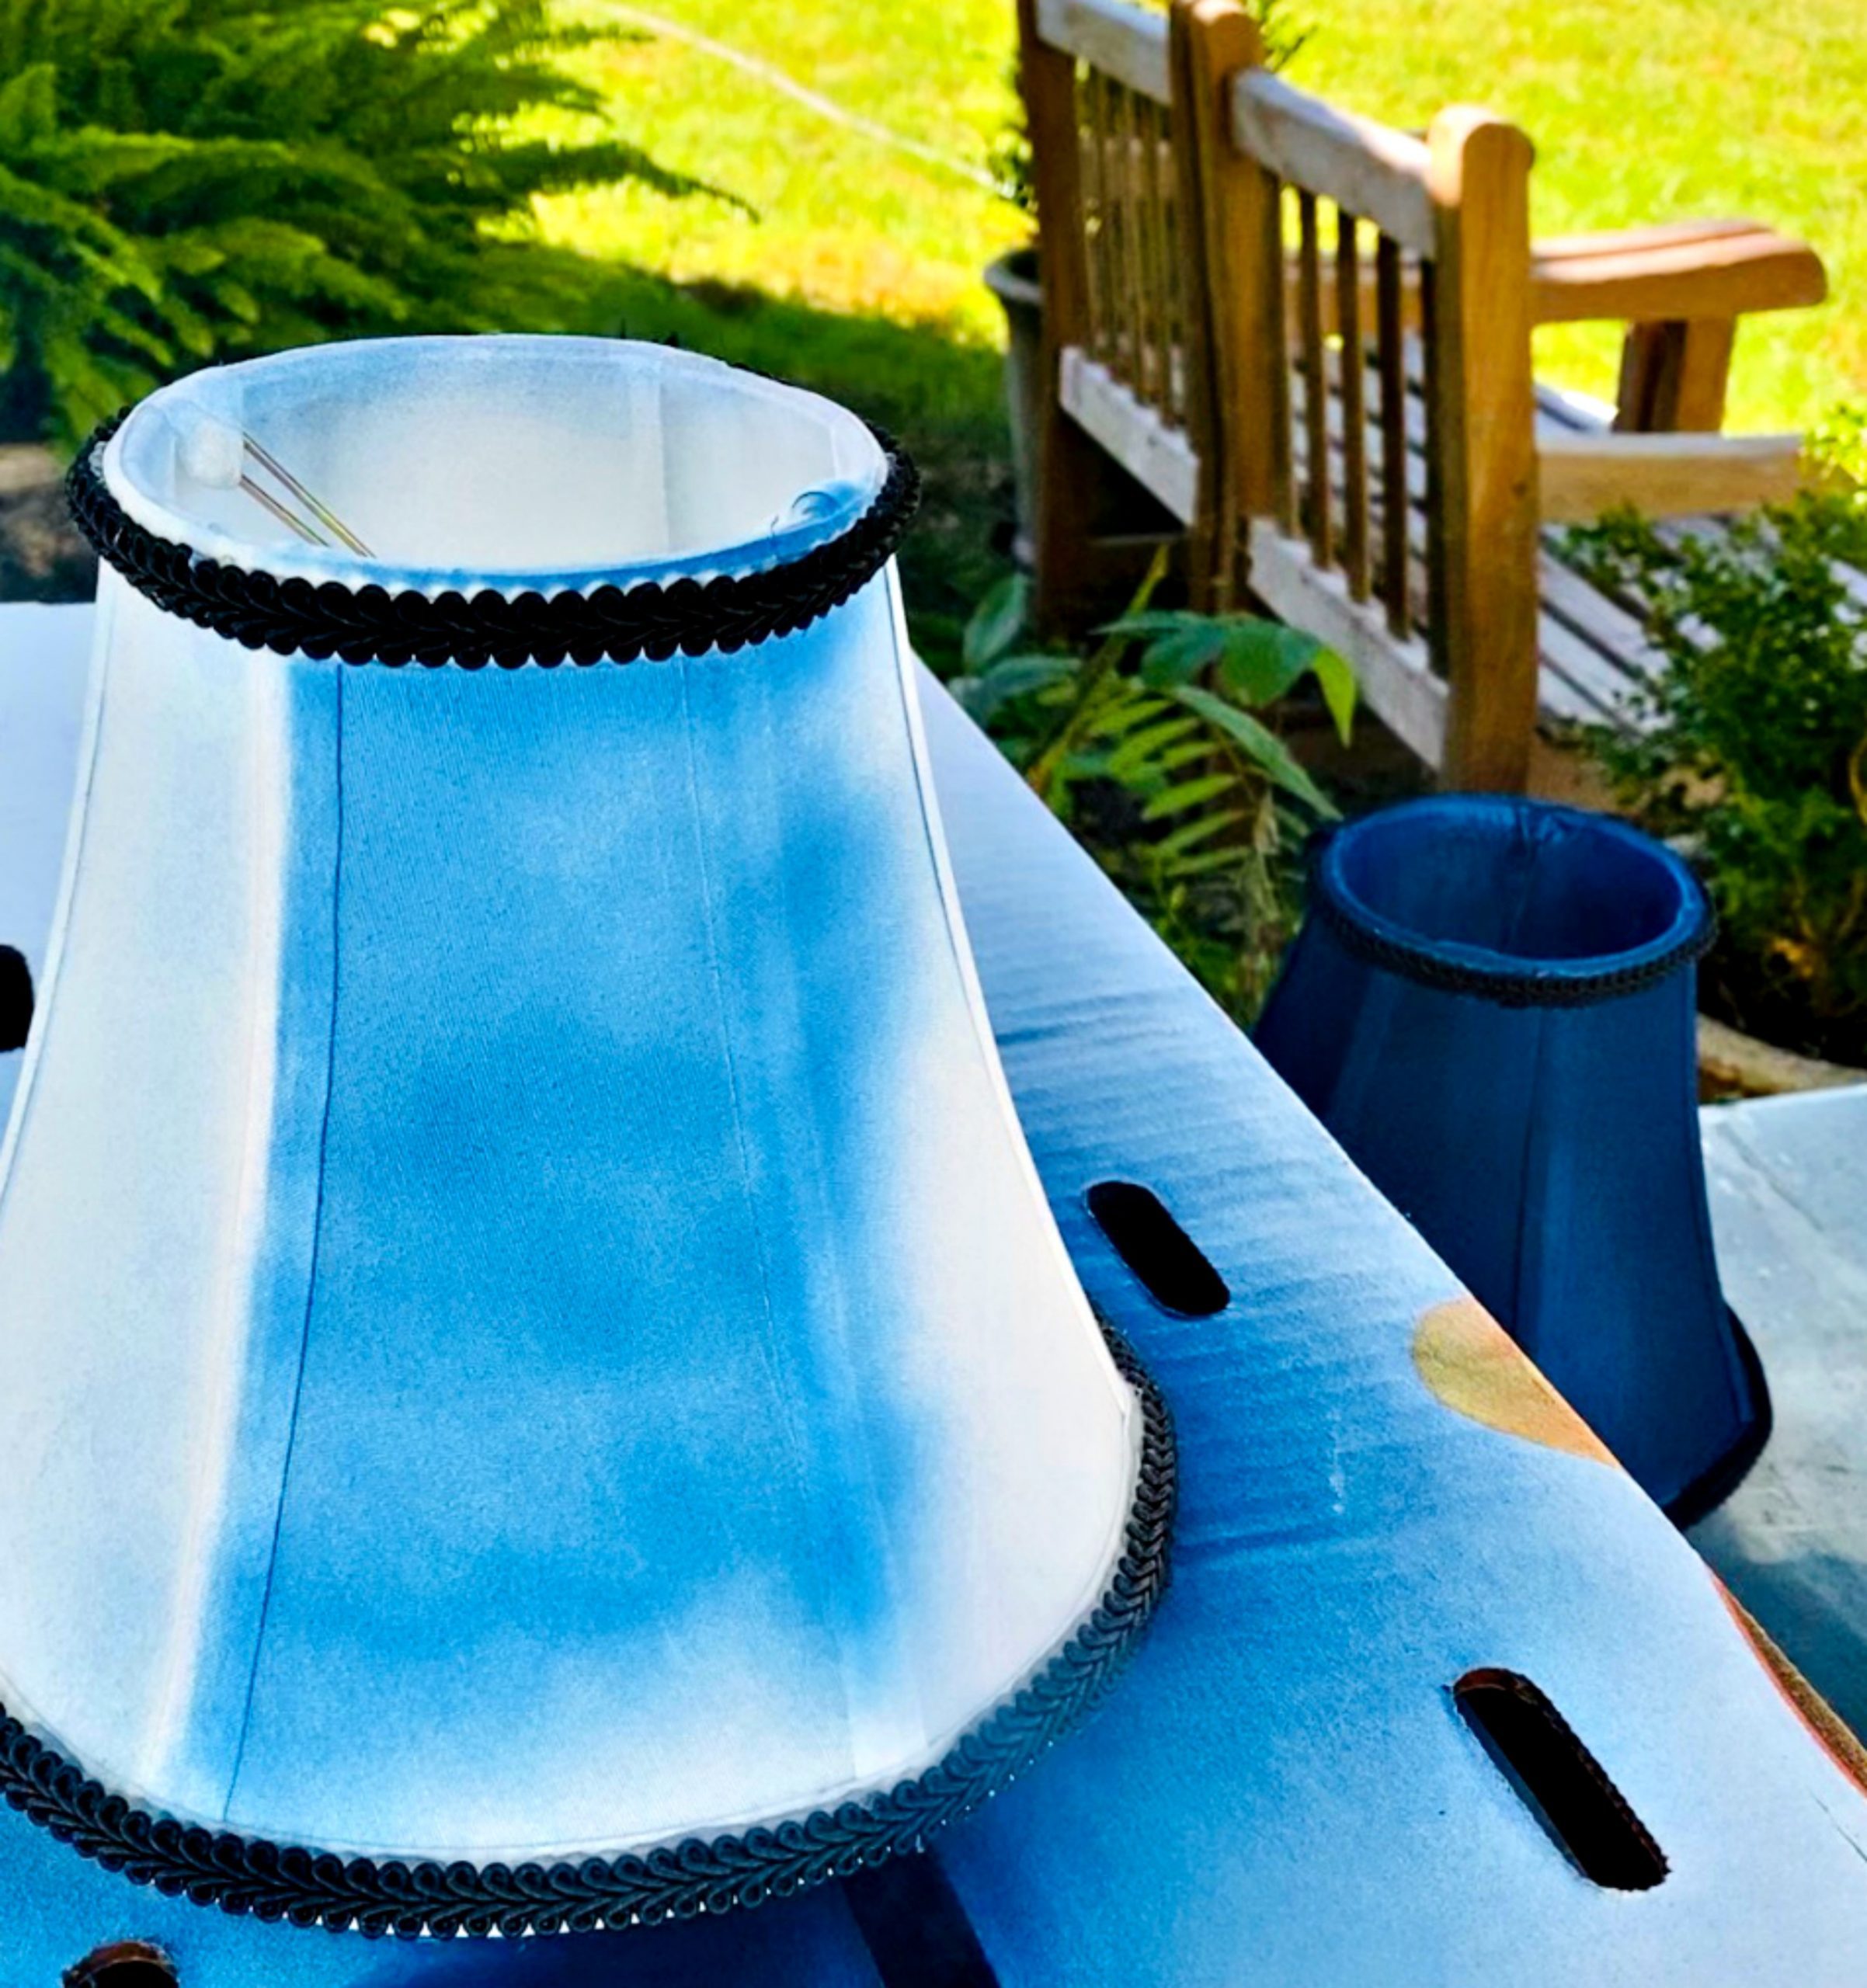
In even strokes, spray the shades, making sure you spray the underside as well. This will take several coats; don’t try to coat thoroughly on first spray because it just won’t look even. You can certainly correct the error if you do, but it will take a lot more time and thoroughness. Trust me on this because I rushed on one shade and paid the time-price. Spray from side to side, moving your arm kinda quickly. Turn shade and spray from side to side again. Repeat. Make sense?
Let dry completely between coats.
Painting Fabric Lampshades
Another tip I want to give you when spraying: make sure the finger you’re using to hold down the spray lever is not anywhere near the nozzle. I say this because if your finger does interfere, big drops of paint will spray out and you’ll then need to correct that mishap. Trust me on this too, I learned this for you.
Again, let the paint dry completely before hanging the lampshade.
Didn’t they turn out great! Who knew floral spray paint would hold the secret to spraying fabrics. It’s like I have new shades – like, the ones I was looking at online for a bazillion dollars. Although my new shades cost me a couple cans of floral spray paint.
I have eight 6-inch lamp shades on my dining room light fixture, and I used two cans of floral spray paint. I’m telling you this to help you gage how much you’ll need(ish) for your project. Same measurements for these…

I was also considering a pretty grey flannel color to spray the shades, as flannel everything is trending right now, and so classic and pretty. A light lavender/hyacinth would be gorgeous, too.
Another easy and budget friendly DIY project in the books.
I’ve also gotten a lot of comments and questions on the large mirror in the corner and where I got it. You can find a similar one here.
This blog post does contain affiliate links. As always, thank you so much for your support!


